Settings
Overview
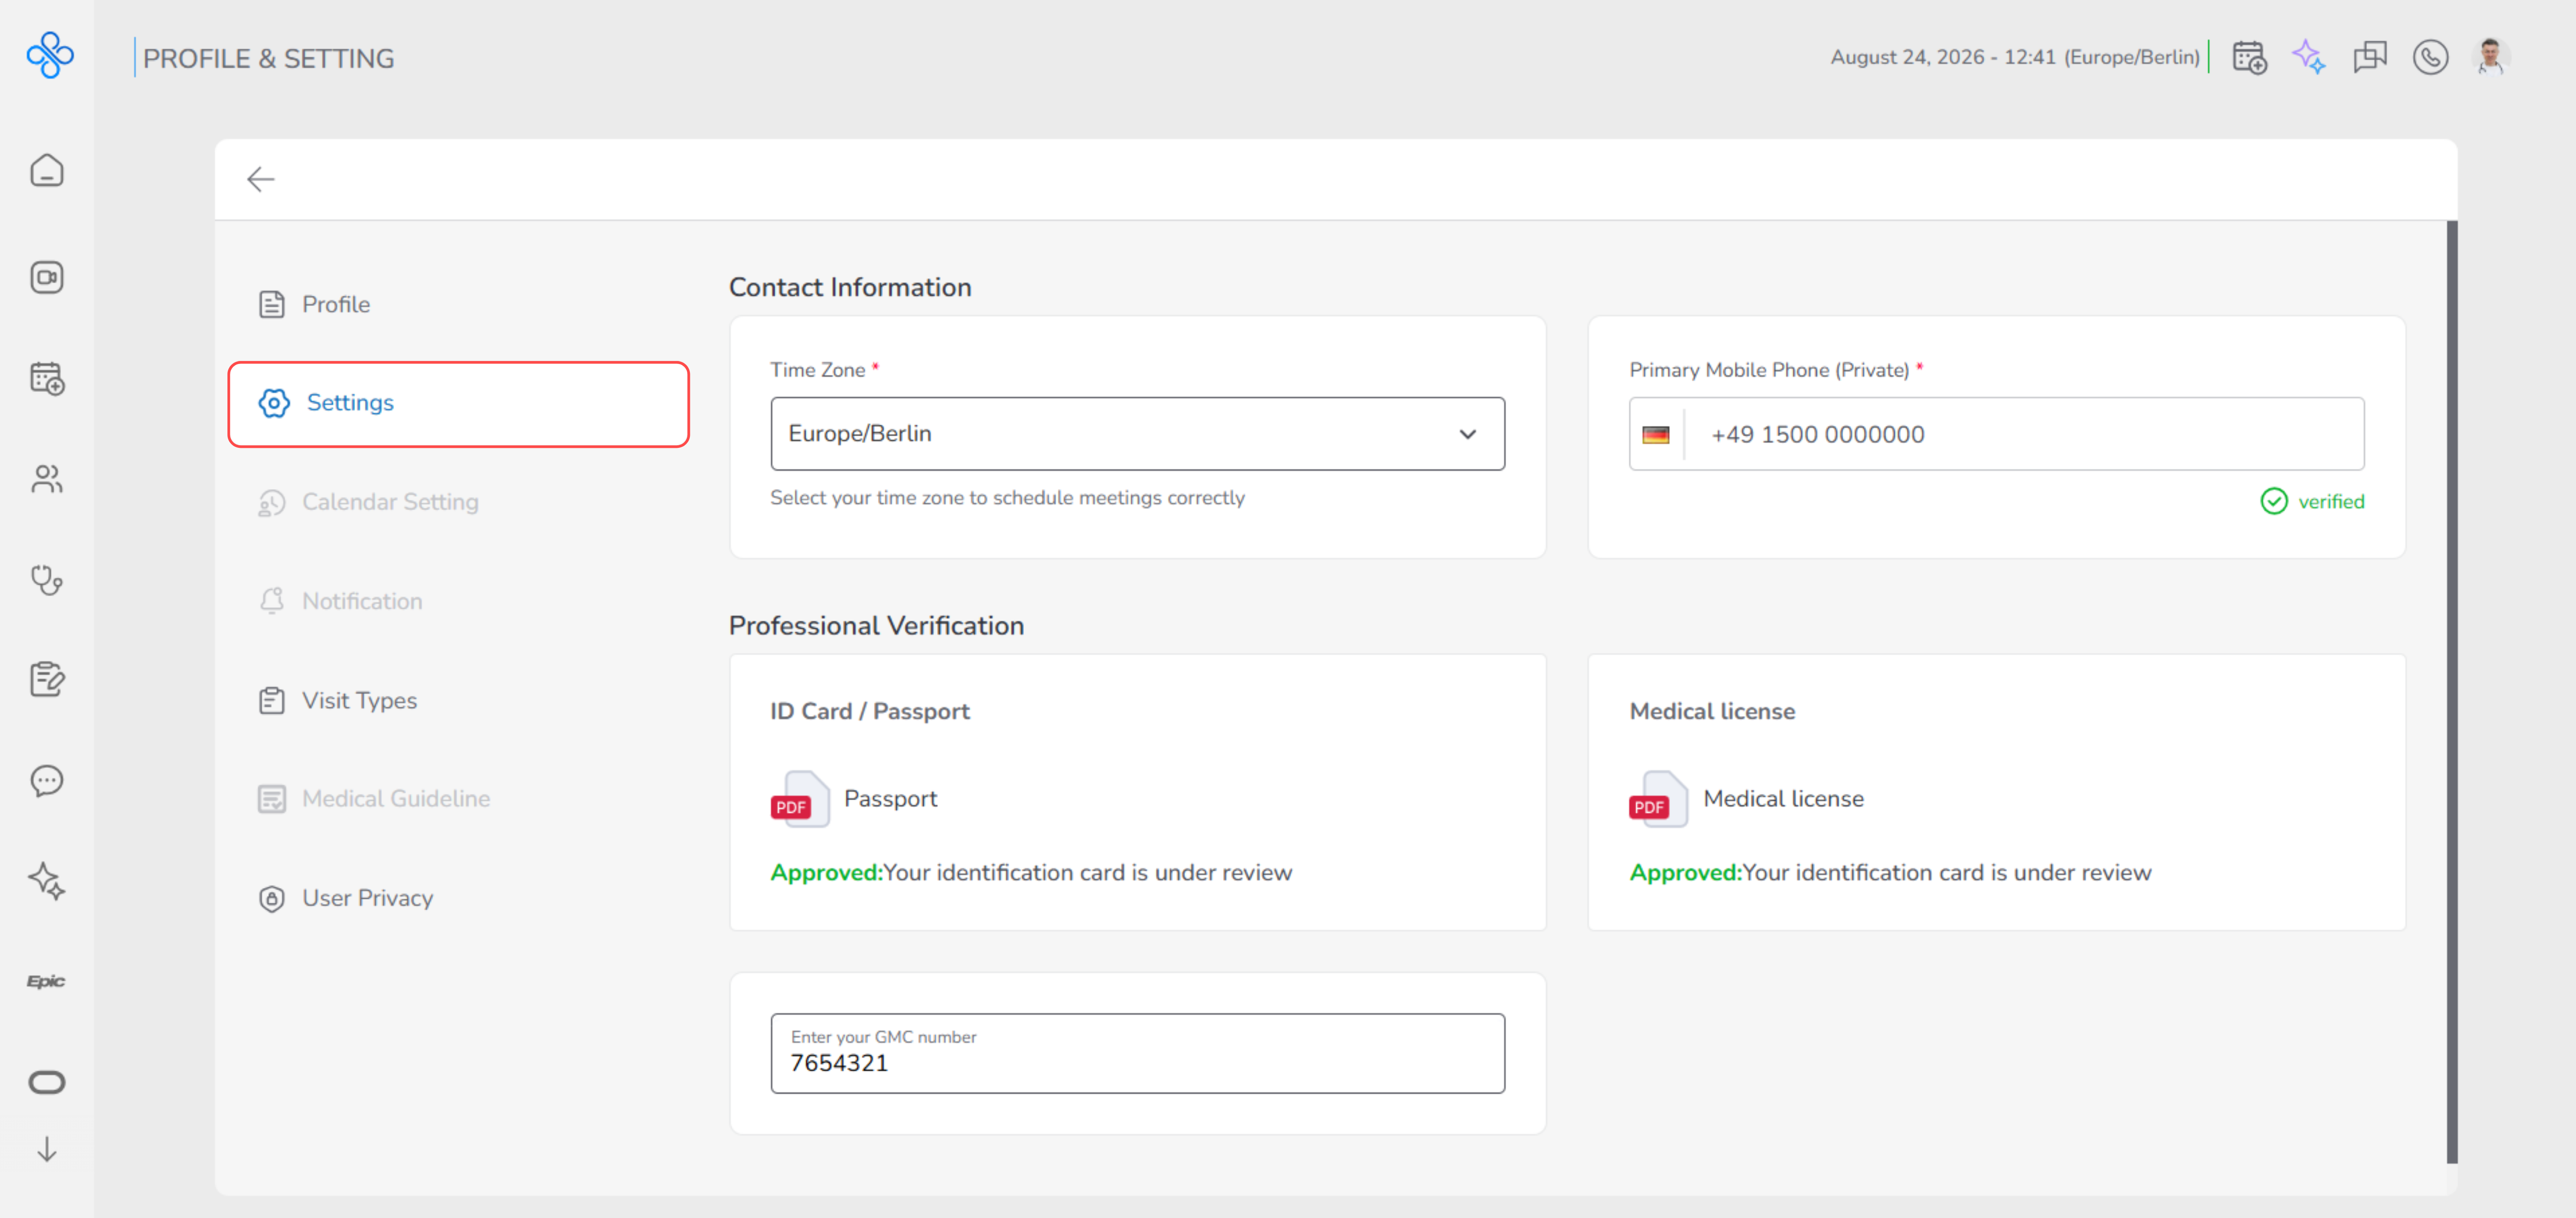
The Settings section is where you set up the most important basics of your account. Think of this page as the place where you tell the system who you are, how to contact you, and how to recognize you as a verified professional. Here you can:
- Make sure time-based actions (like appointments) work correctly by setting your Time Zone
- Add and verify your primary mobile phone number so the system can contact you securely
- Upload official documents to confirm your identity and professional qualifications
- (If applicable) enter your GMC Number for professional registration If you are new to the platform, this is one of the first pages you should complete, because some features depend on having these details set correctly.
Steps
- Set Your Time Zone
Your time zone tells the system where you are located geographically so it can handle time-based actions correctly.
This is especially important for things like appointments, visit schedules, notifications, and reminders.
If your time zone is not set correctly:
- Appointments may appear at the wrong time
- Patients may book visits outside your intended working hours
- Notifications might be sent earlier or later than expected
For this reason, the platform asks you to select your time zone as one of the first required settings.
Once selected, the system automatically uses this time zone across all scheduling-related features.
How to set your time zone
You can set your time zone directly from the Settings page.
This process is simple and does not require saving manually — your selection is applied instantly.
- At the top of the Settings page, locate the Time Zone field.
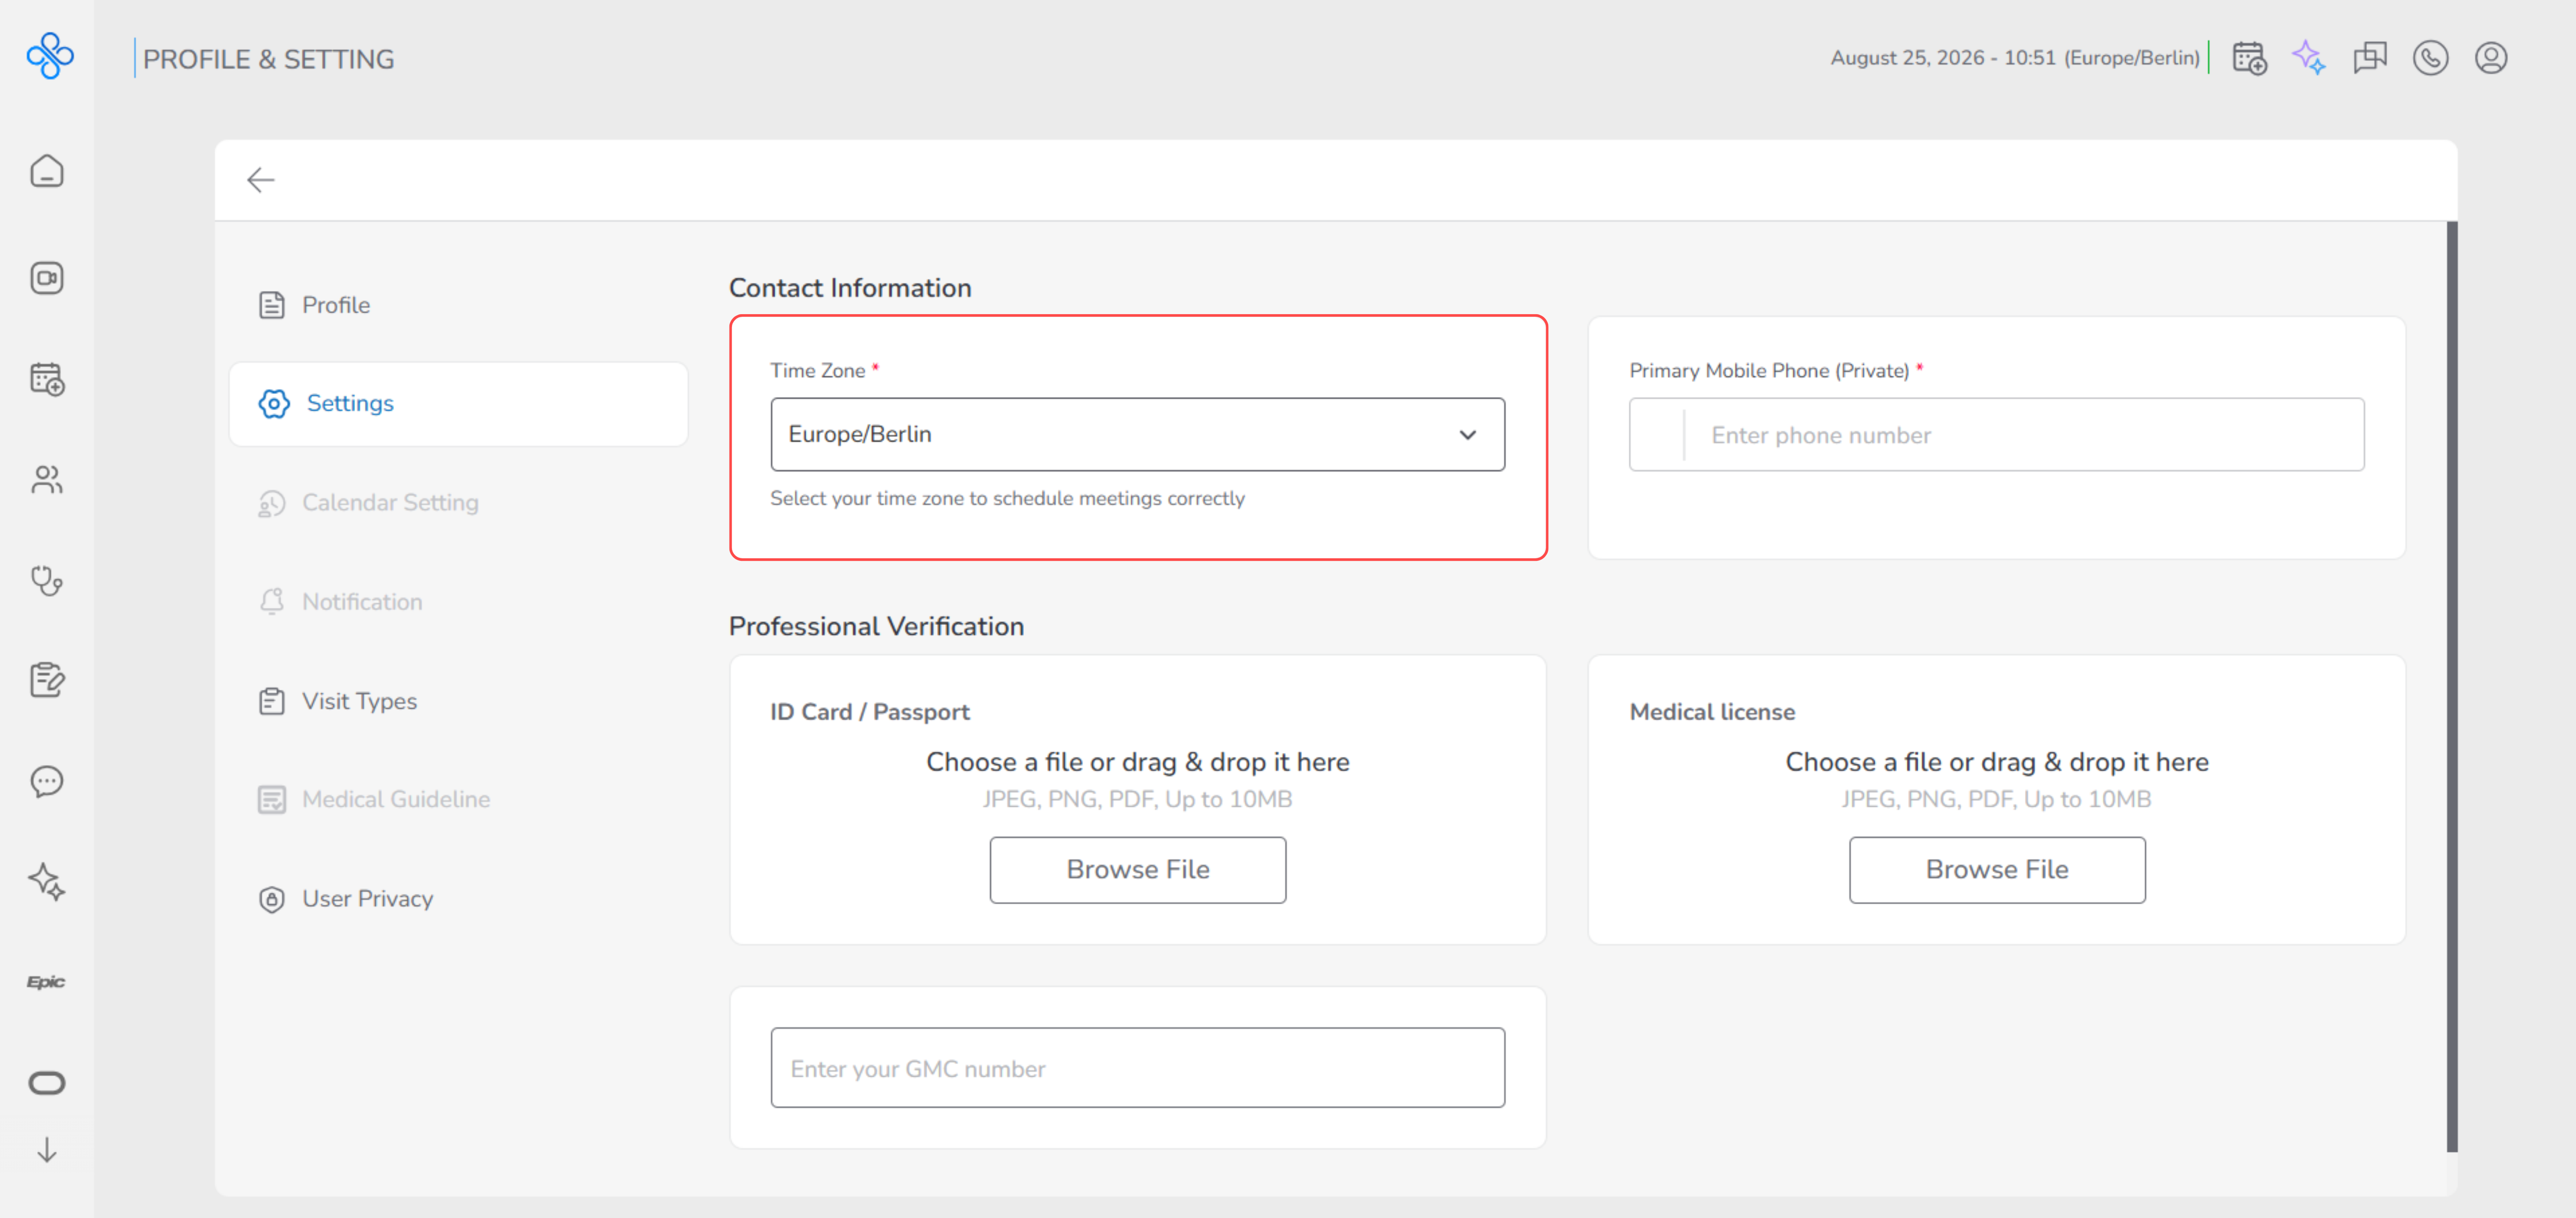
- Click on the dropdown menu to view the list of available time zones.
- Scroll or search to find your current location’s time zone (for example, Europe/Berlin).
- Click on the desired time zone to select it.
- The system saves your selection automatically as soon as it is chosen.
- There is no Save button for this setting.
Once selected, your time zone is immediately applied to your account.
- Add & Verify Your Primary Mobile Phone
Your primary mobile phone number is a required contact method used to keep your account secure and up to date.
It is mainly used for identity verification, important system notifications, and account-related updates.
This phone number is marked as Private, meaning it is not visible to other users and is only used by the system for verification and communication purposes.
Before your phone number can be used, it must be:
- Added correctly
- Verified via an SMS code
Both steps are necessary to make sure the number belongs to you and can be used safely by the platform.
How to add and verify your mobile phone
You can add and verify your primary mobile phone directly from the Settings page by following these steps:
- In the Primary Mobile Phone (Private) field, enter your mobile phone number.
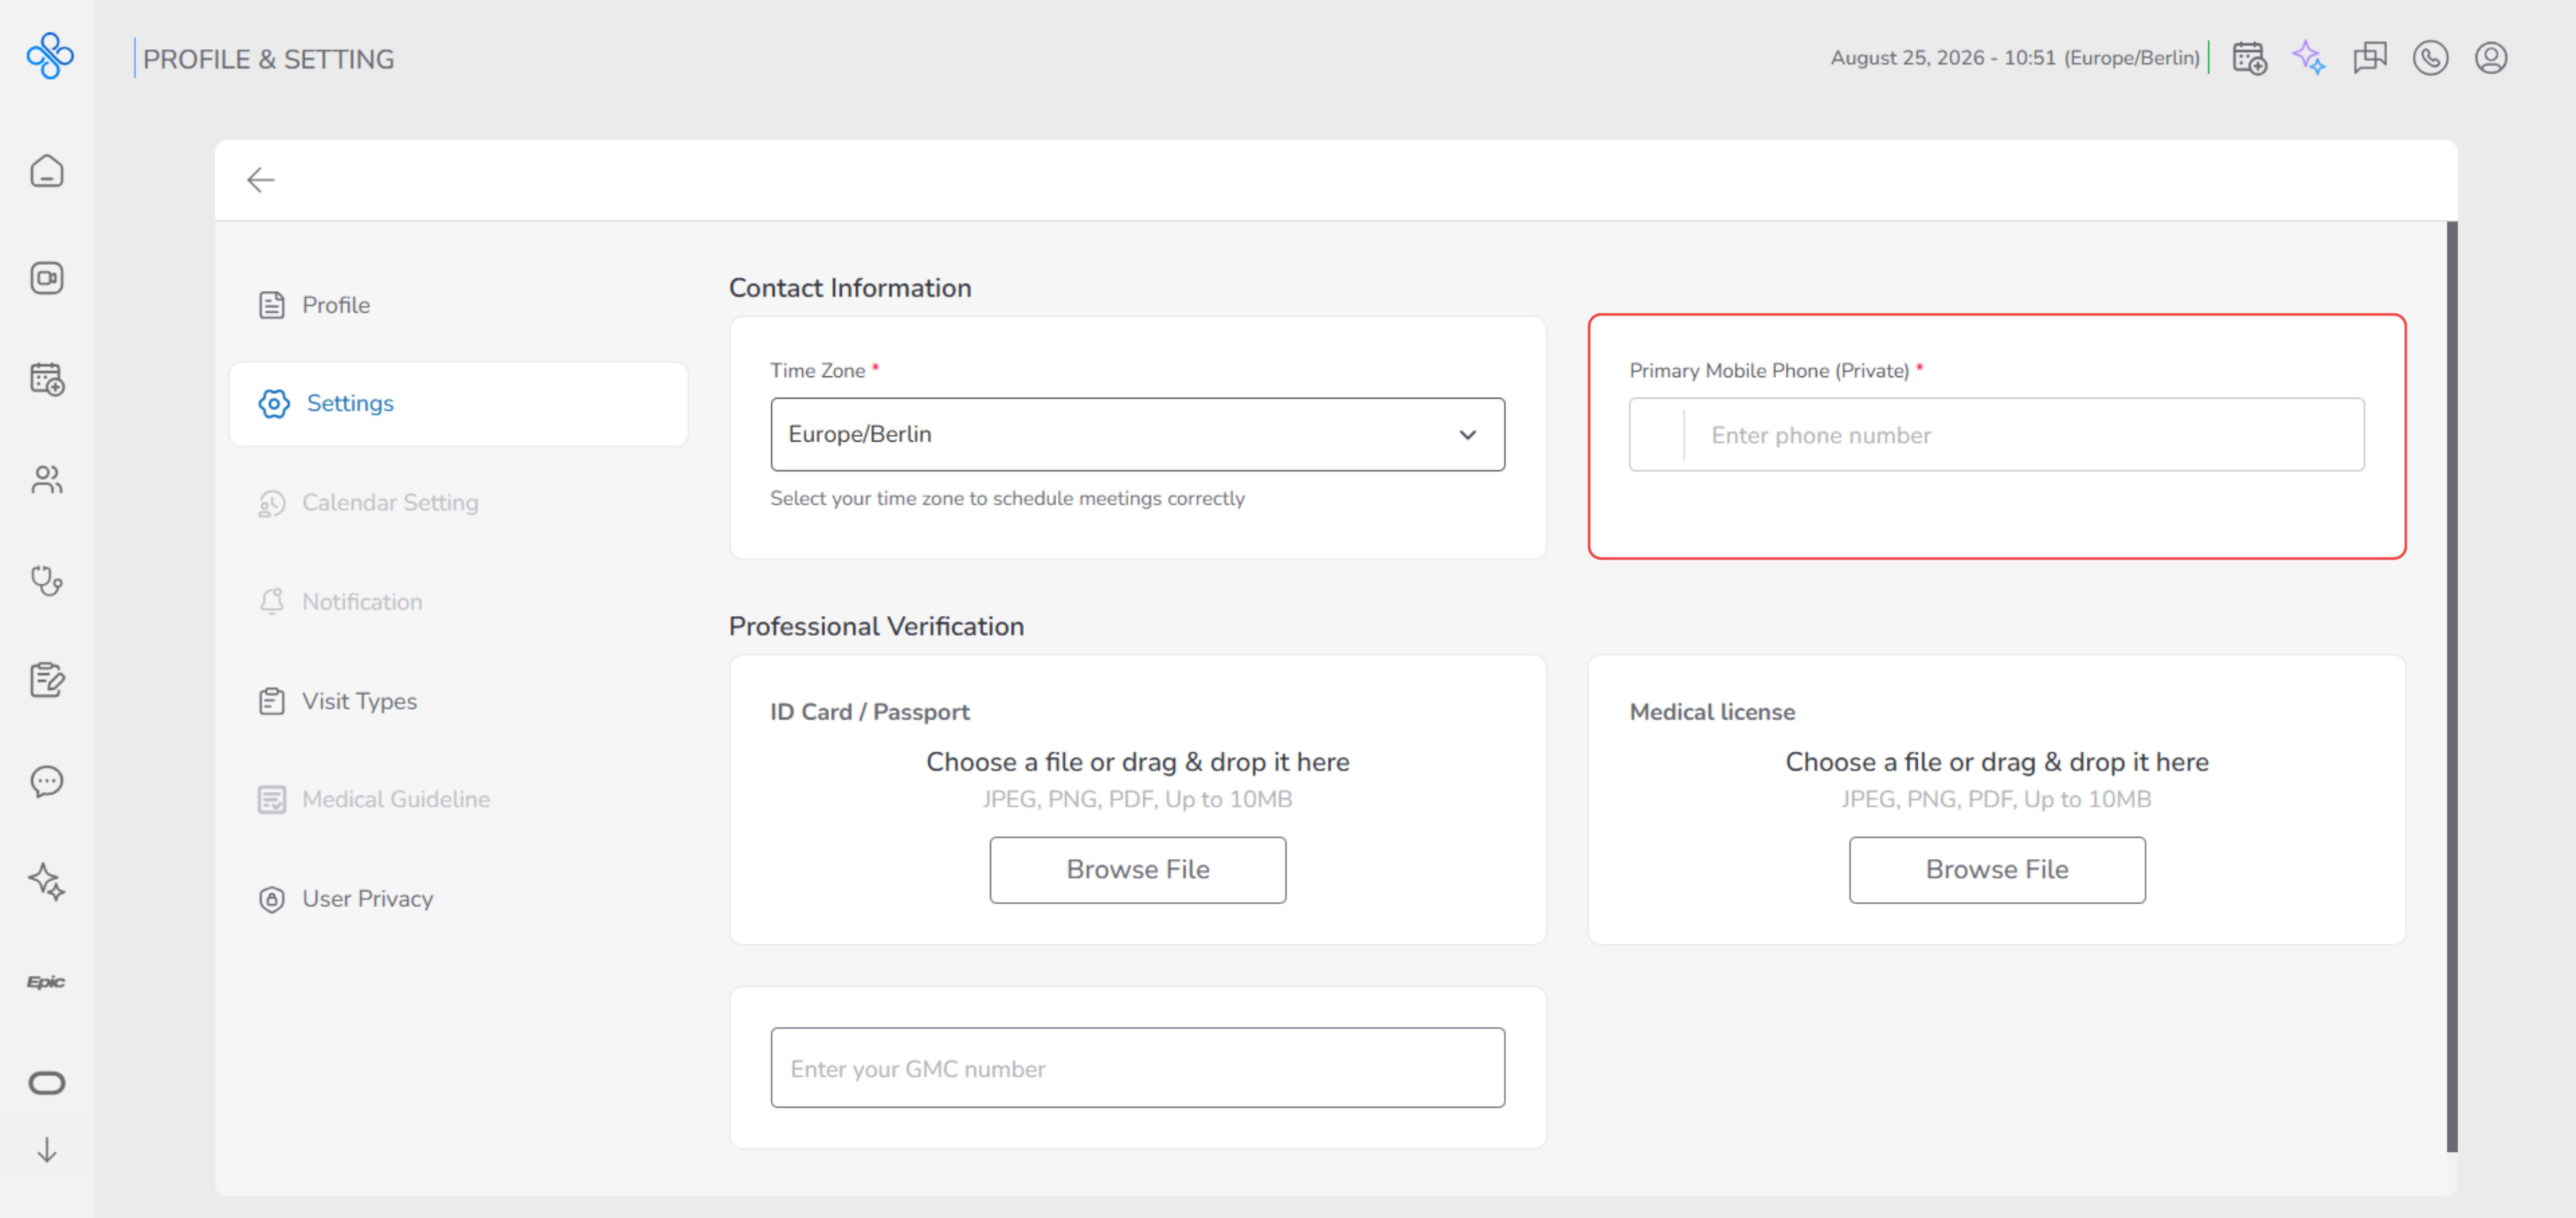
- Once the phone number format is valid, the Update button becomes active.
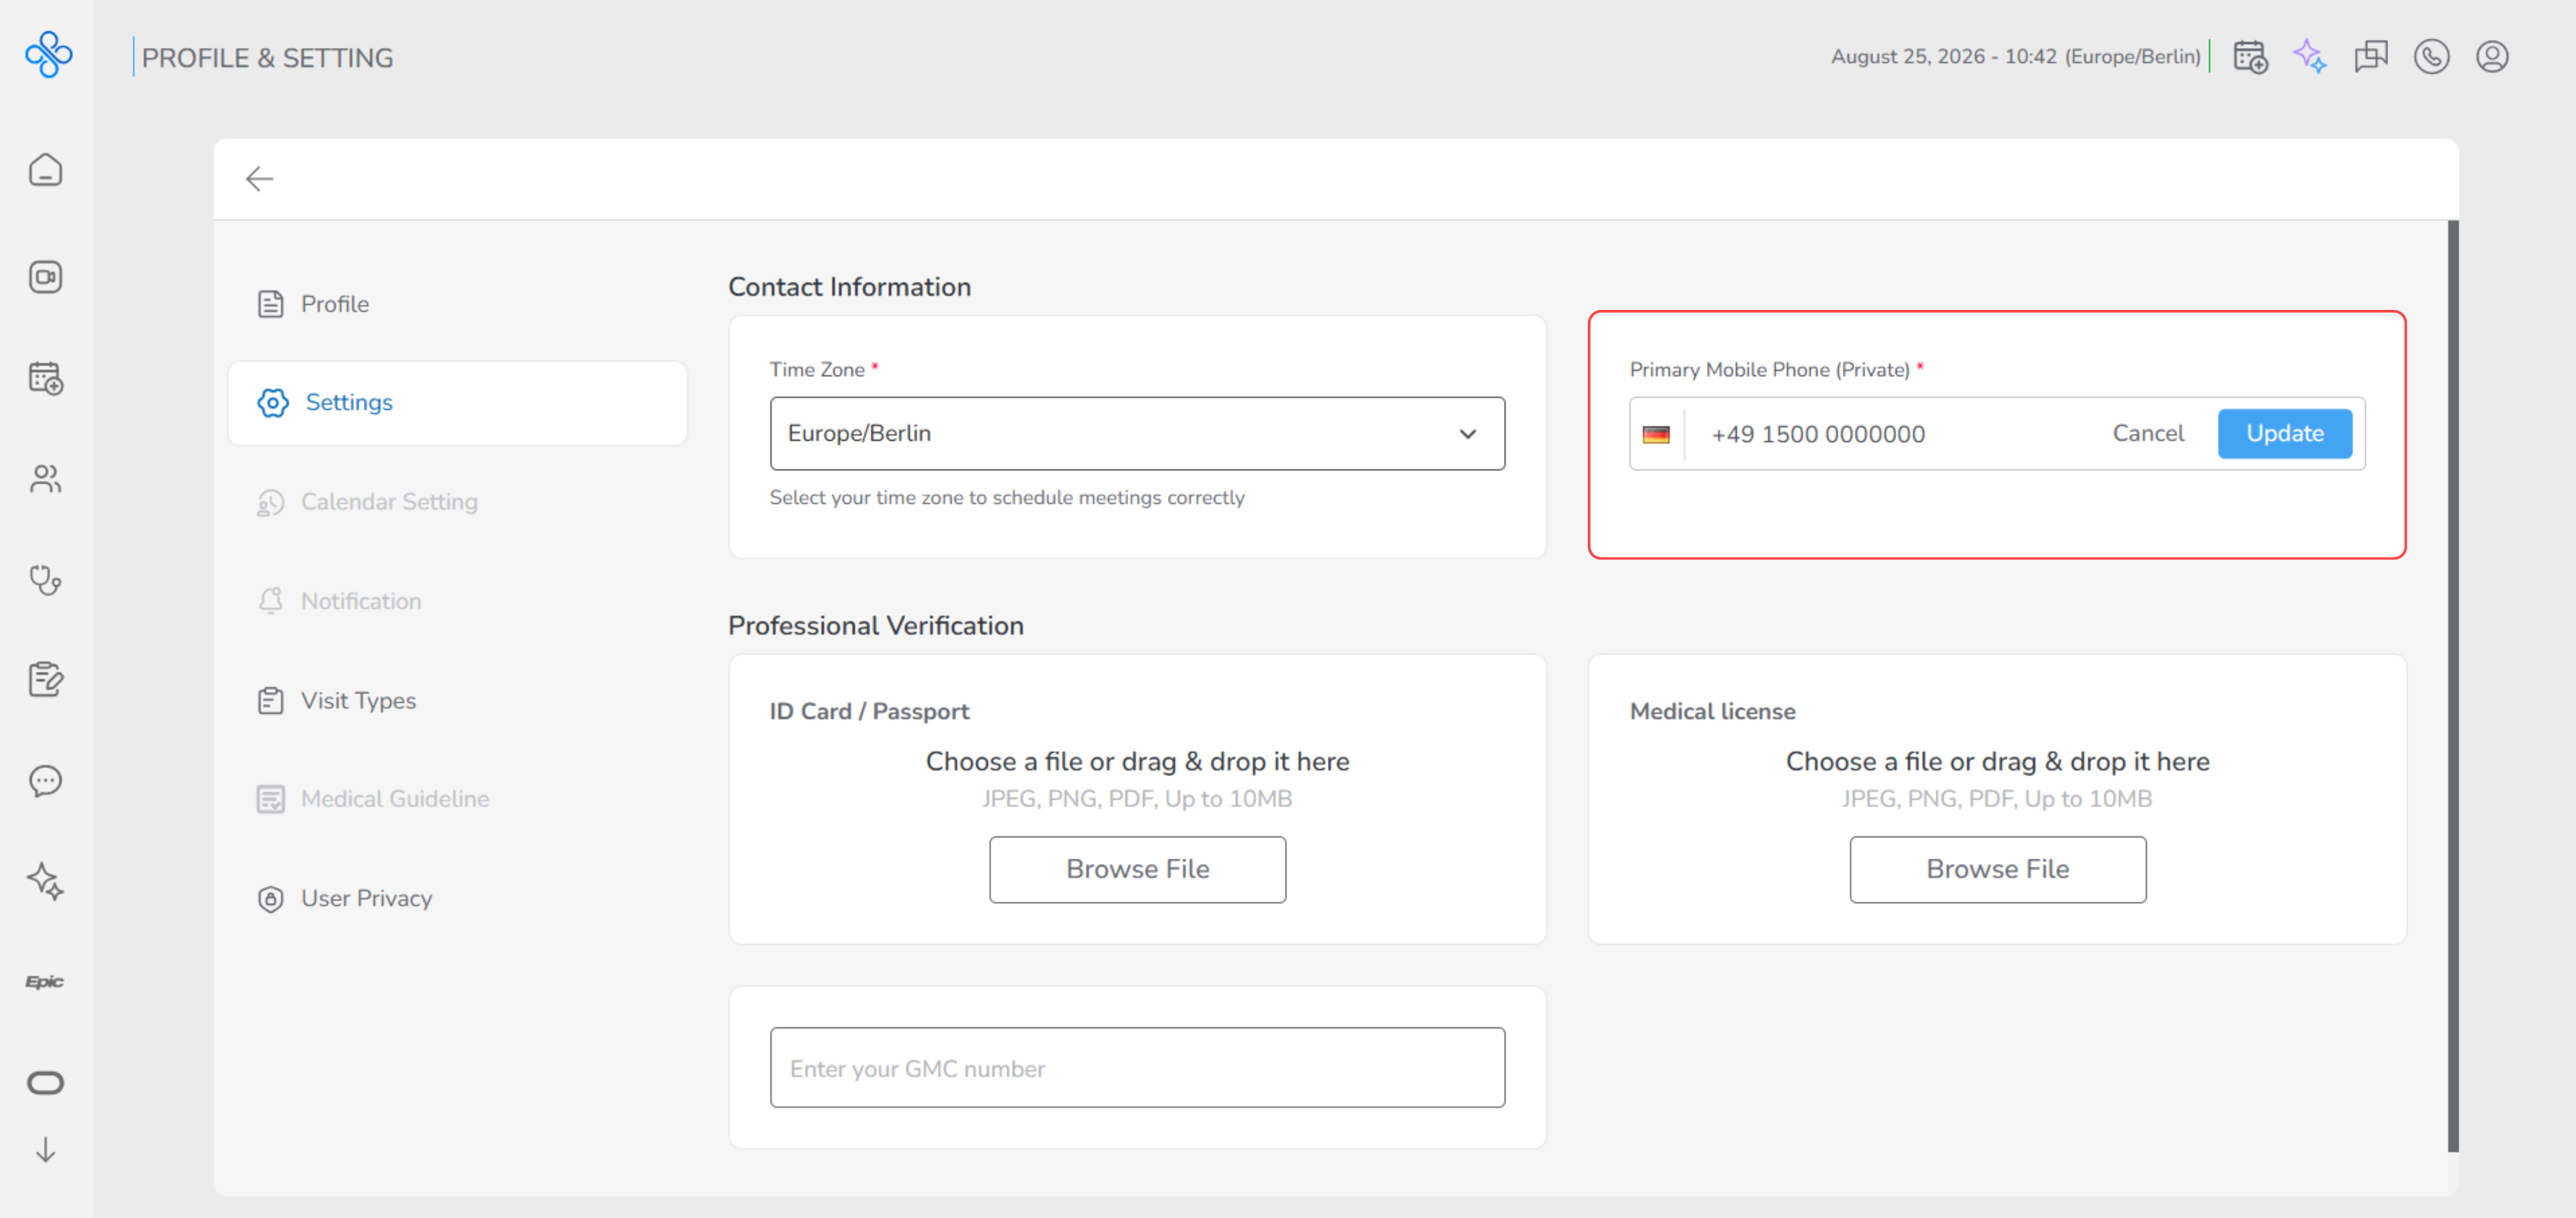
- Click Update to save the phone number.
- After saving, the Verify button becomes active.
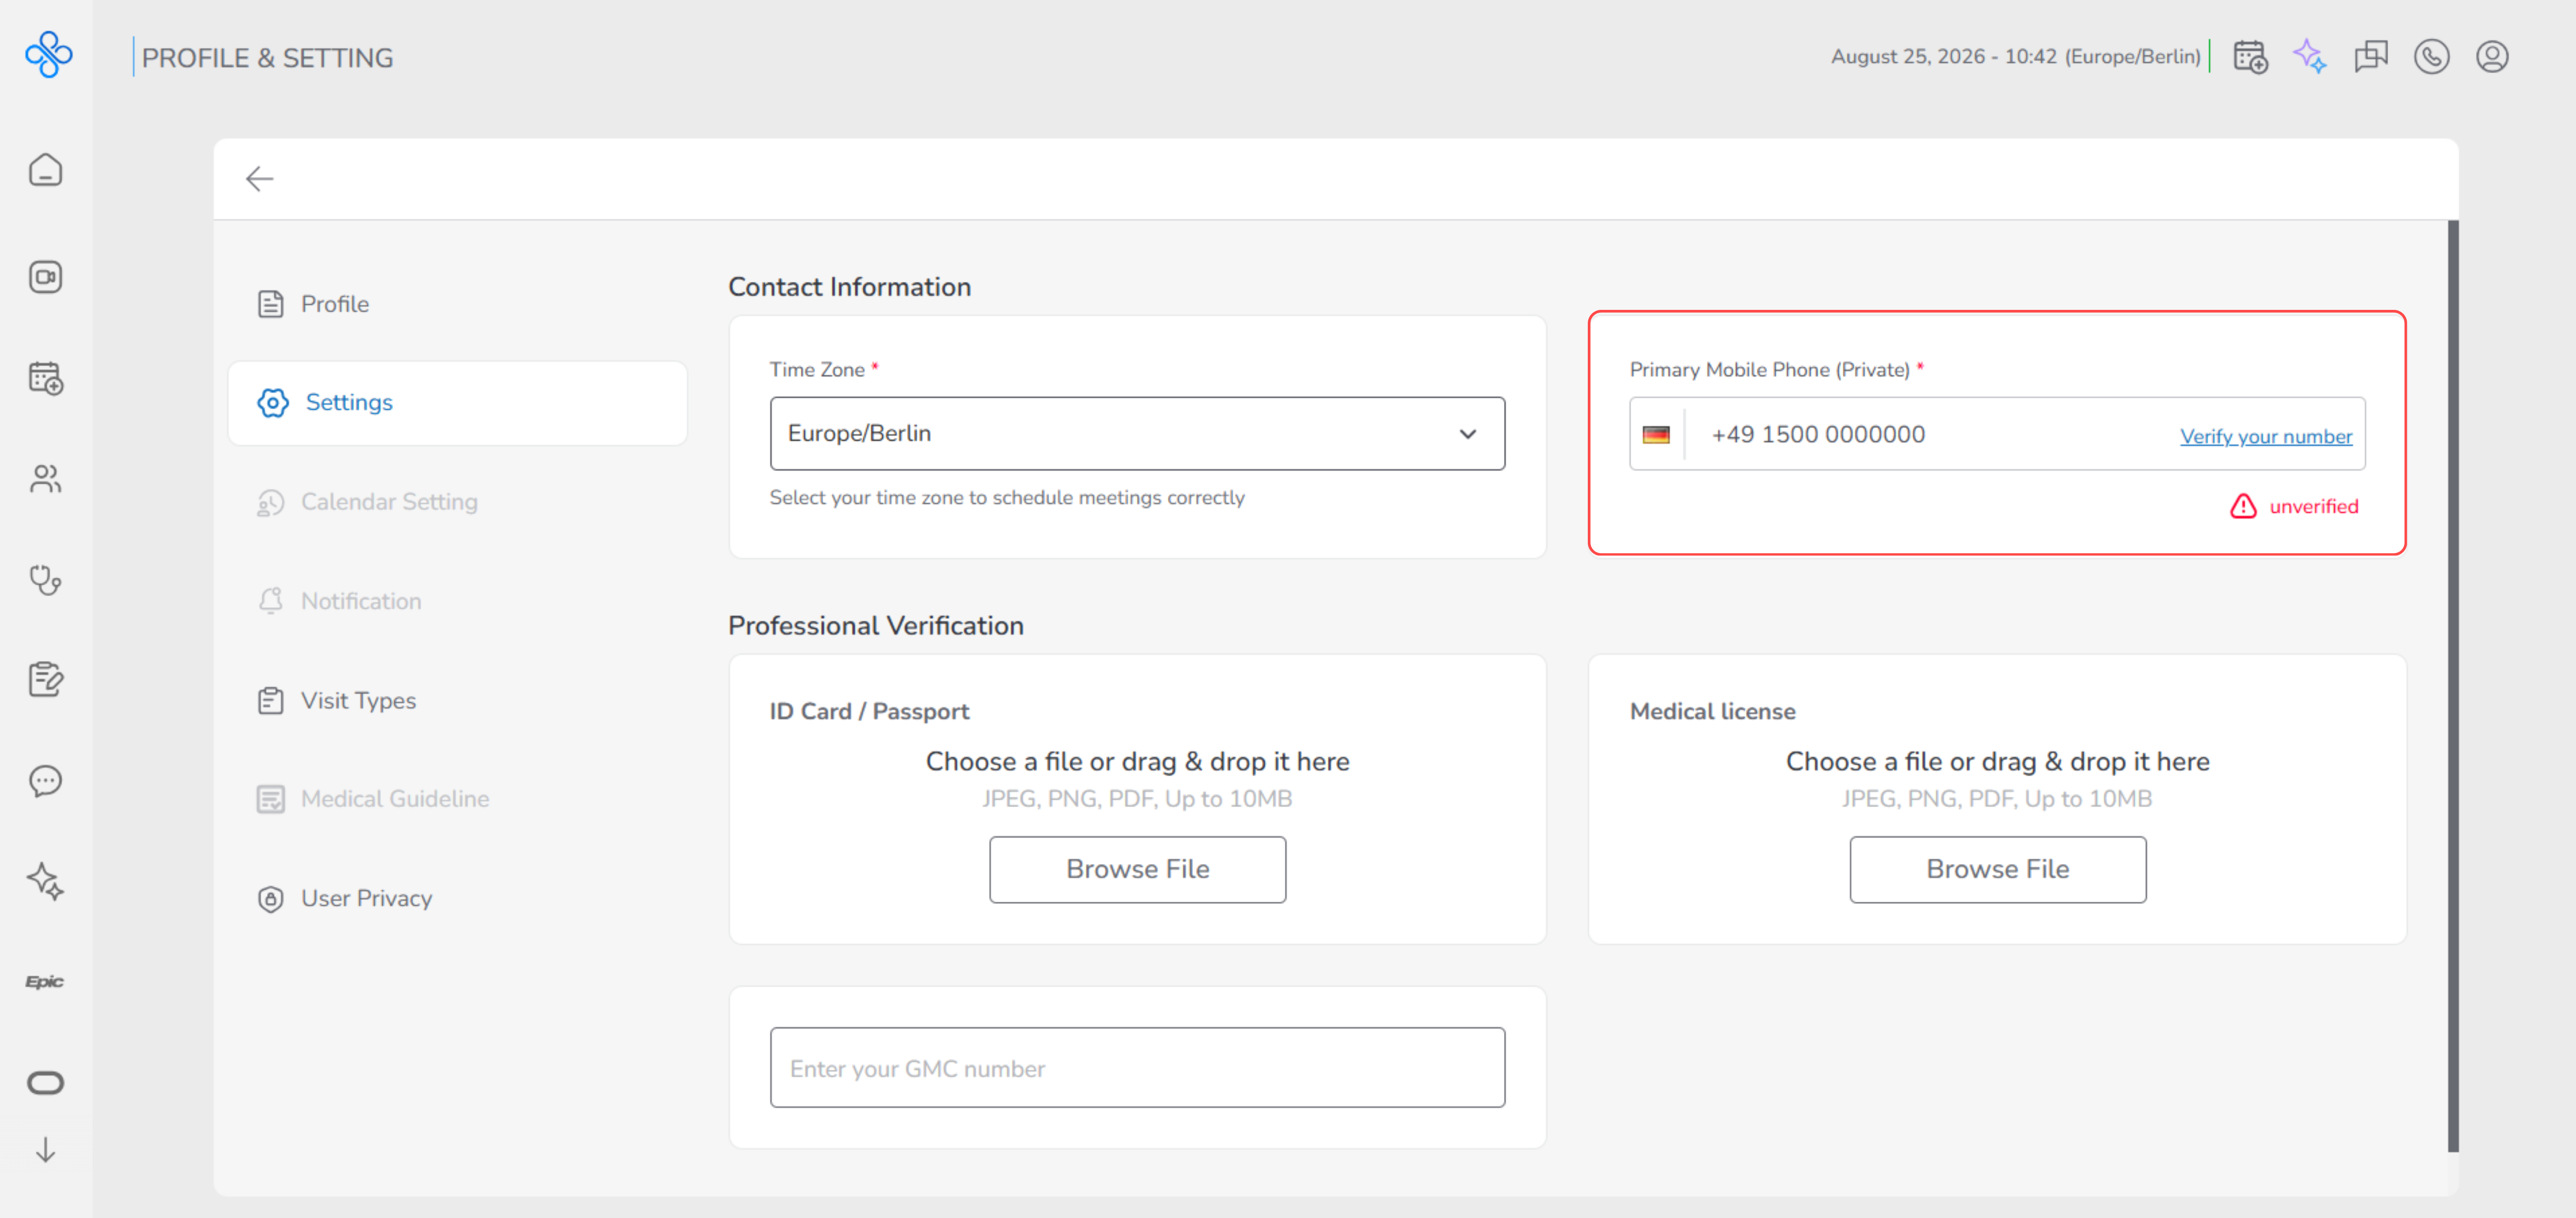
- Click Verify to start the verification process.
- A verification modal opens and asks you to enter a code.
- Enter the verification code you receive via SMS.
- Confirm the code to complete the verification.
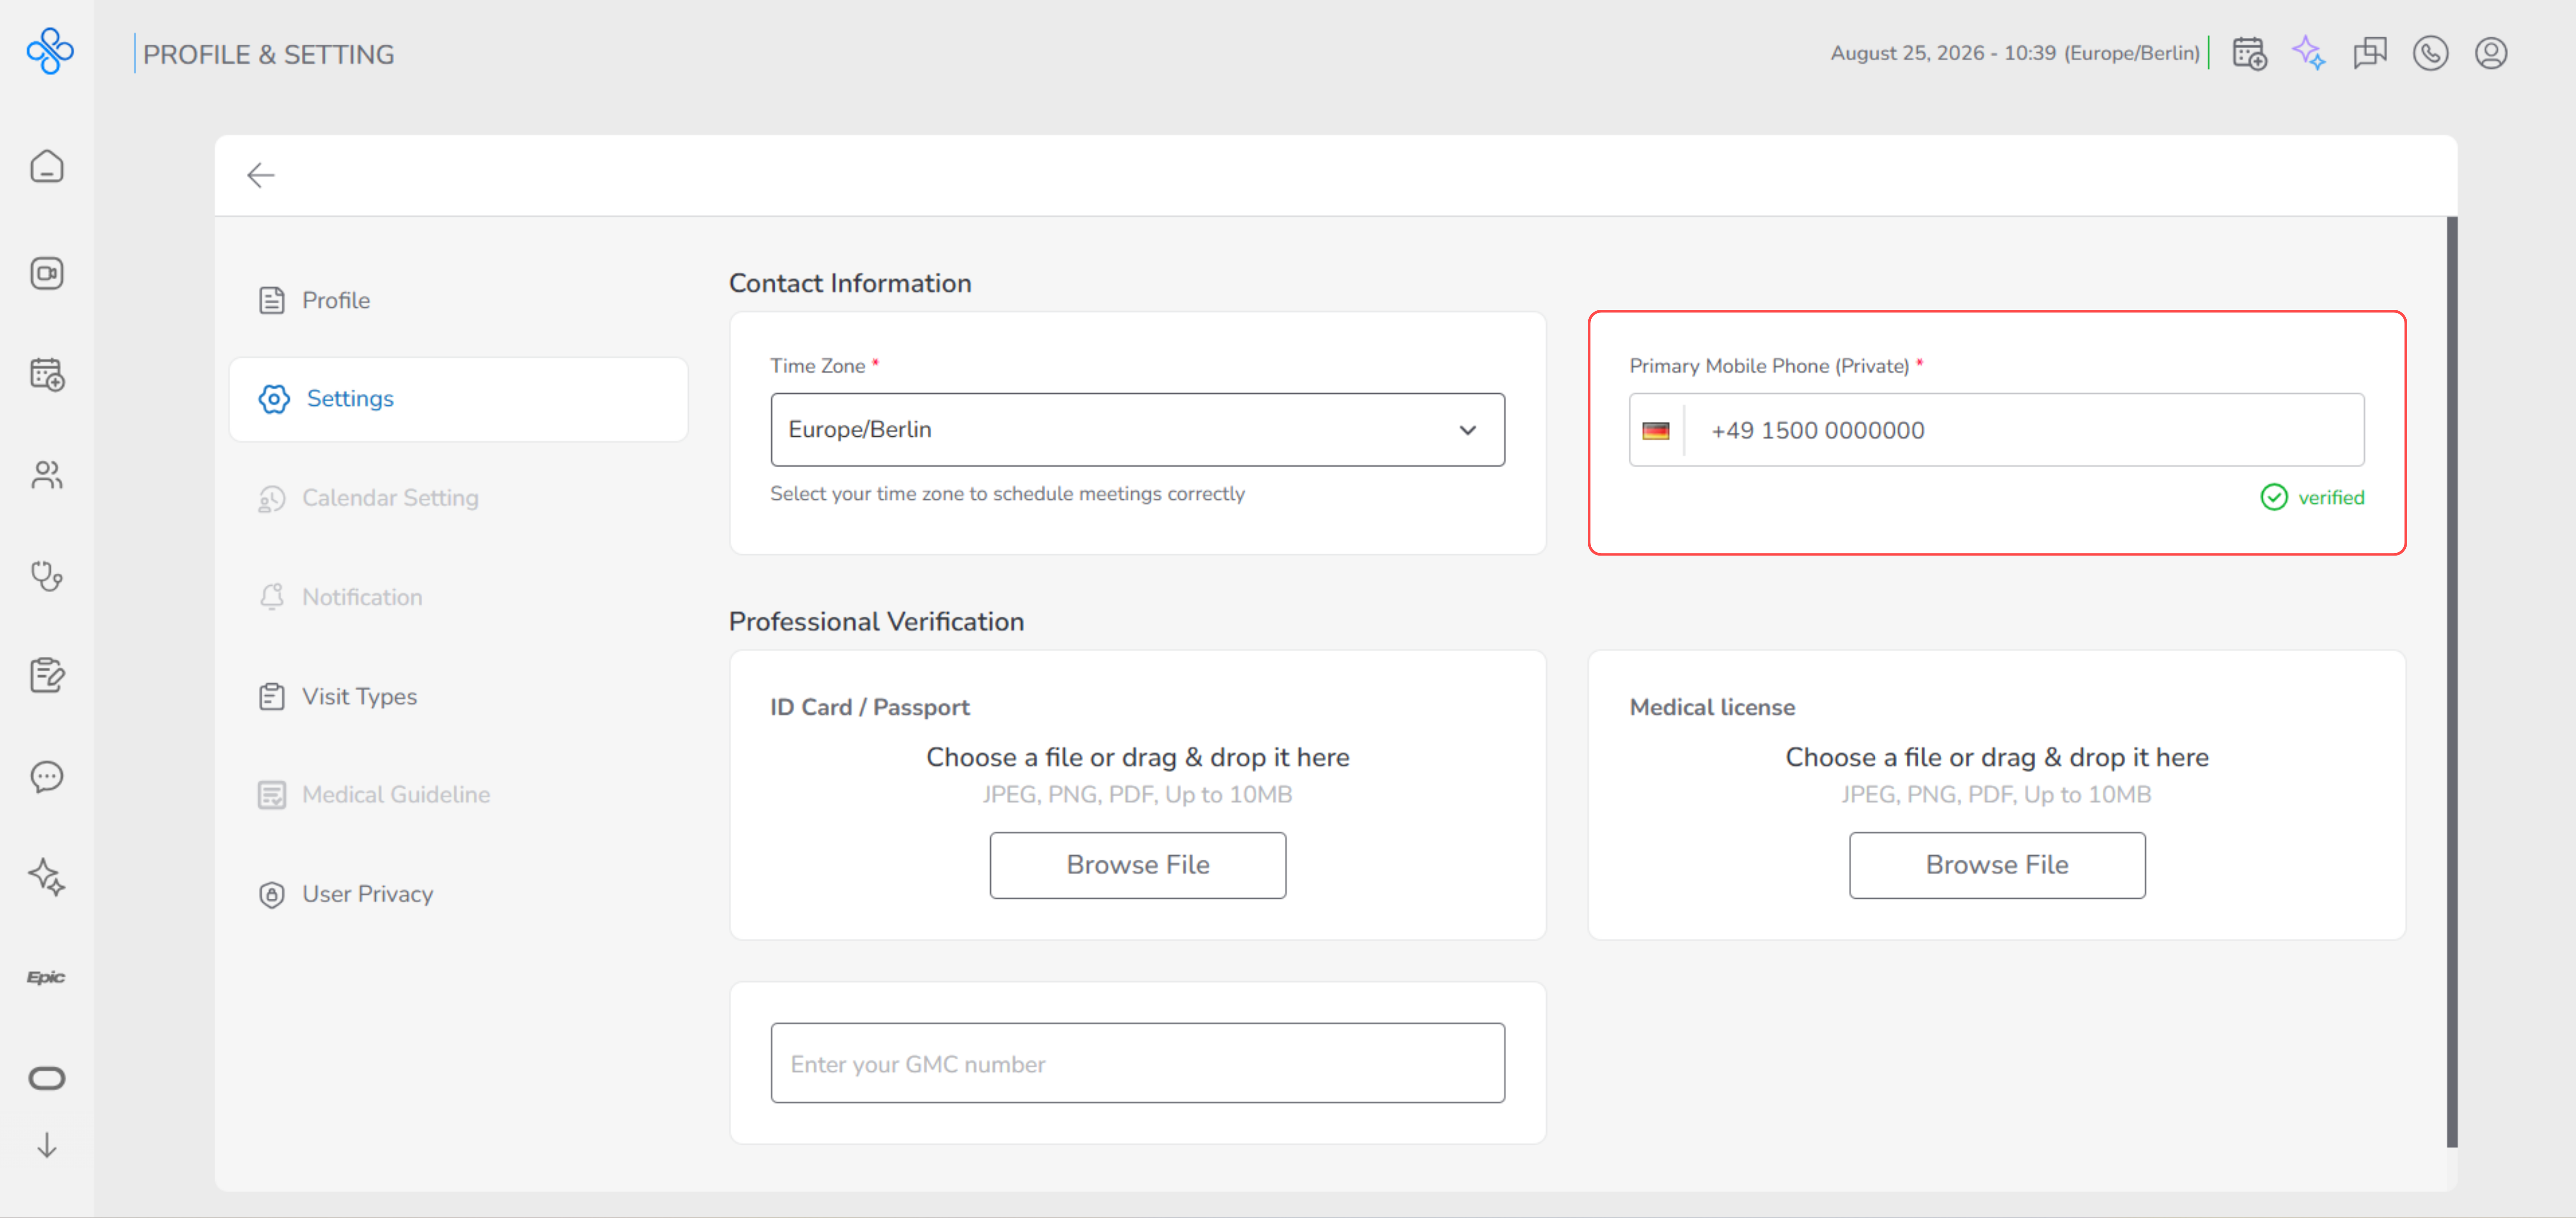
Once verified, your phone number is successfully linked to your account and ready to be used for secure communication and verification.
- Upload ID Card / Passport (Identity Verification)
Uploading your ID Card or Passport is required to confirm your identity and keep the platform safe and compliant.
This verification helps ensure that each account belongs to a real and verified provider.
Your document is securely reviewed by the admin team and is not shared with other users.
Until the review is completed, your document will remain in a pending state.
Once approved, your identity is marked as verified, and no further action is needed unless you want to replace the document.
How to upload and verify your ID Card or Passport
To upload your identification document, follow these steps:
- In the ID Card / Passport section, click the Browse File button.
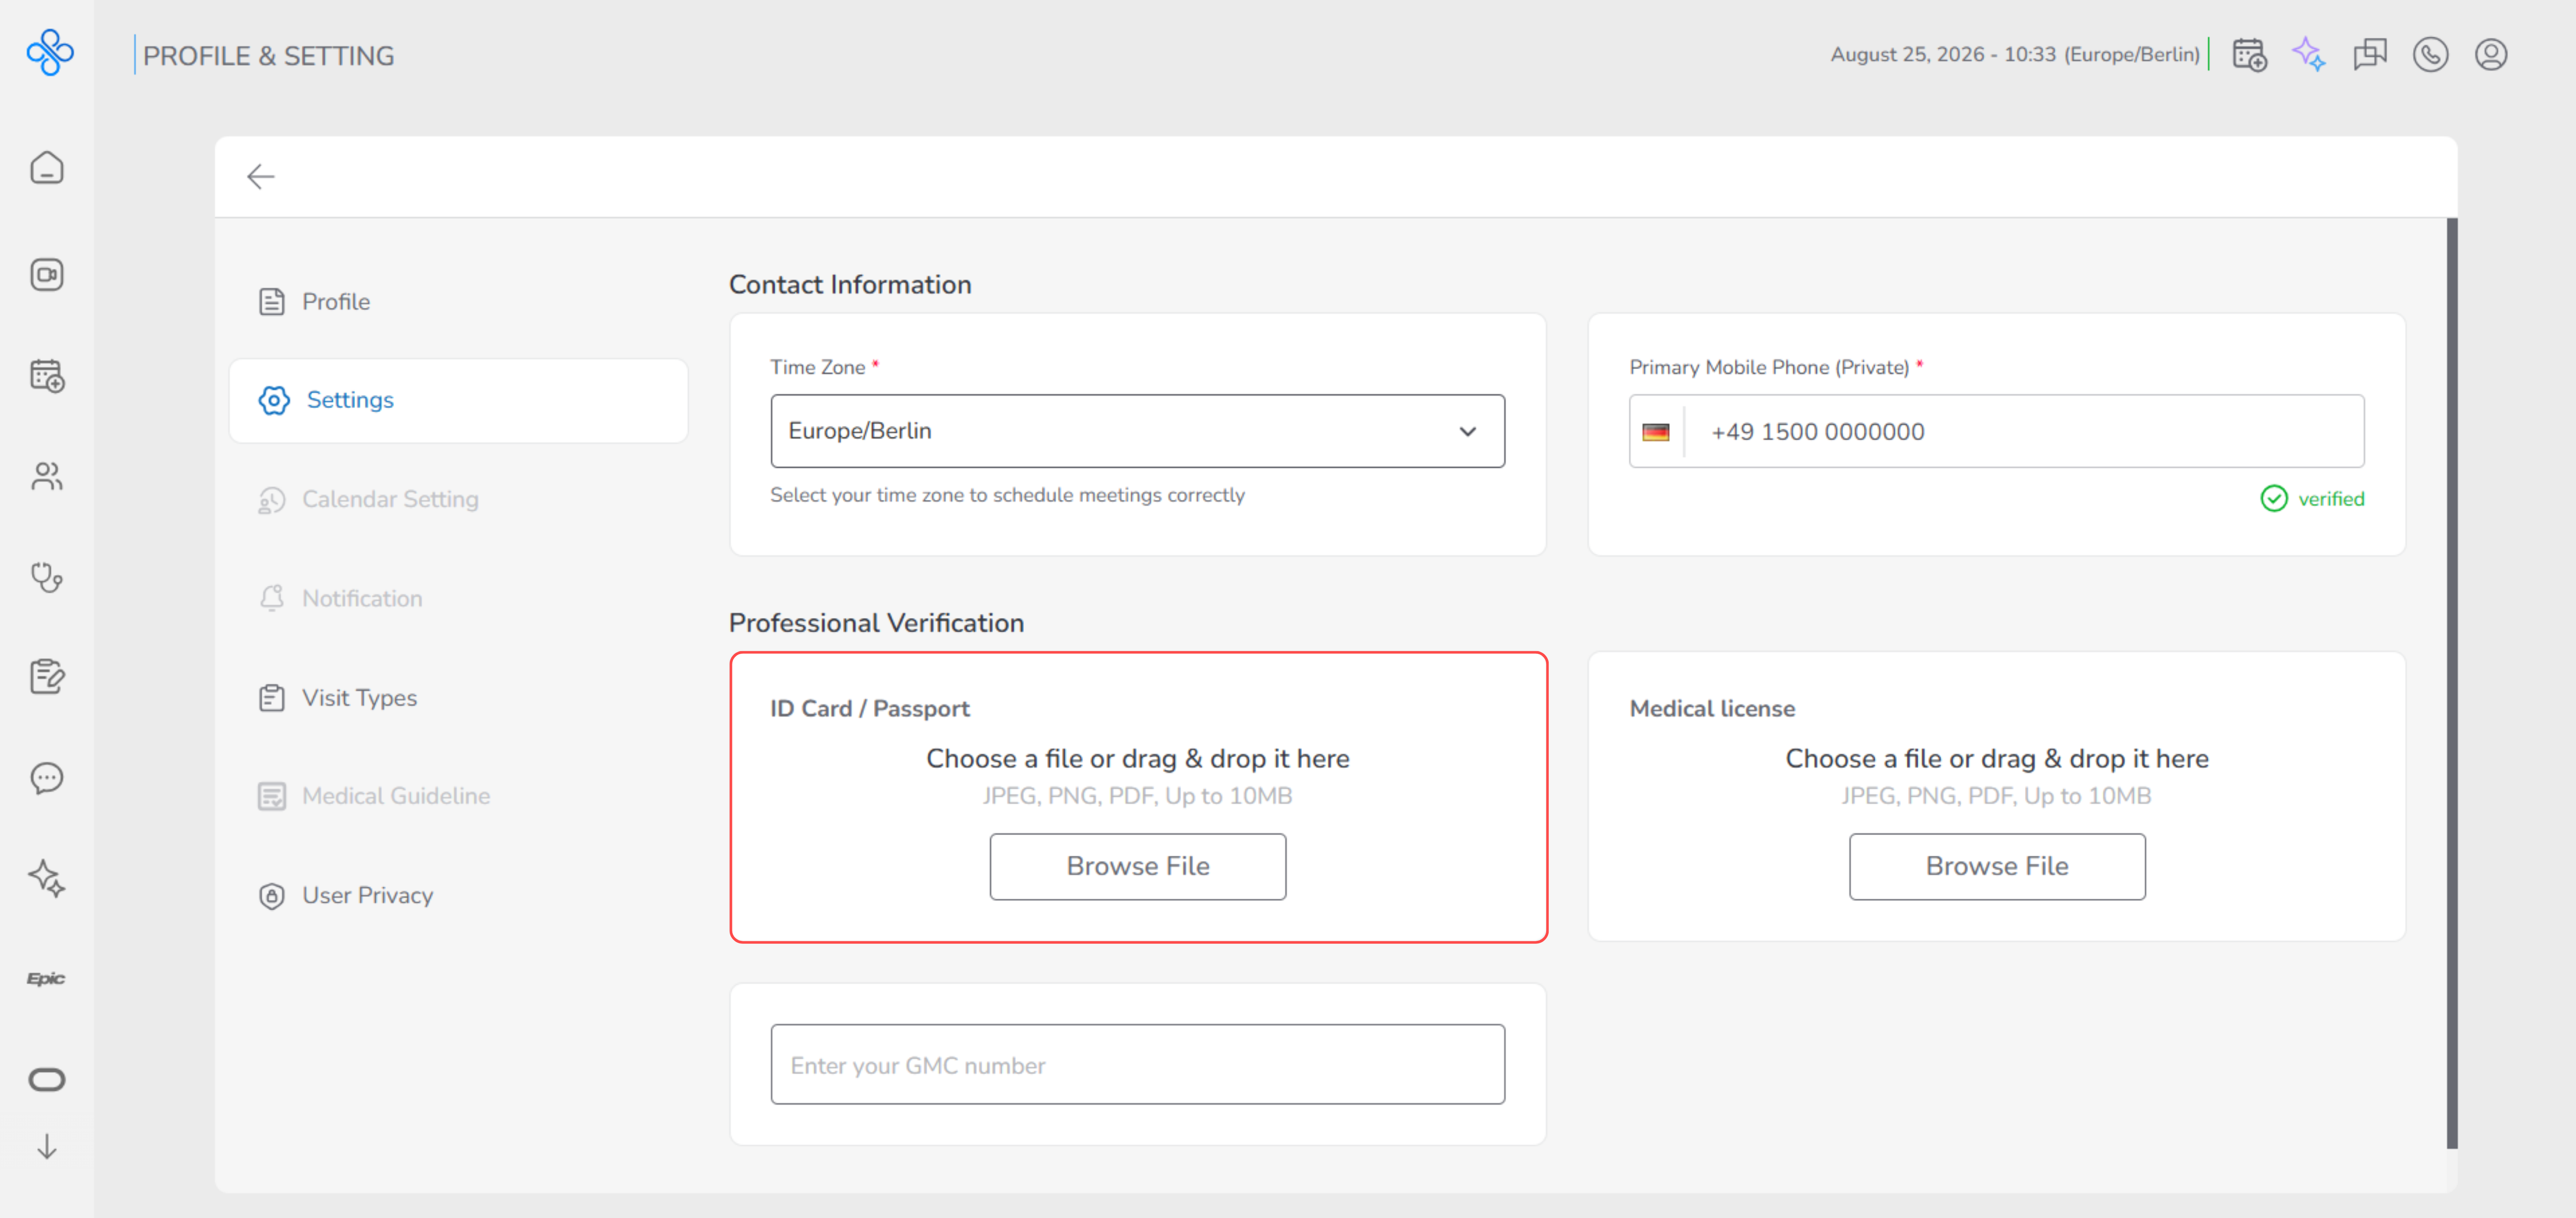
- Choose a file from your device or drag and drop it into the upload area.
- Supported file formats are:
- JPEG
- PNG
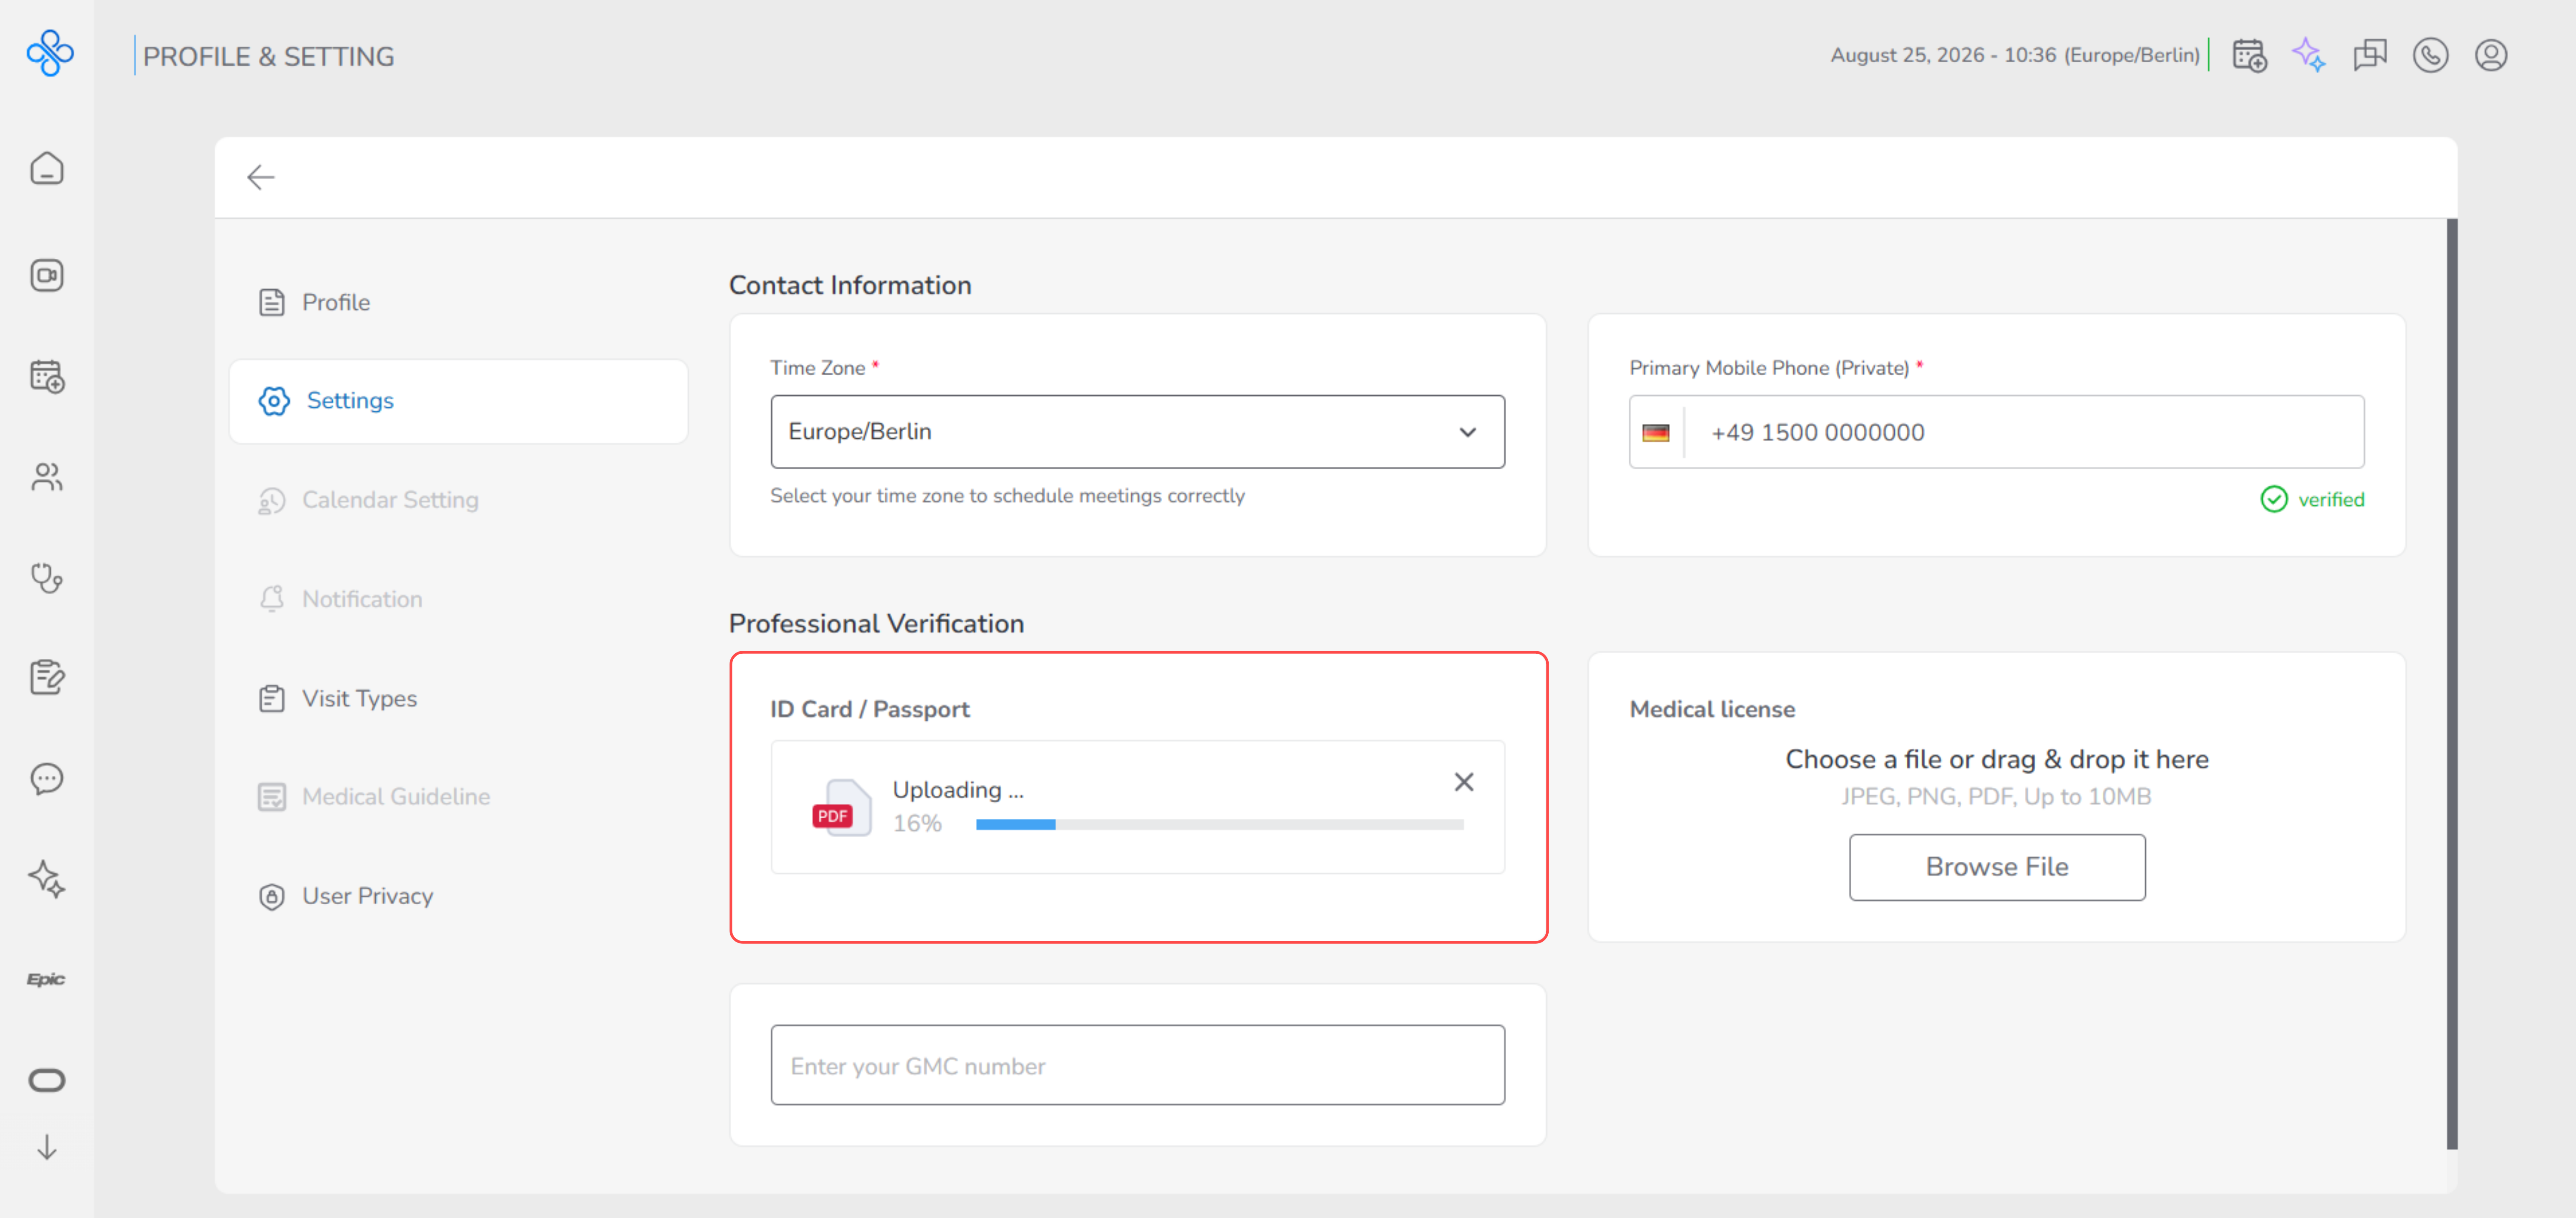
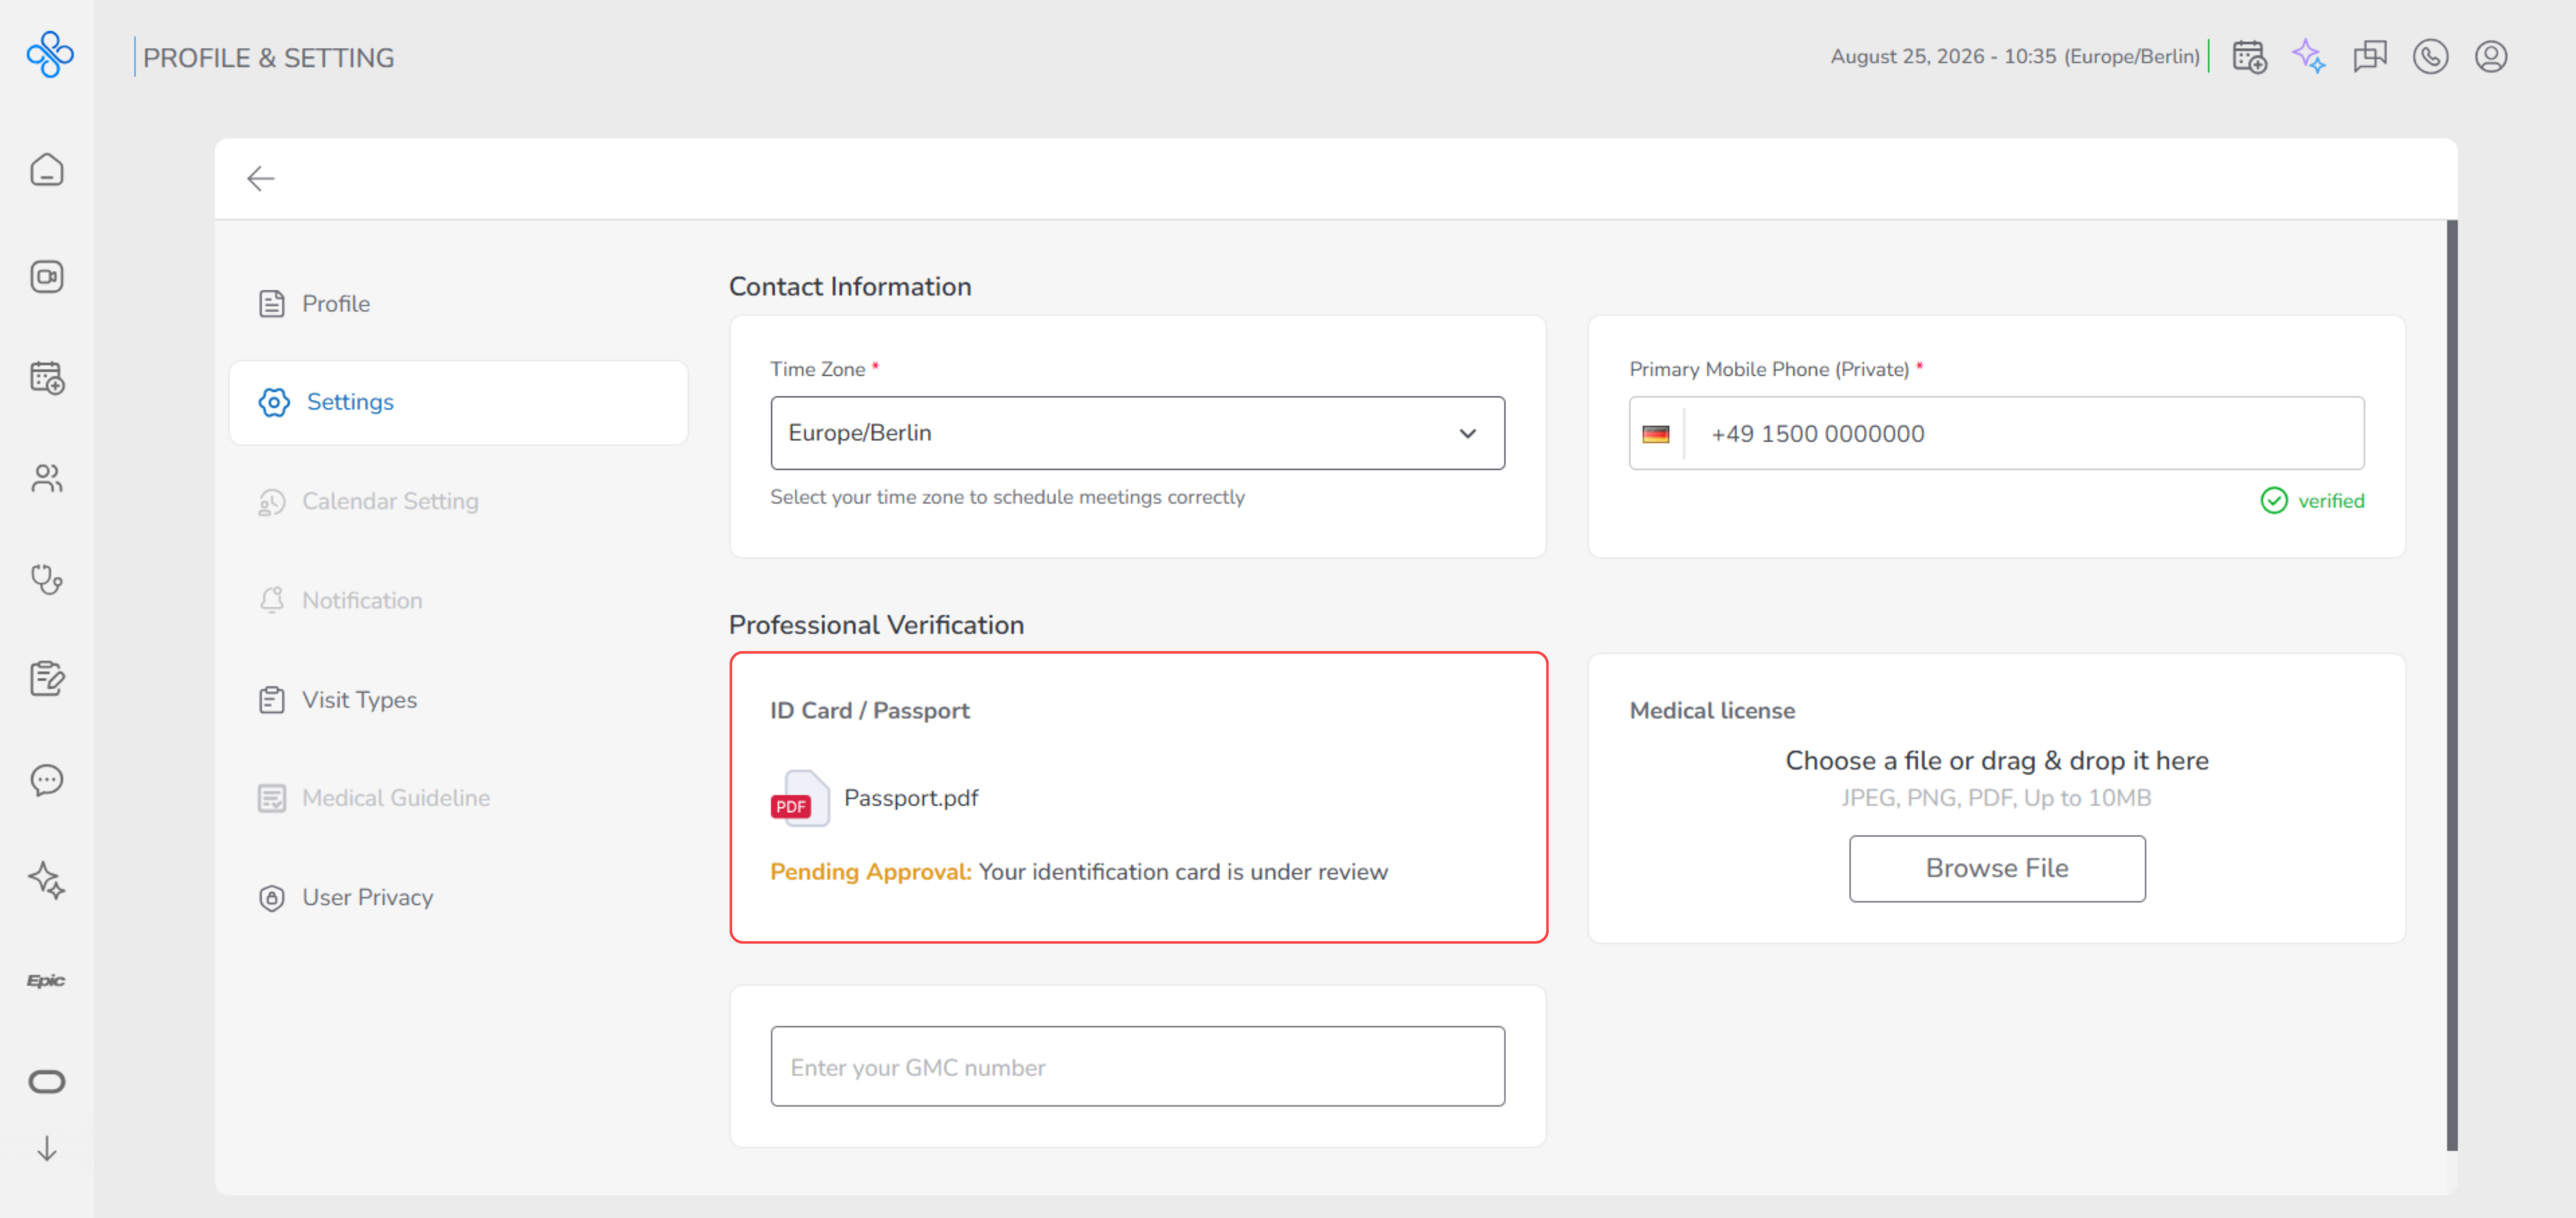
- After uploading, the document status changes to:
Pending Approval – Your identification card is under review
After upload, you can:
- Download the uploaded document
- Delete it if you need to upload a new or updated file
- An admin reviews your submitted document.
- Once the review is completed and approved, the status updates to:
Approved – Your identification card has been approved
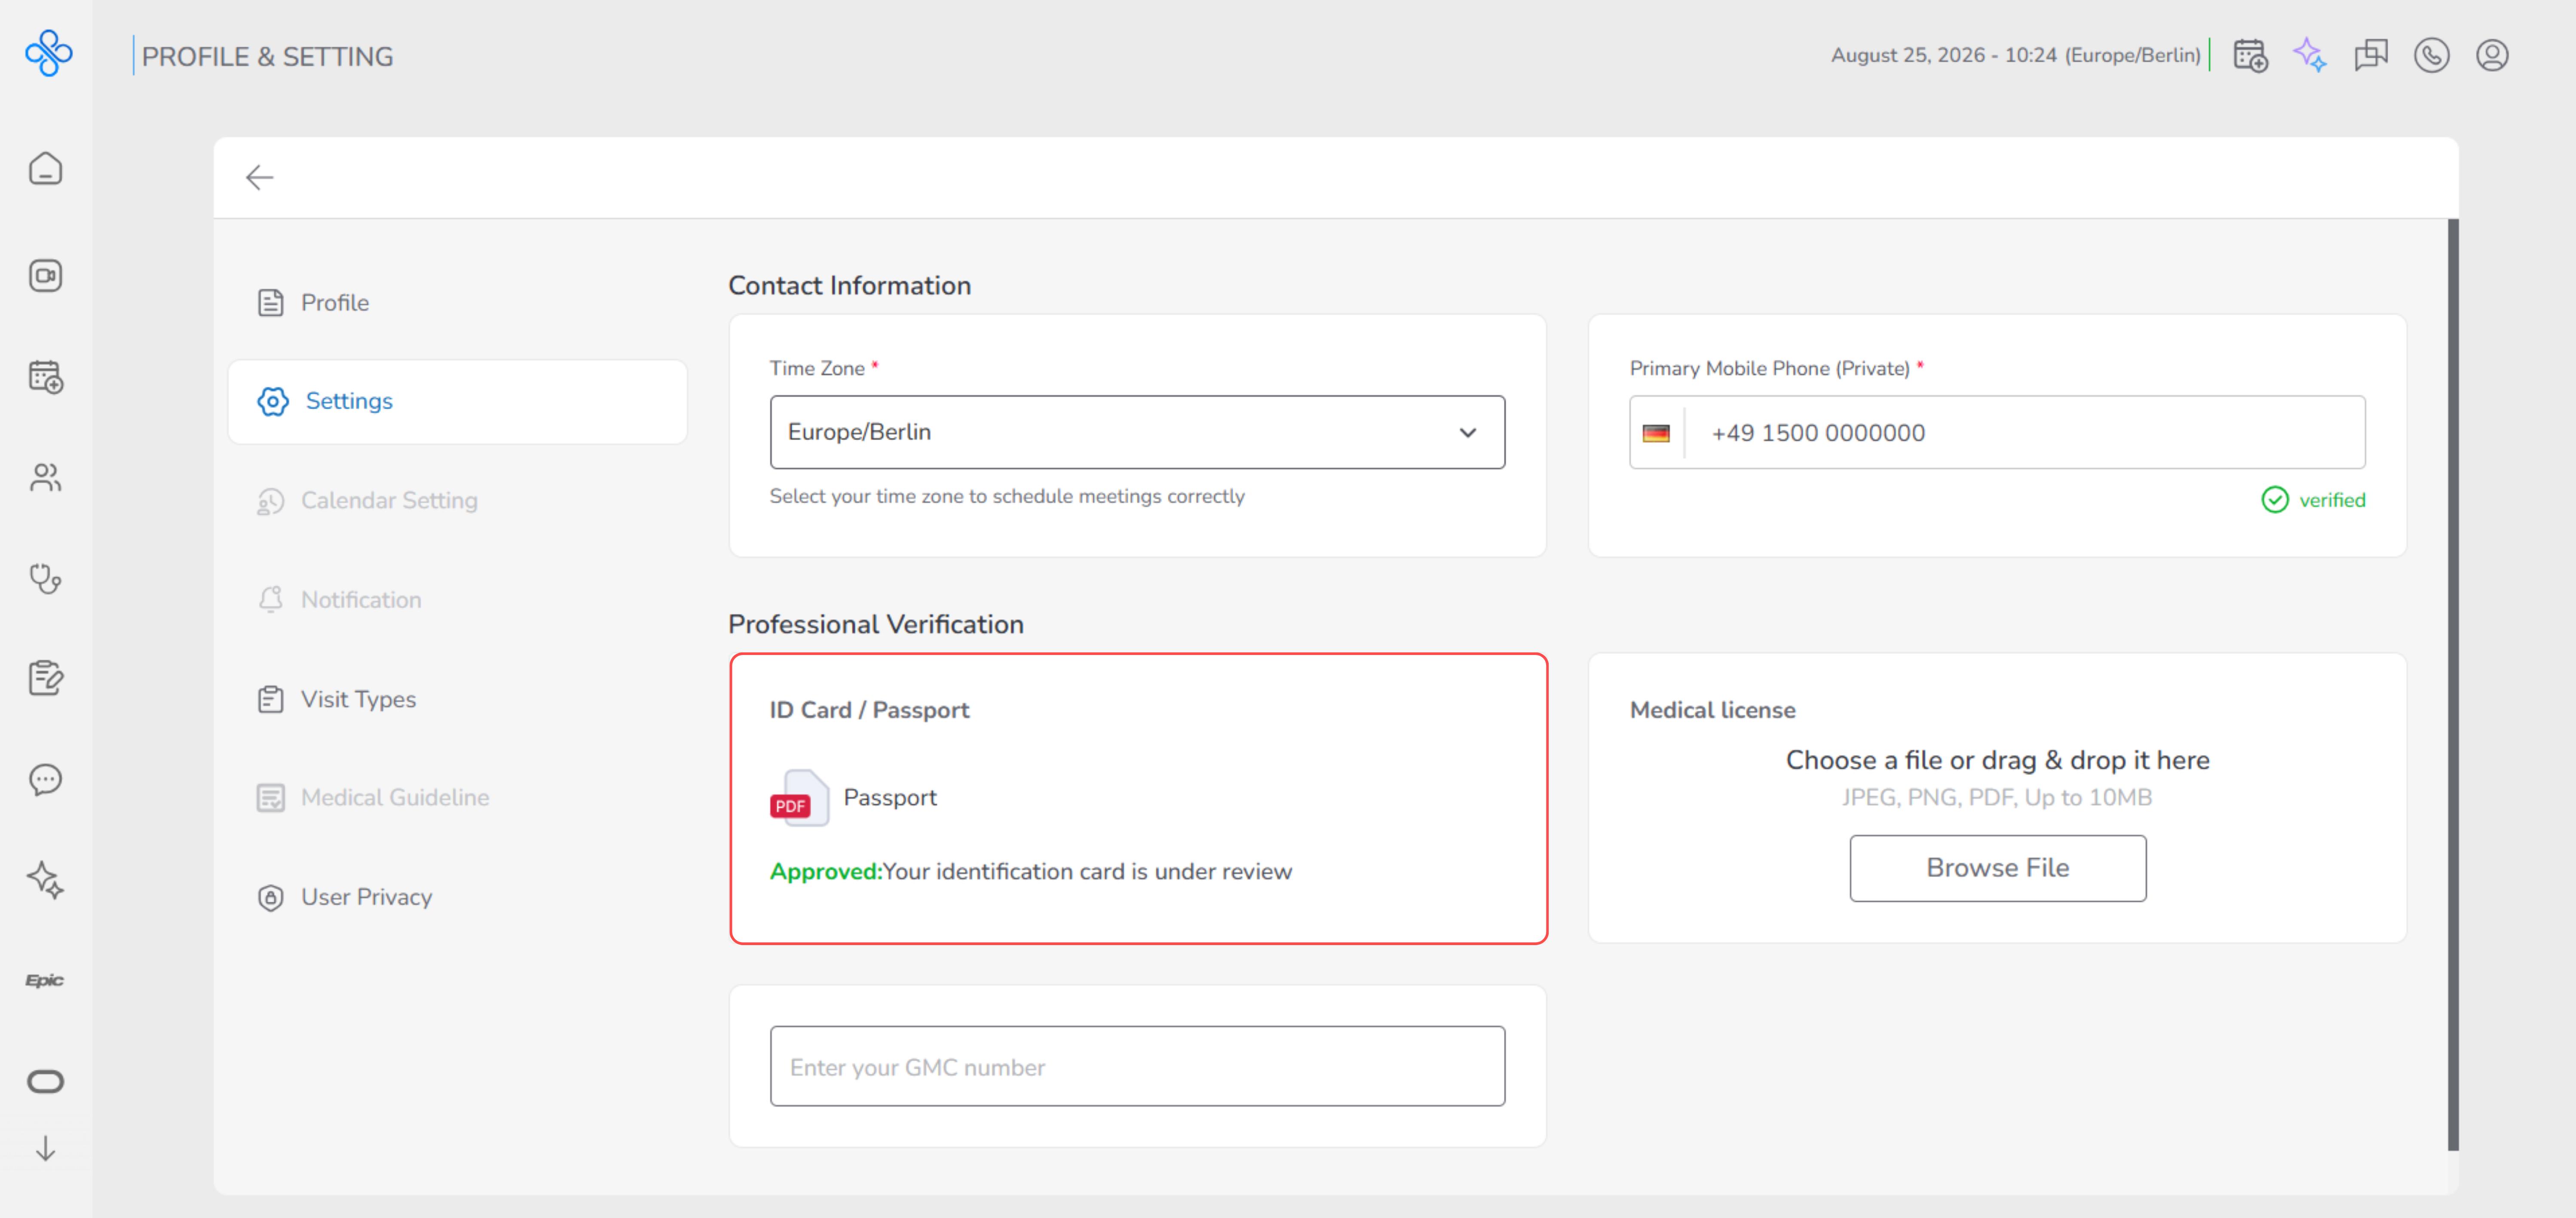
If you upload a new document, it will replace the previous one and go through the review process again.
- Upload Medical License (Professional Verification)
Uploading your Medical License is required to verify your professional qualifications as a healthcare provider.
This step confirms that you are legally authorized to practice and offer medical services on the platform.
Your medical license is reviewed by the admin team and is used only for verification purposes.
Other users cannot see this document.
Once your license is approved, your professional status is verified.
You only need to upload it again if your license changes or expires.
How to upload and verify your Medical License
To upload your medical license, follow these steps:
- In the Medical License section, click Browse File.
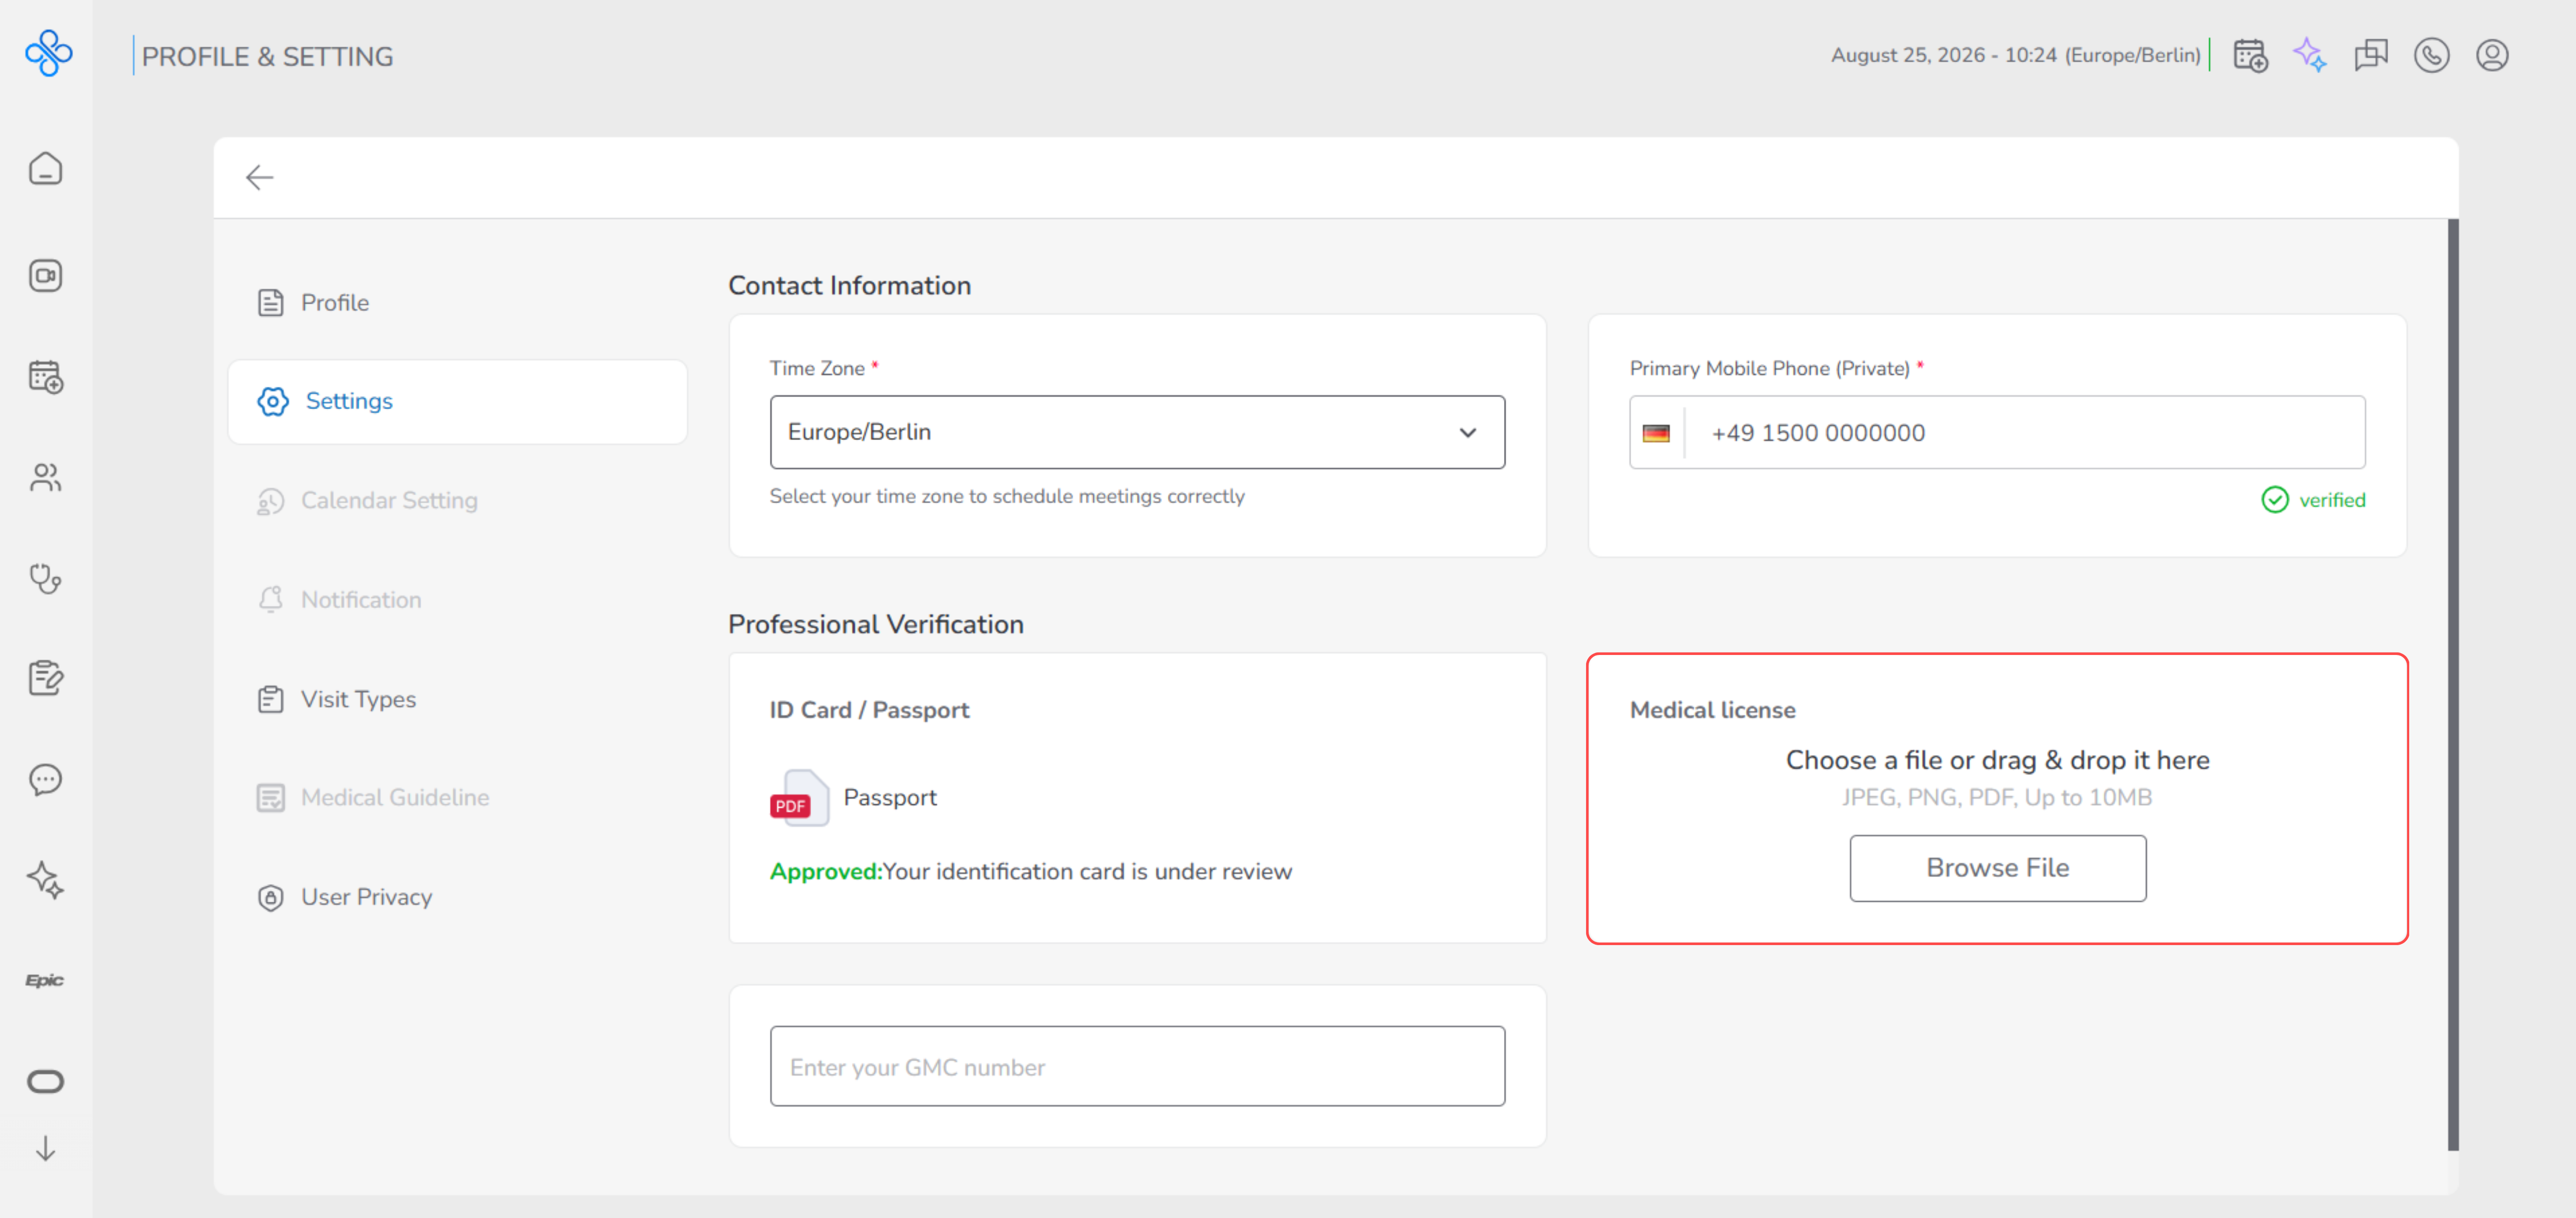
- Select your medical license document from your device.
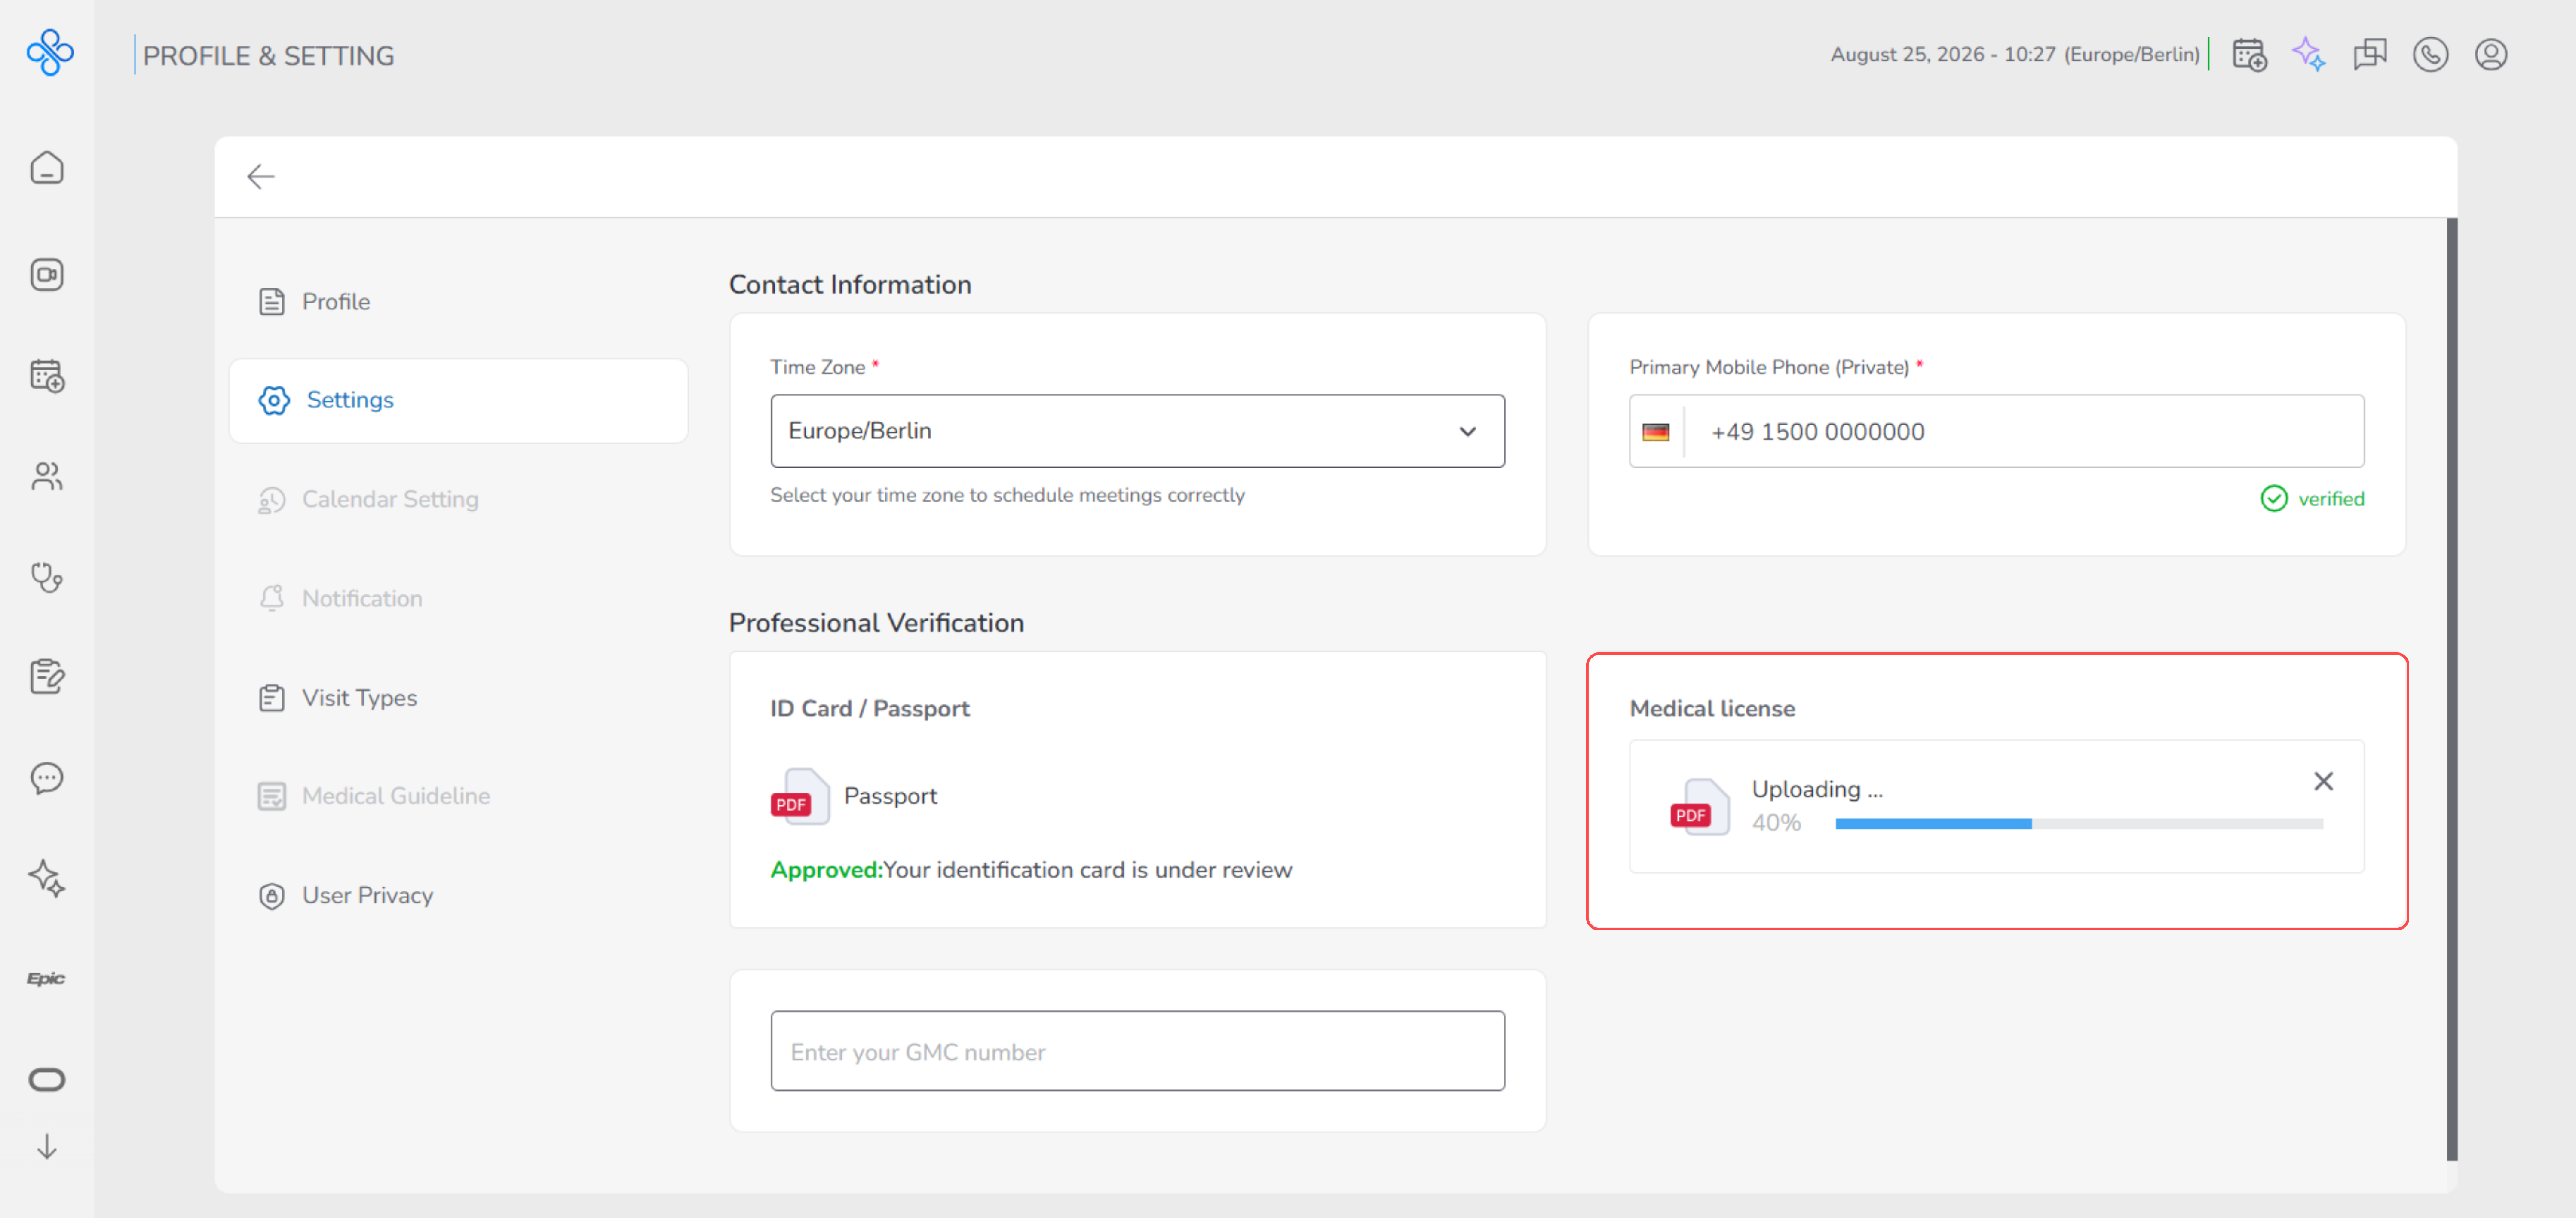
- After uploading, the document status changes to:
Pending Approval
After upload, you can:
- Download the uploaded file
- Delete it if you need to upload a new or updated license
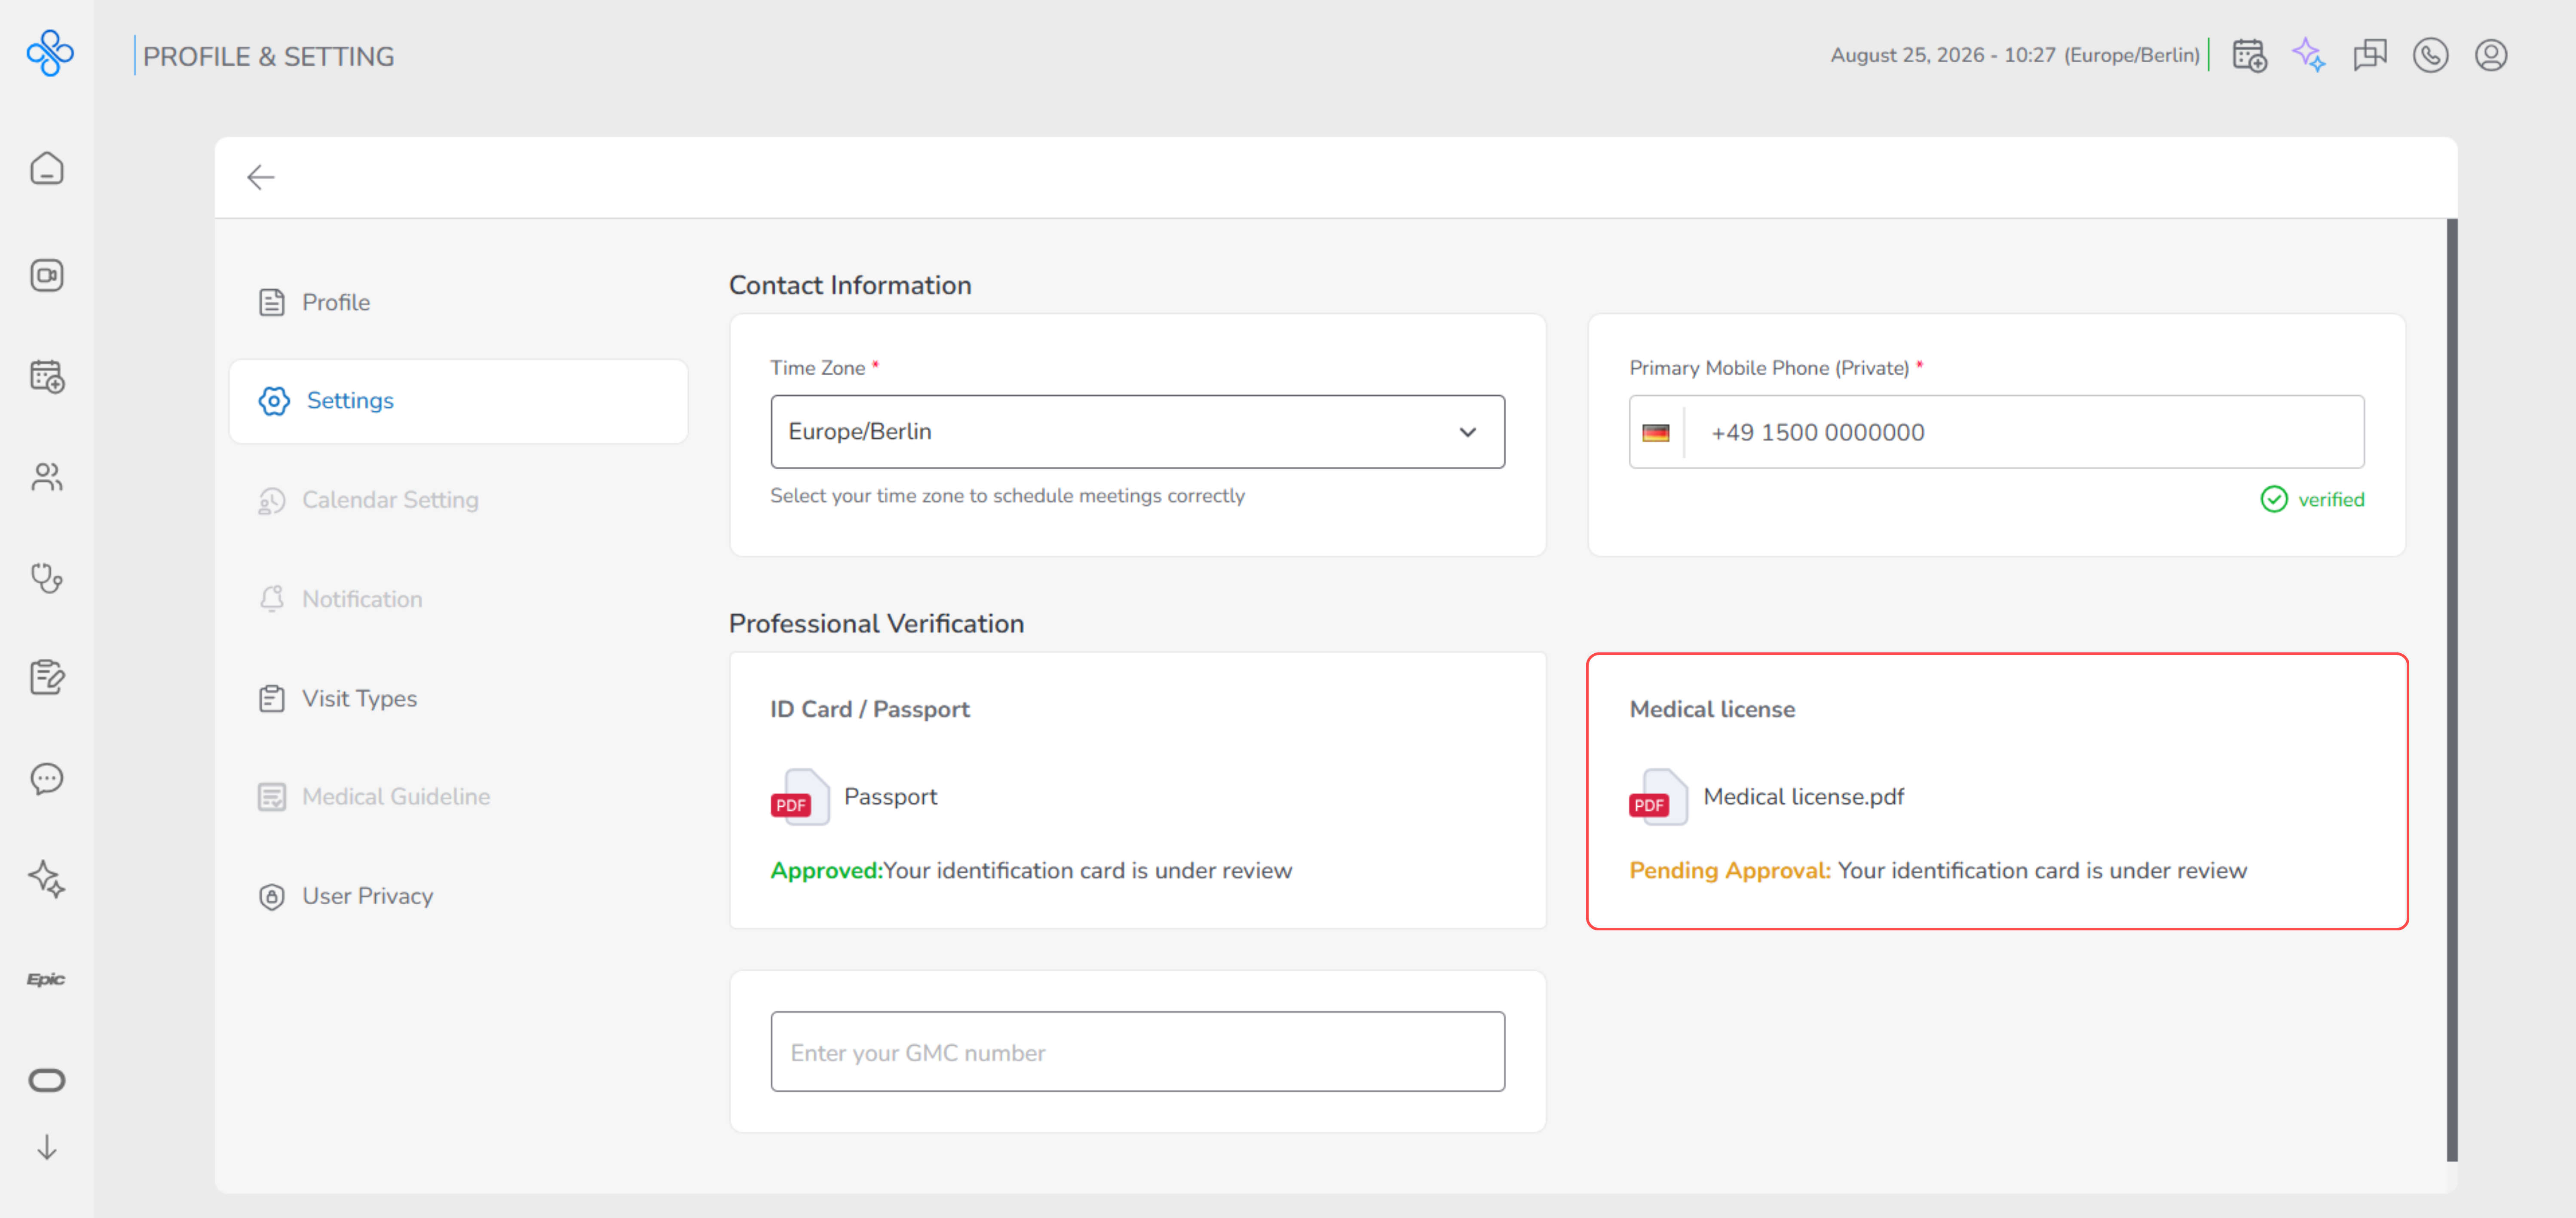
- An admin reviews your document.
- Once approved, the status updates to:
Approved
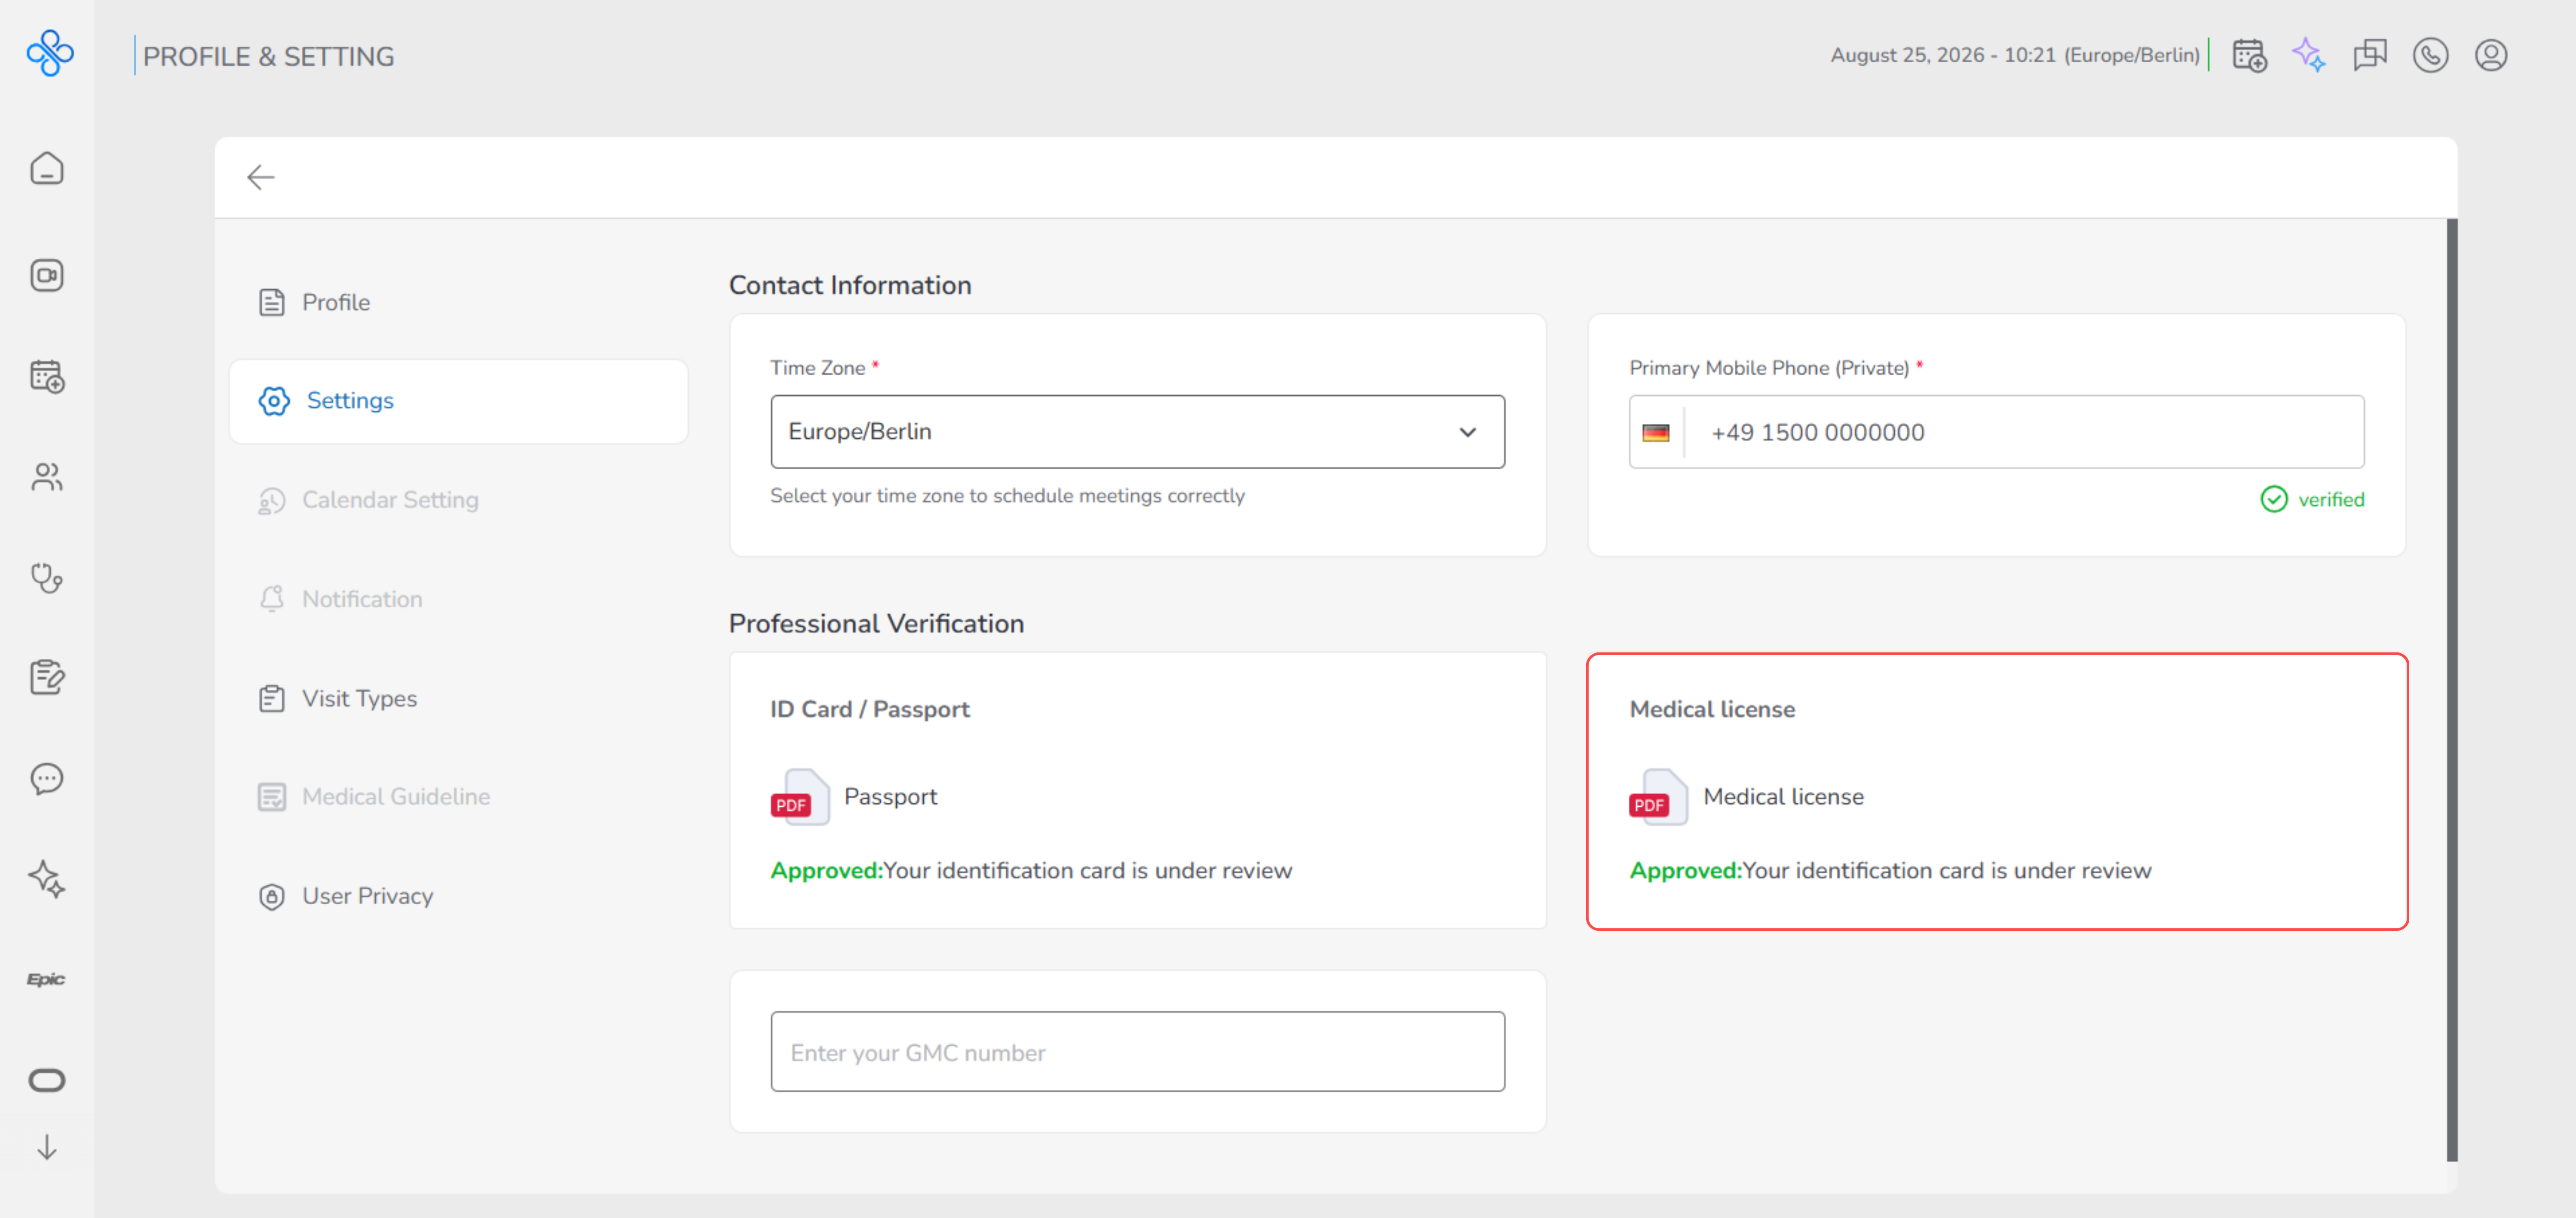
If you upload a new file, it will replace the previous one and go through the review process again.
- Enter GMC Number (If Applicable)
The GMC Number is used to verify providers who are registered with the General Medical Council (GMC).
This field is only required if you have a GMC registration.
If you do not have a GMC Number, you can safely leave this field empty.
How to enter your GMC Number
- Locate the GMC Number field in the Settings section.
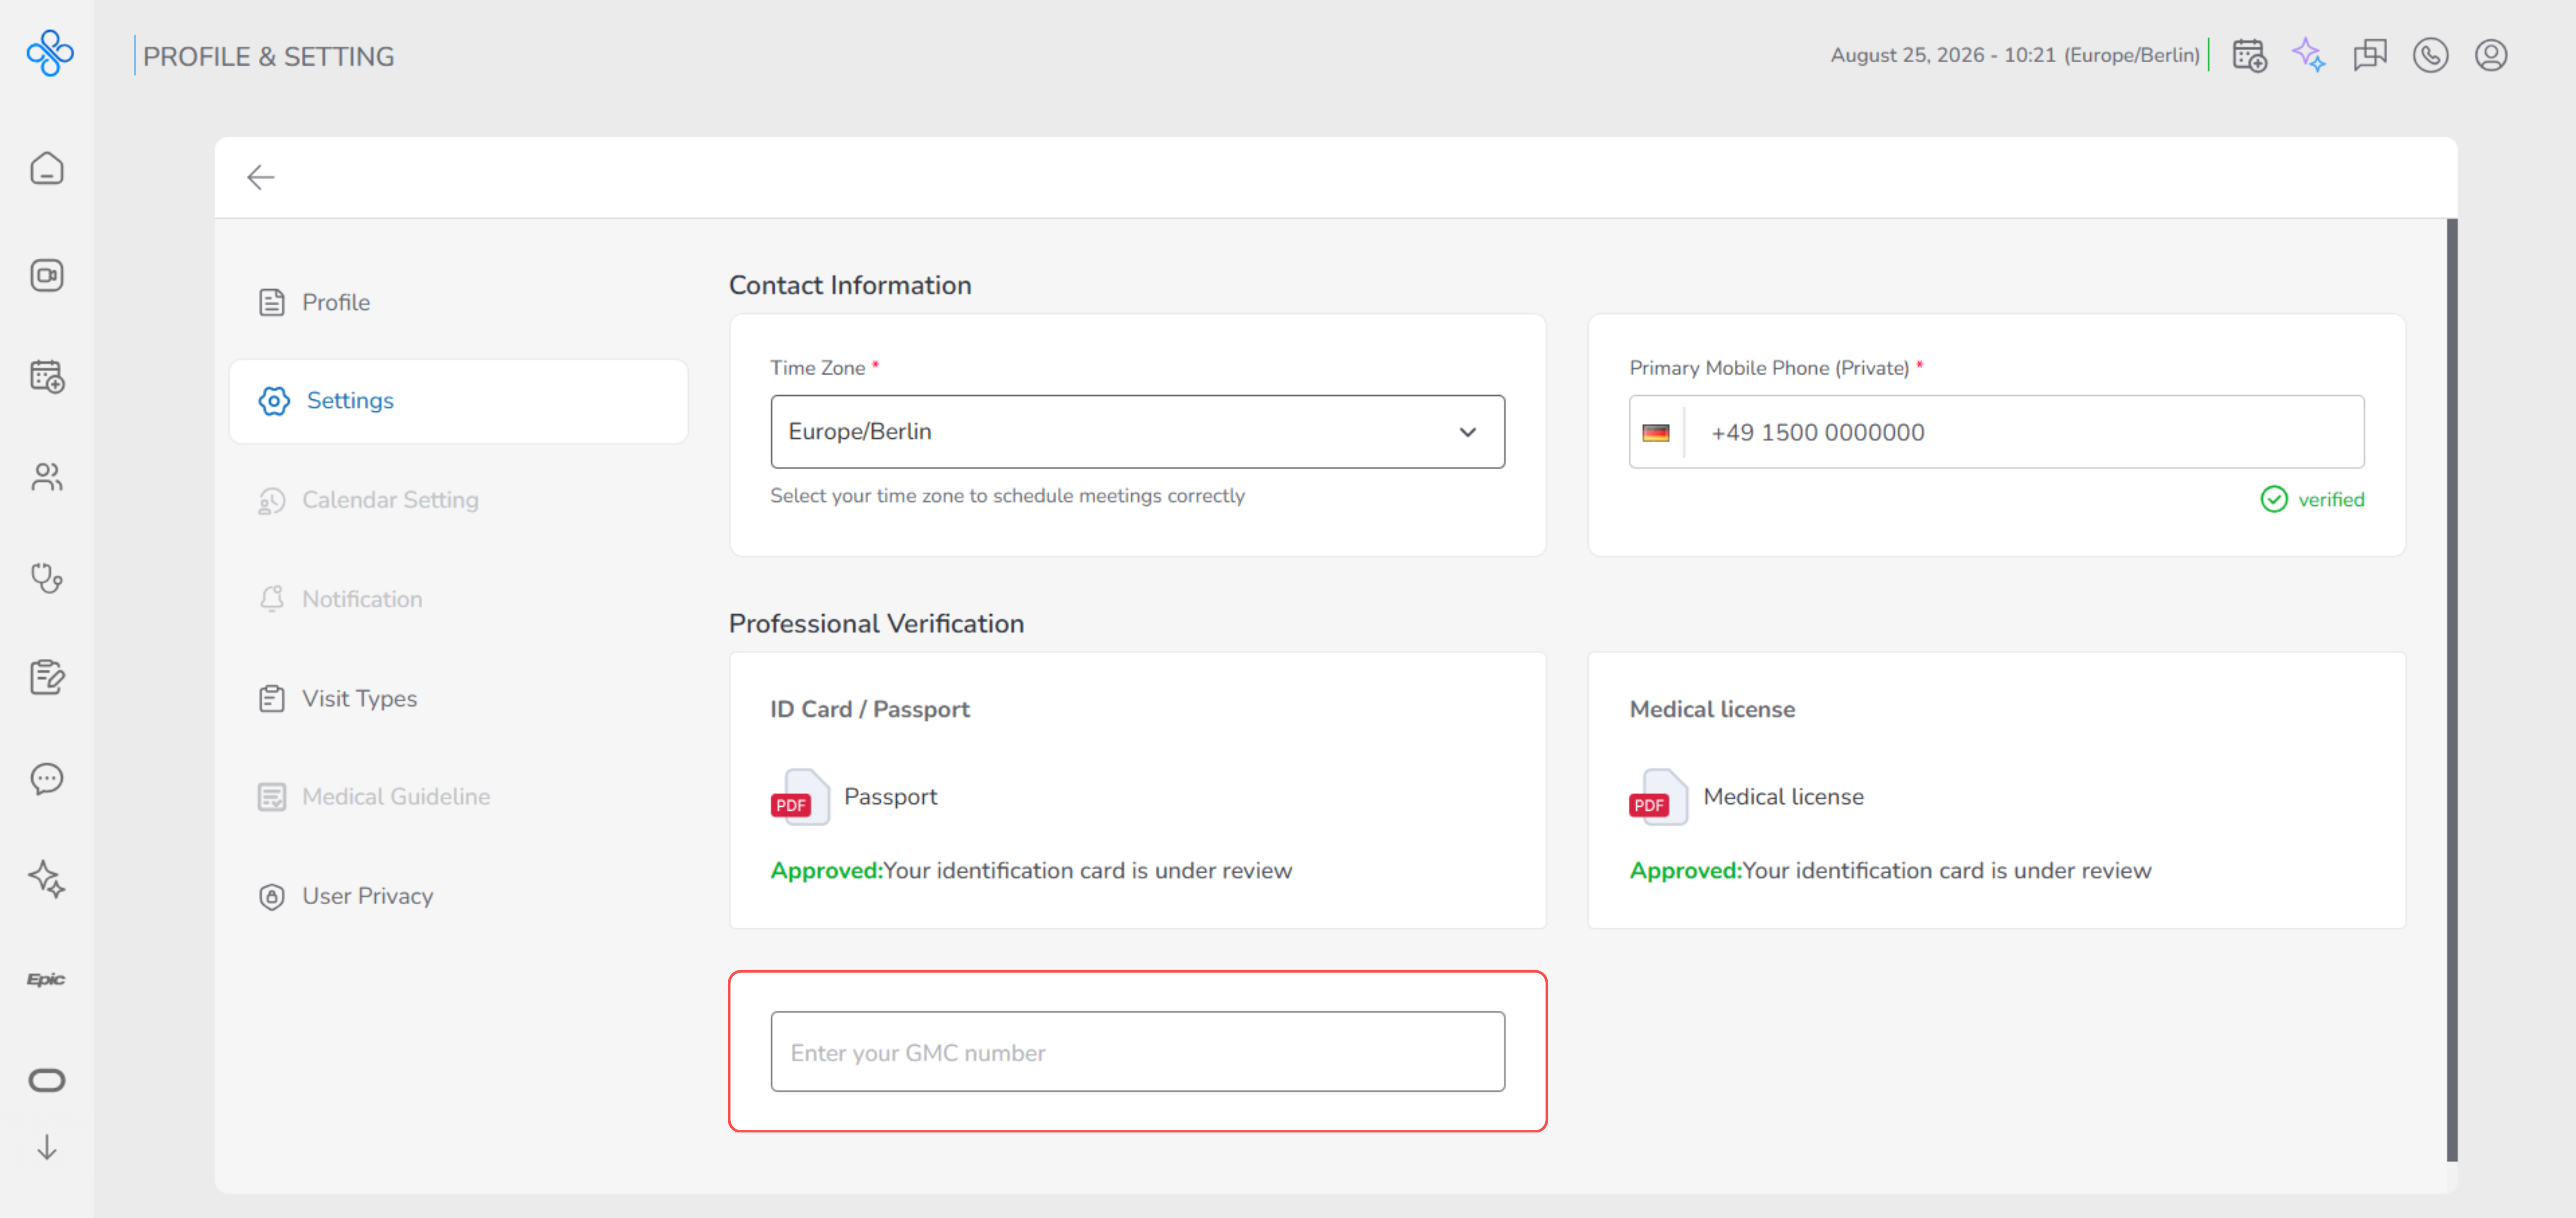
- Enter your GMC registration number.
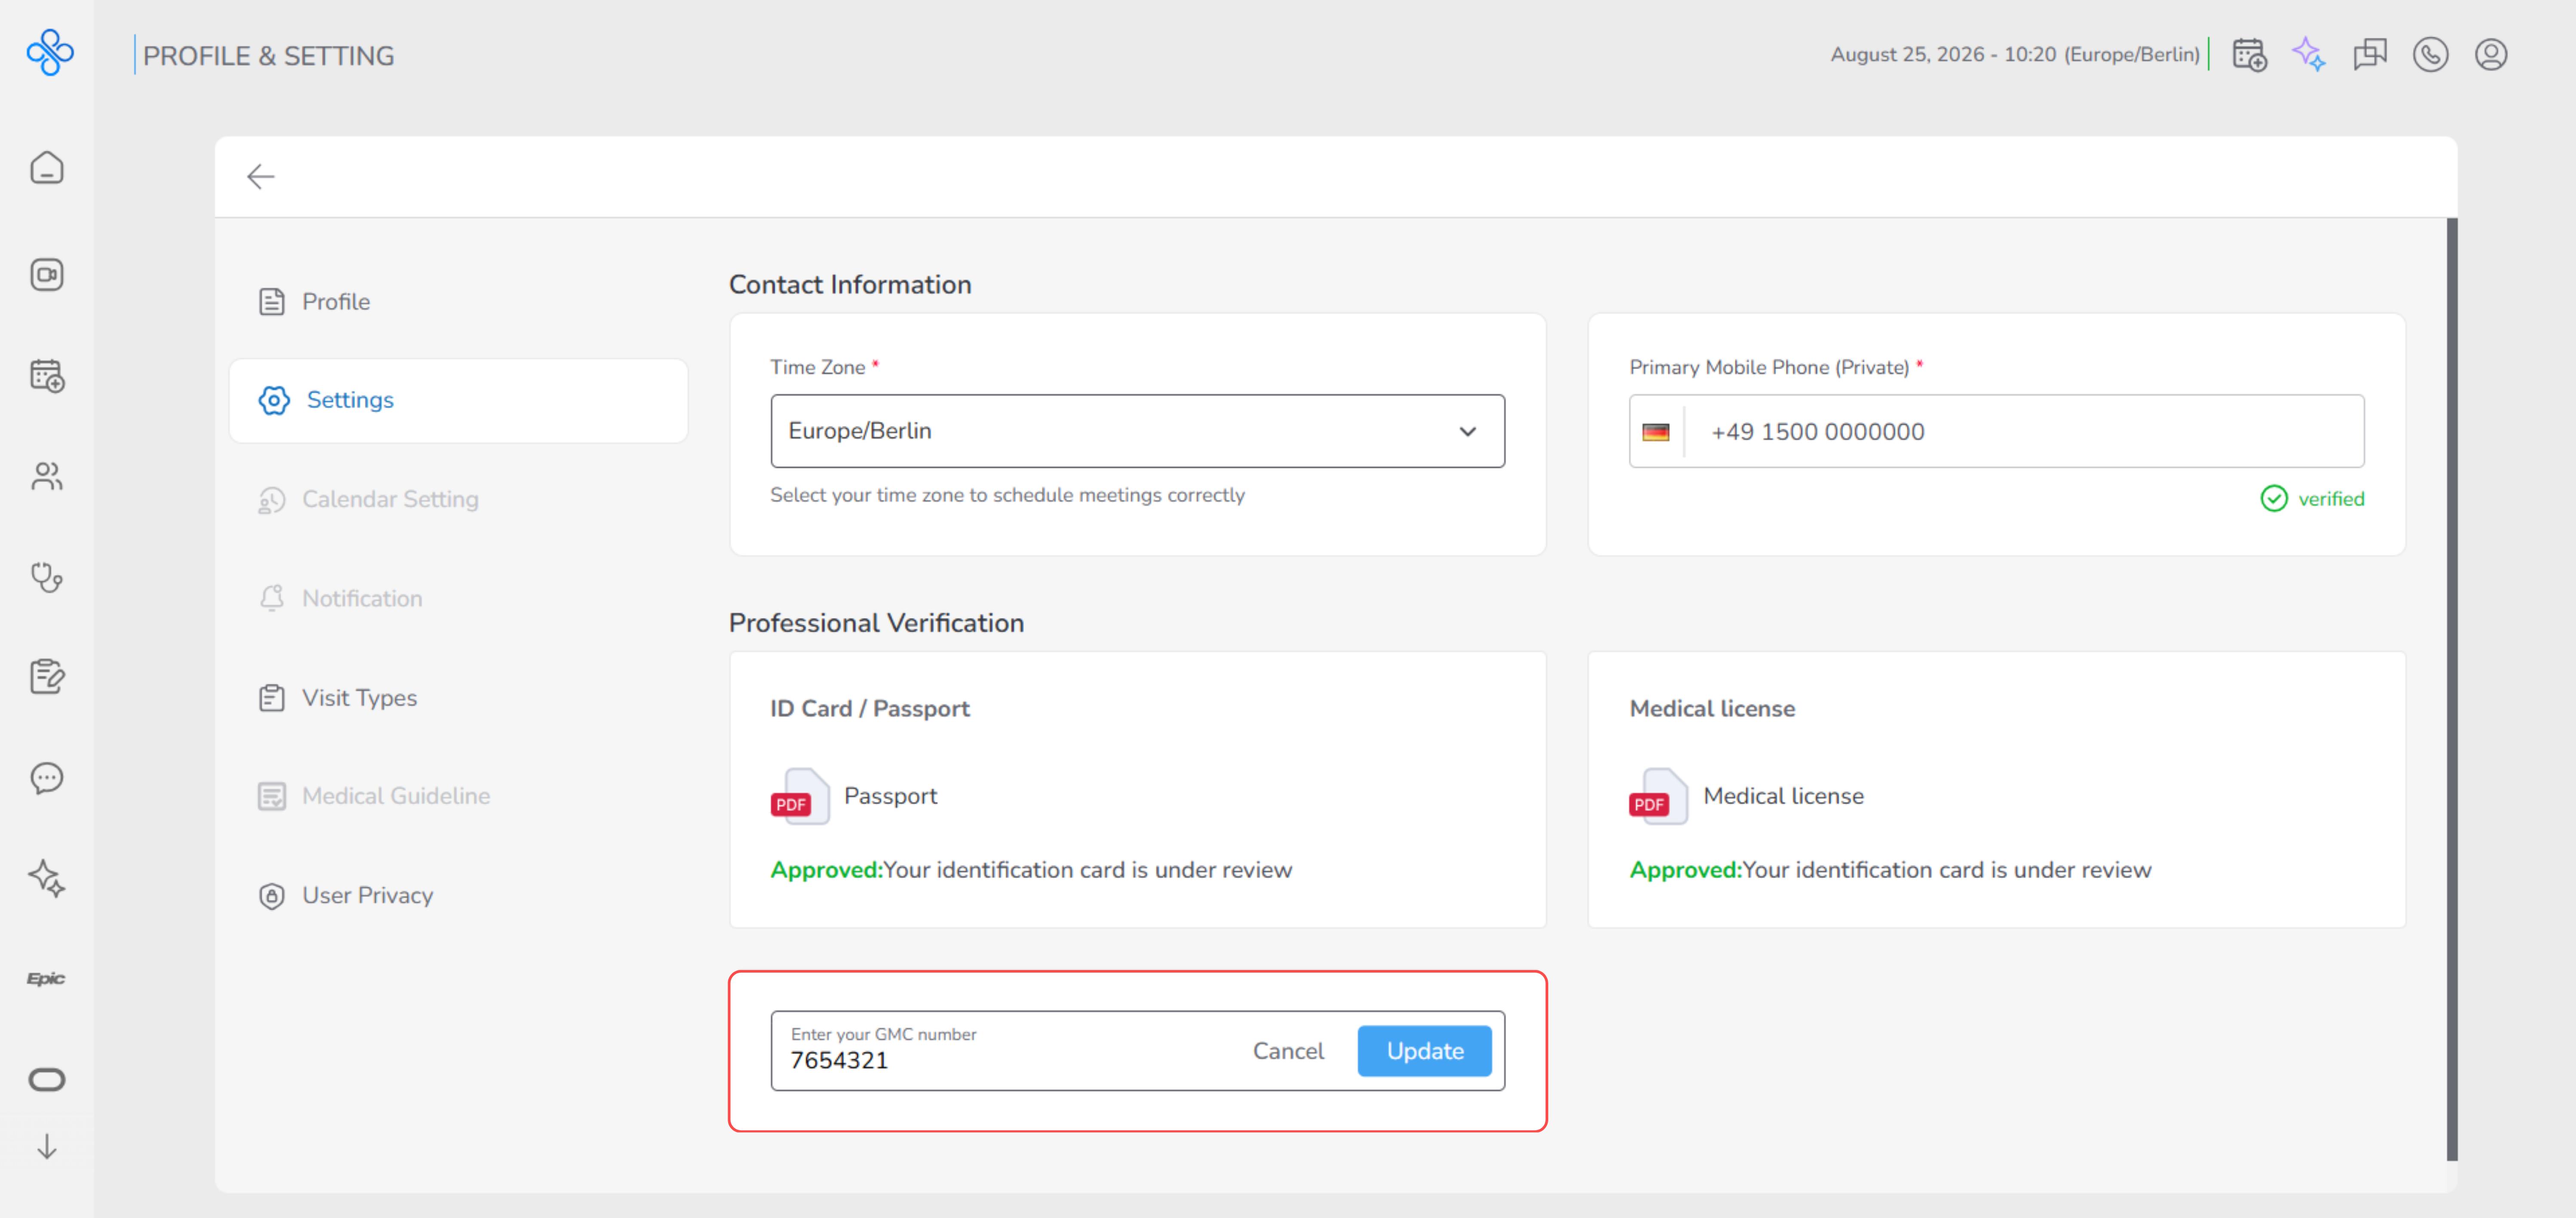
- Click Update to save the GMC number.
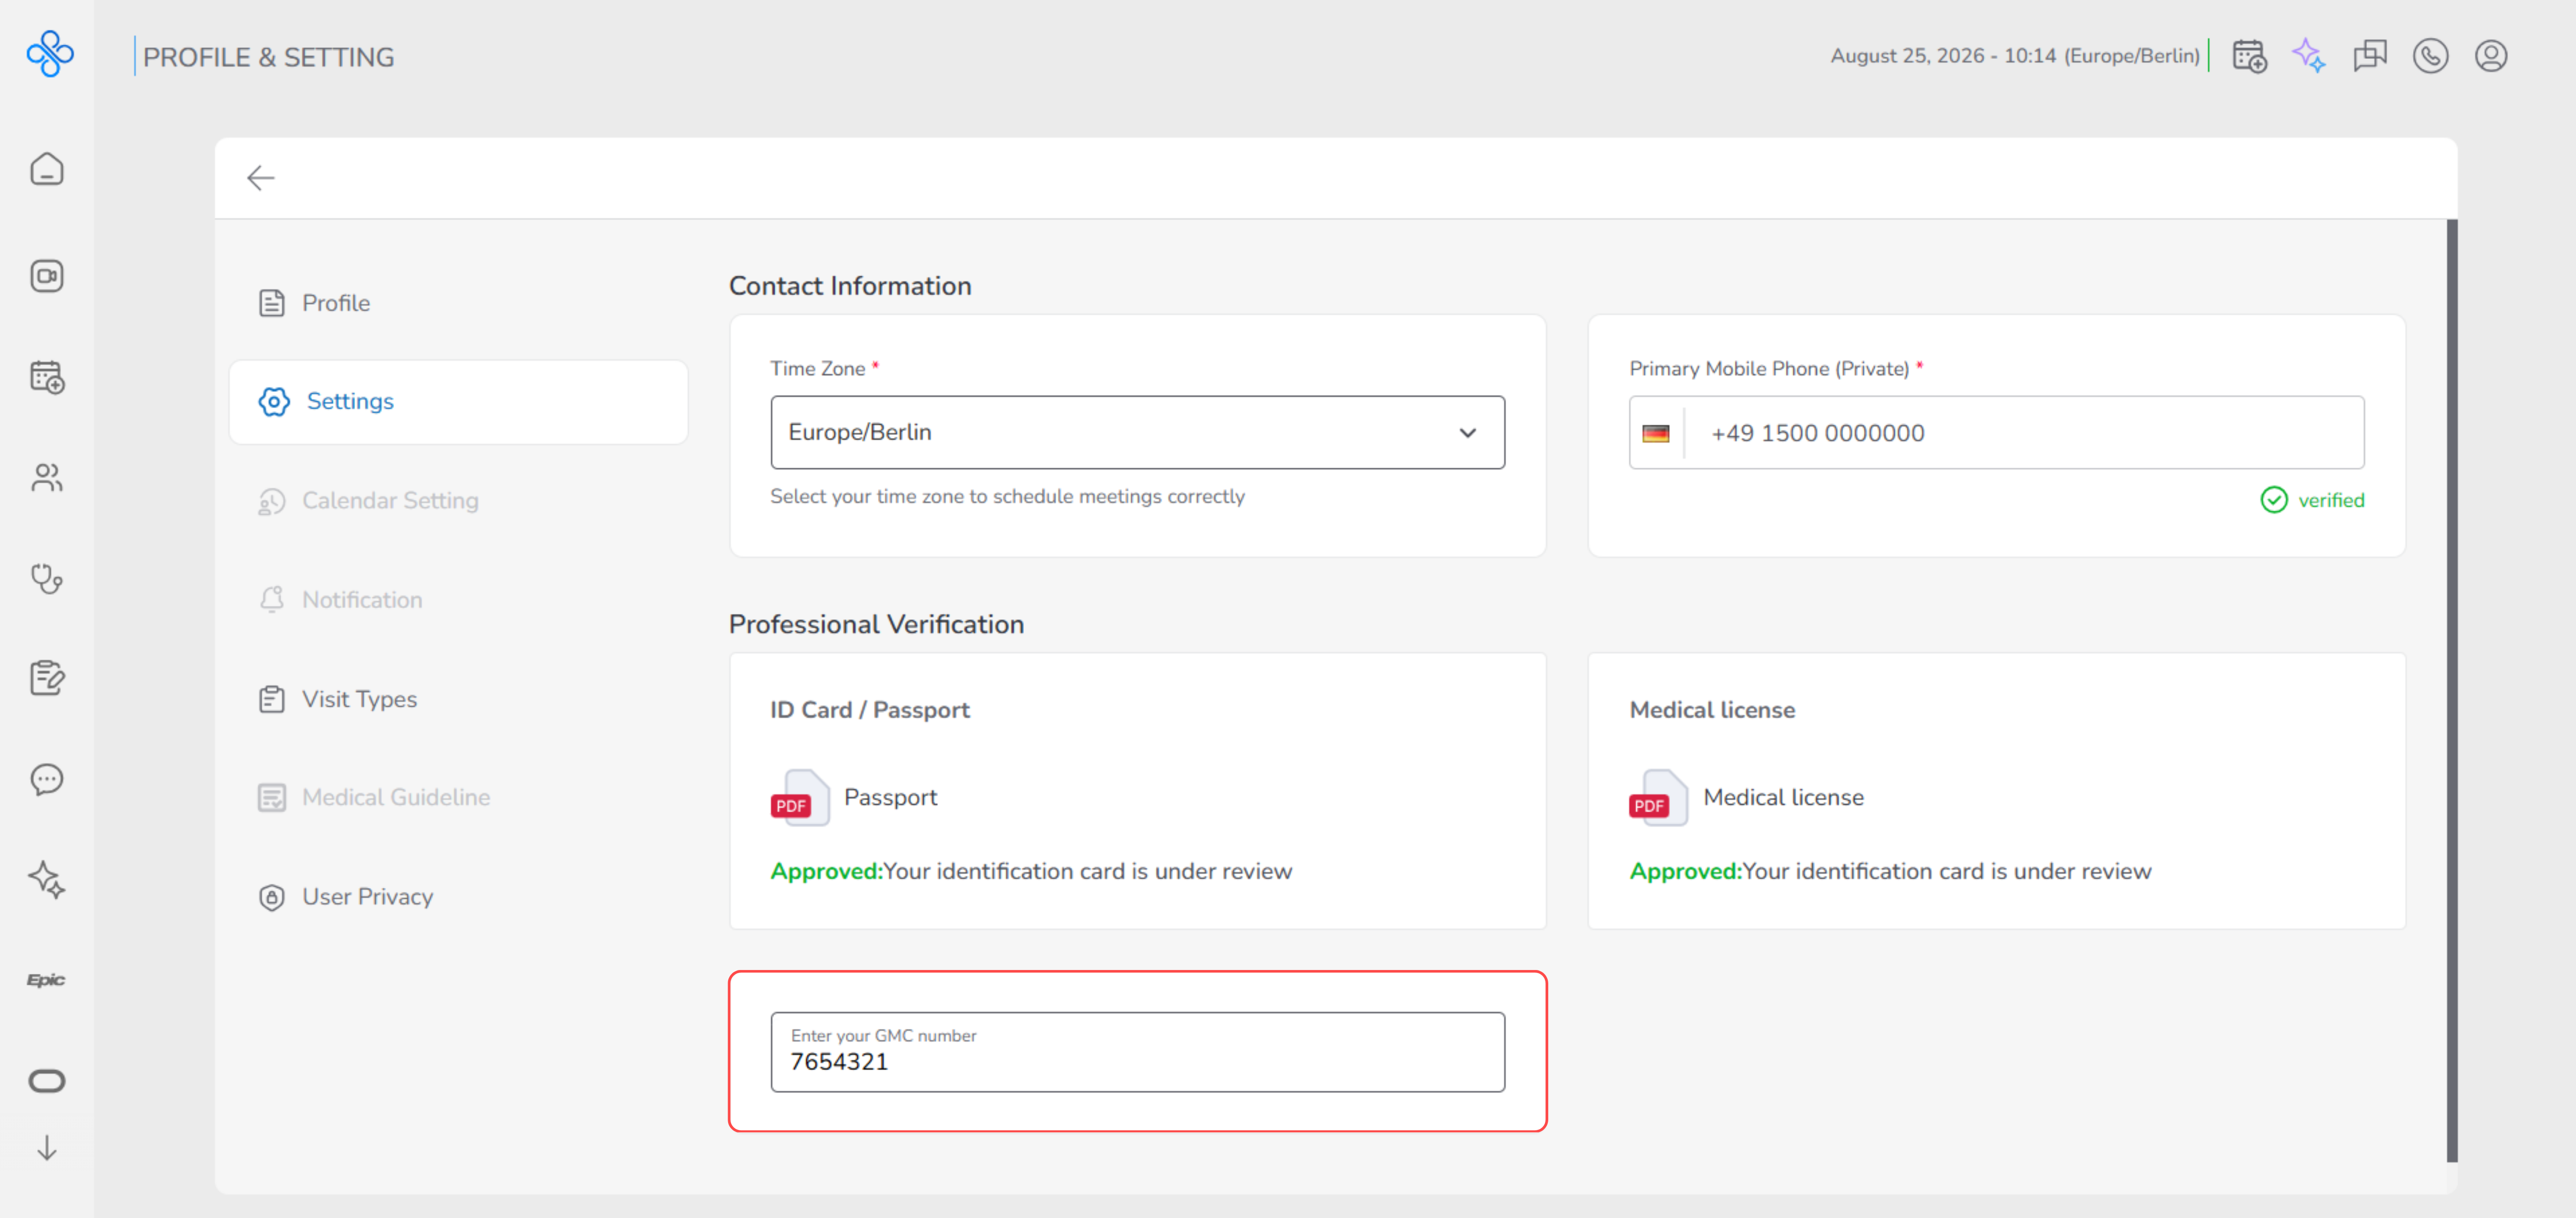
No additional confirmation or approval is required for this field.
Fields (Field Descriptions)
| Field | Description | Required |
|---|---|---|
| Time Zone* | Determines how times and schedules are displayed | Yes |
| Primary Mobile Phone (Private)* | Used for verification and important updates | Yes |
| ID Card / Passport | Identity verification document | No |
| Medical License | Professional qualification document | No |
| GMC Number | Professional registration number | No |
Behavior & Expected Outcome
- Time Zone As soon as you select a time zone, it is saved automatically. All calendars, appointments, and time-based actions will follow this setting to avoid scheduling issues.
- Primary Mobile Phone The Update button becomes available only when a valid mobile number is entered. After updating, you must verify the number by entering the SMS code sent to your phone. Until verification is completed, some features may remain limited.
- ID Card / Passport & Medical License Once a document is uploaded, its status changes to Pending Approval. An administrator reviews the document before approval. After approval, the status updates to Approved, confirming your identity or professional credentials.
- Document Management Providers can download or delete uploaded documents at any time. Uploading a new document automatically replaces the previous one.
- GMC Number
- Saved automatically
- Overall Outcome When all required settings are completed and verified, your account becomes fully ready for appointments, visits, and professional interactions on the platform.
Common Errors + Fixes
| Issue | Cause | Fix<br><br> |
|---|---|---|
| “This field is required” | Time Zone or Mobile Number left empty. | Complete mandatory fields. |
| “Invalid phone number format” | Incorrect number format entered. | Enter a valid phone number (country code + number). |
| Verification code not received<br> | Network delay or wrong phone number.<br> | Recheck phone number, request a new code.<br> |
| “File upload failed” | Unsupported format or file too large. | Upload valid formats (JPEG, PNG, PDF) under size limit. |
| Status stuck on Pending Approval | Admin review not completed. | Contact admin support if delay is excessive. |