Messages
Overview
The Messages section is where you communicate directly with your contacts inside the platform — both Providers and Patients.
Think of it as your built-in professional chat space: you can review past conversations, send new messages, share files, check contact details, and even initiate voice or video calls.
This area is designed to keep communication centralized so coordination and follow-ups stay organized and traceable.
Note:
Messaging infrastructure supports both Providers and Patients; however, Patient-side access is currently not active.
Sending Your First Message
If you don’t already have a conversation with a contact, you’ll need to initiate it using one of the following approaches:
- Start a Call
- Begin a voice or video call with the contact and send a message during the call.
- This automatically creates a conversation entry in your Messages list.
- See the Call user guide (coming soon) for details.
- Send from the Provider Page
- Navigate to the provider’s profile and send a message from the Chat tab to initiate the conversation.
- See the Providers user guide for details.
Note:
Patient-side chat is not yet available.
To message a Provider, you must either follow them or have had a prior call with them.
How to Access Messages
You can open the Messages section in three simple ways:
From the Header (Quick Access)
Click the Chat icon in the top navigation bar.
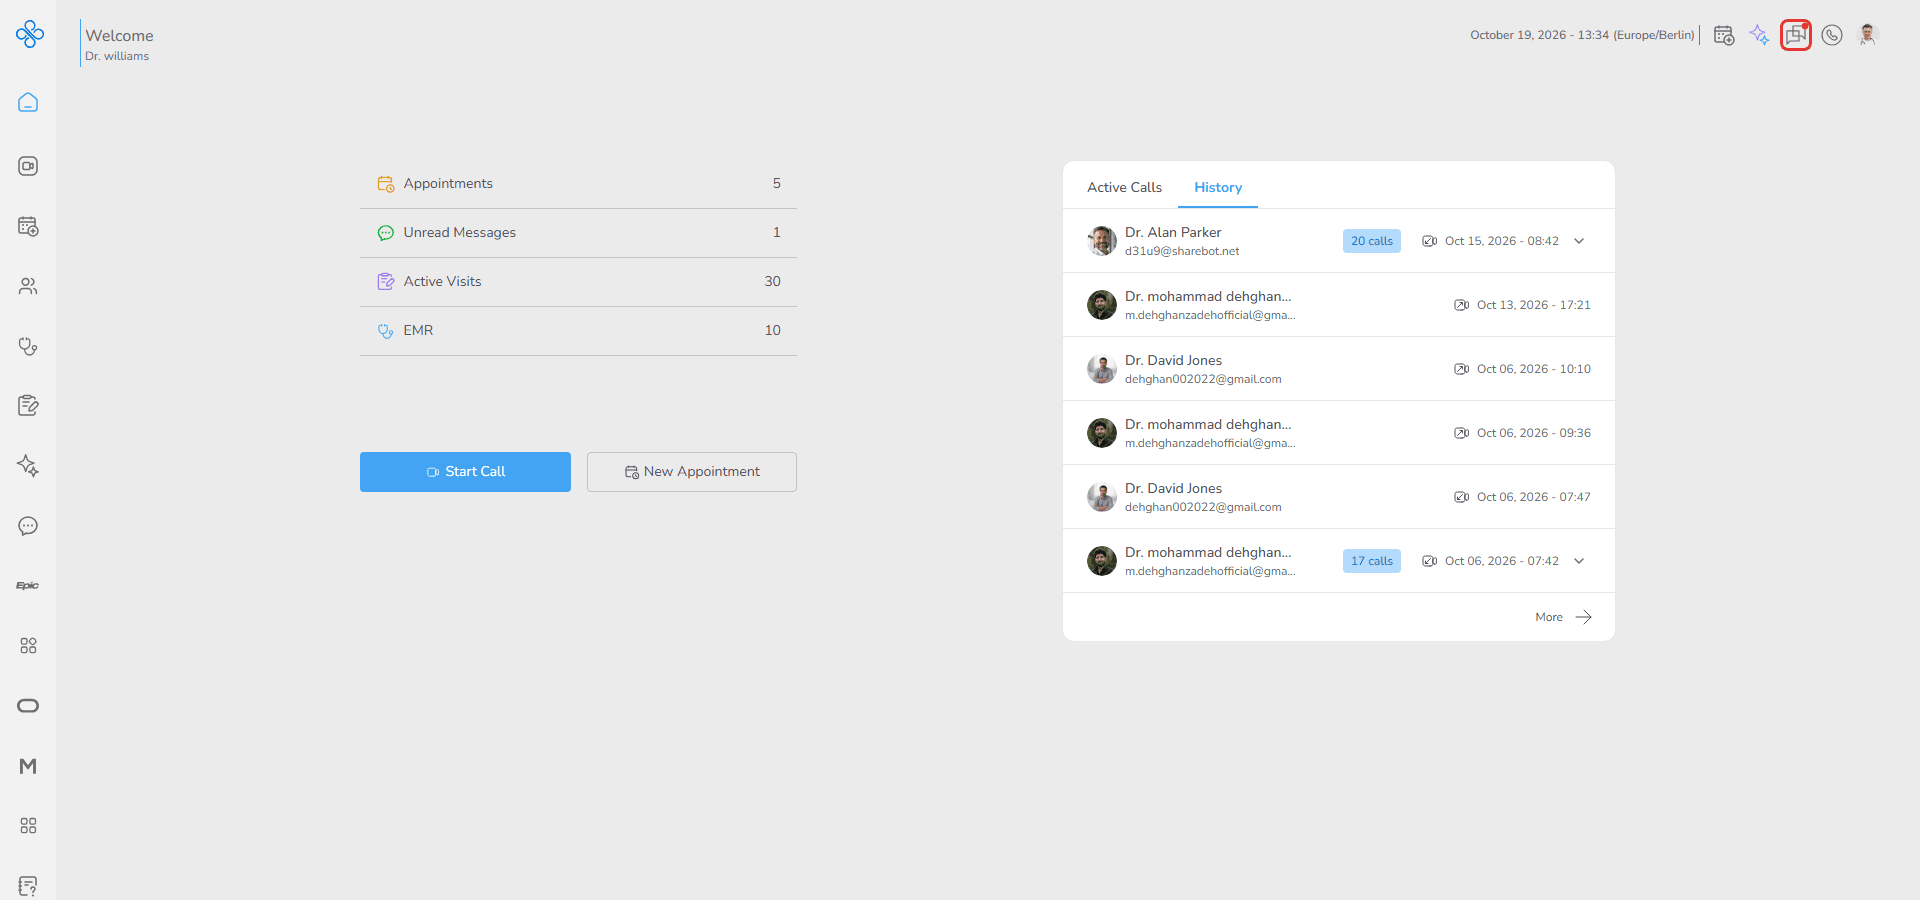
This option is available from any page in the system.
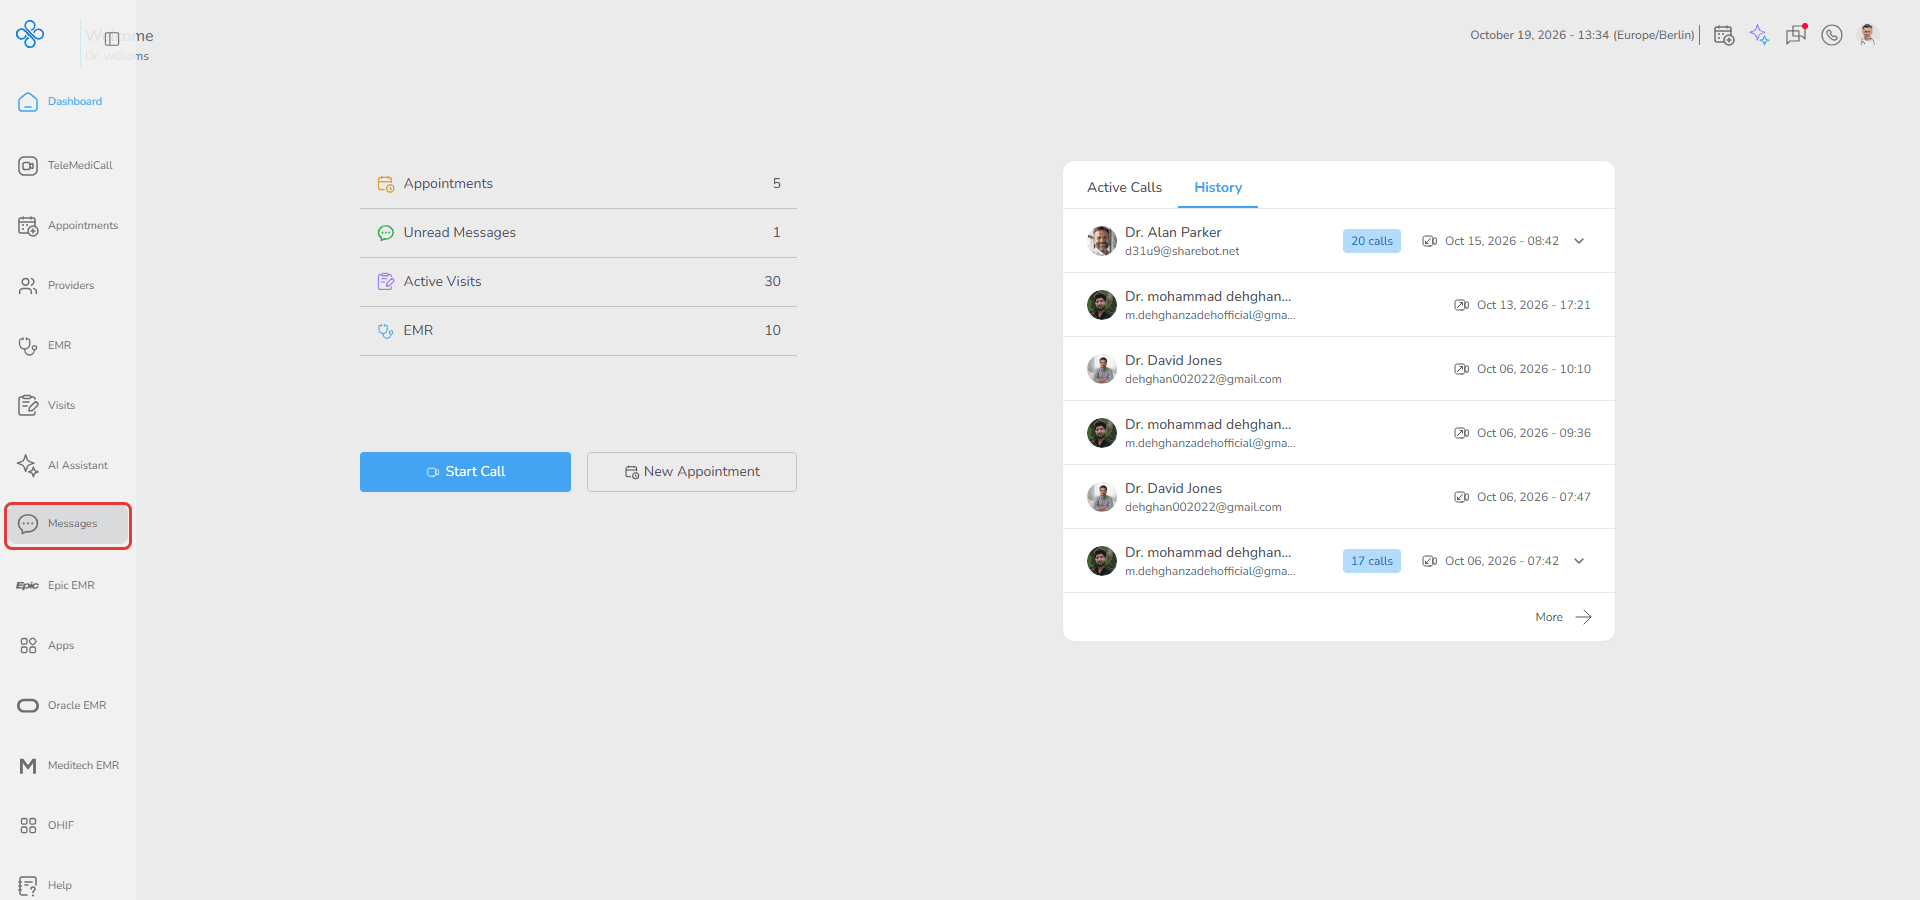
From the Sidebar
Select Messages from the sidebar navigation menu to open the full messaging interface.
From the Dashboard (Unread Messages shortcut)
Users can also access Messages through the Unread Messages shortcut available on the Dashboard.
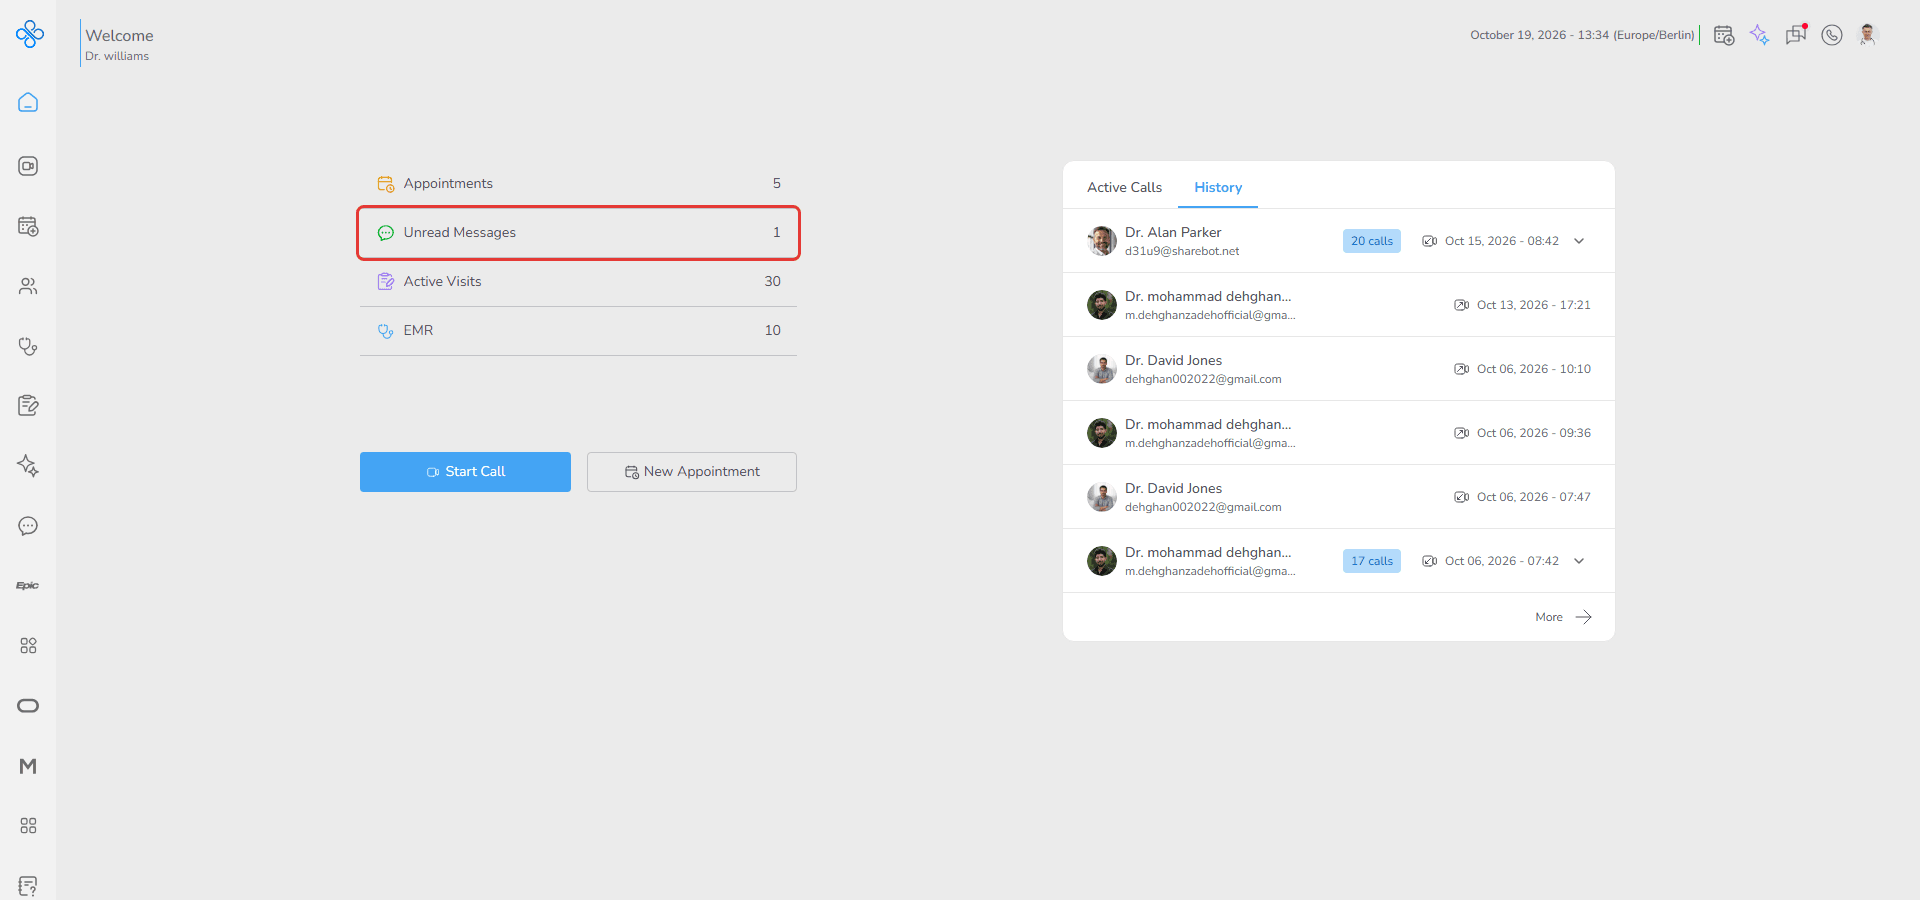
Clicking this shortcut opens the Messages page, allowing quick access to conversations that contain unread messages.
Choosing a Conversation
This is your starting point — the left panel works like a conversation directory to help you quickly locate the right contact.
The list includes the Providers and Patients you’ve communicated with.
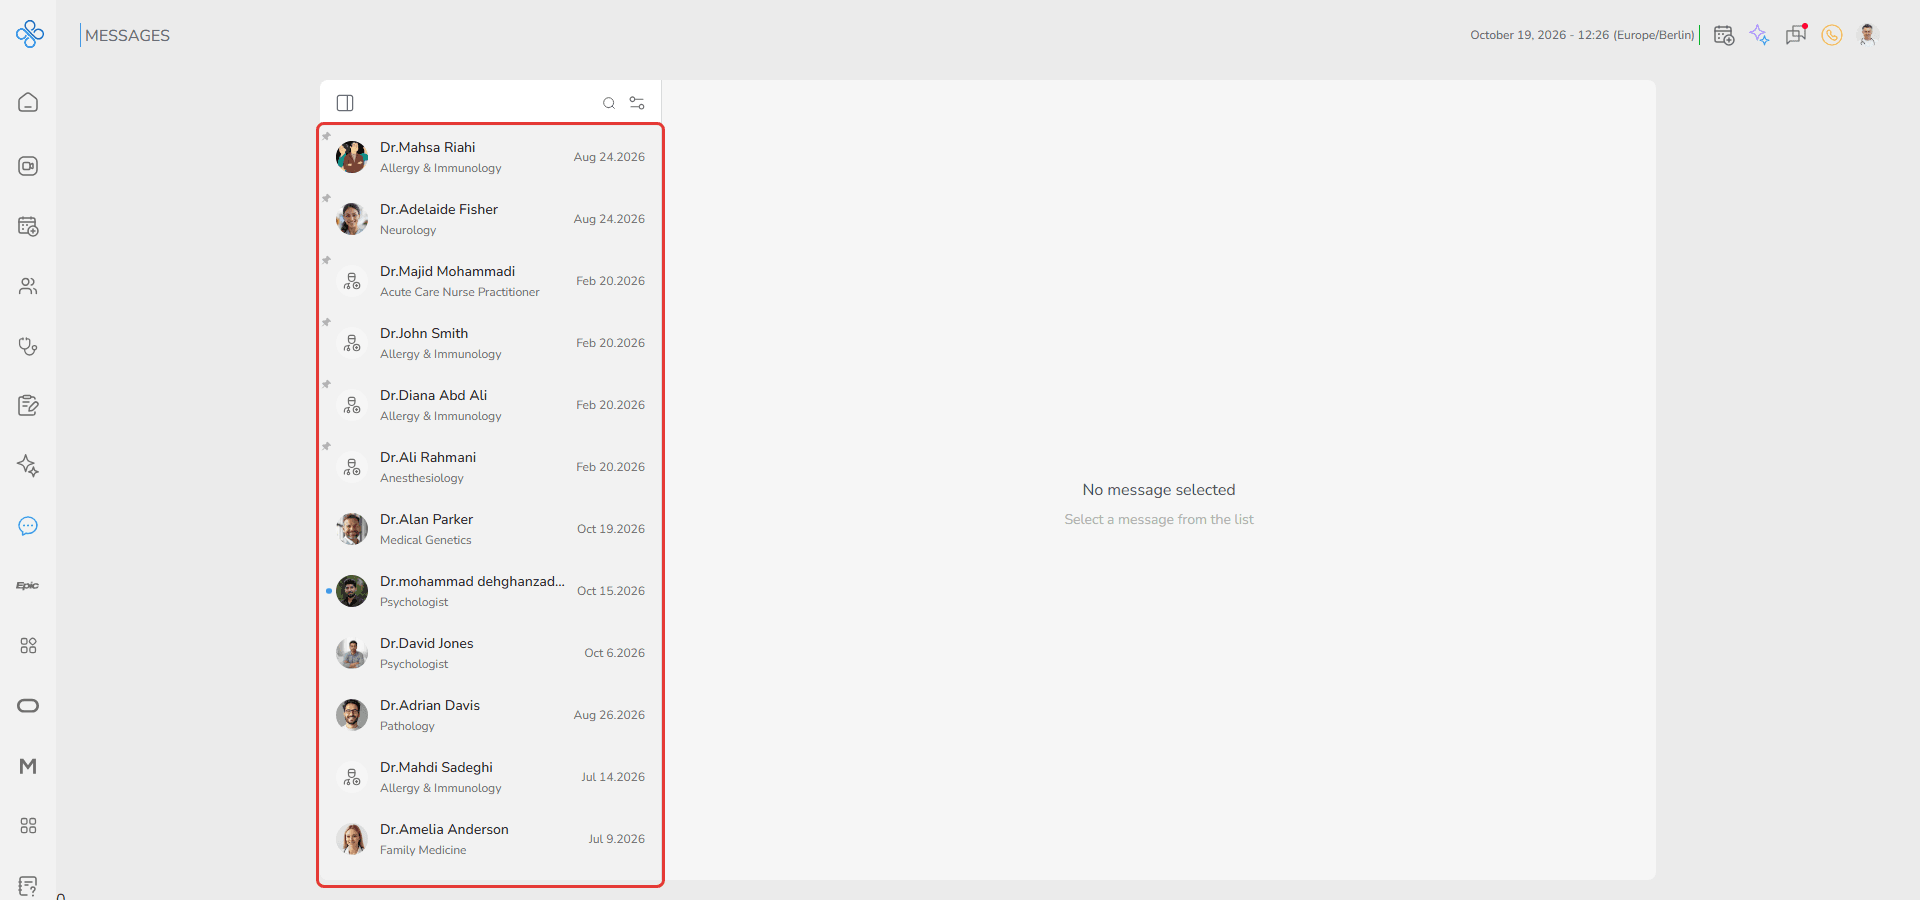
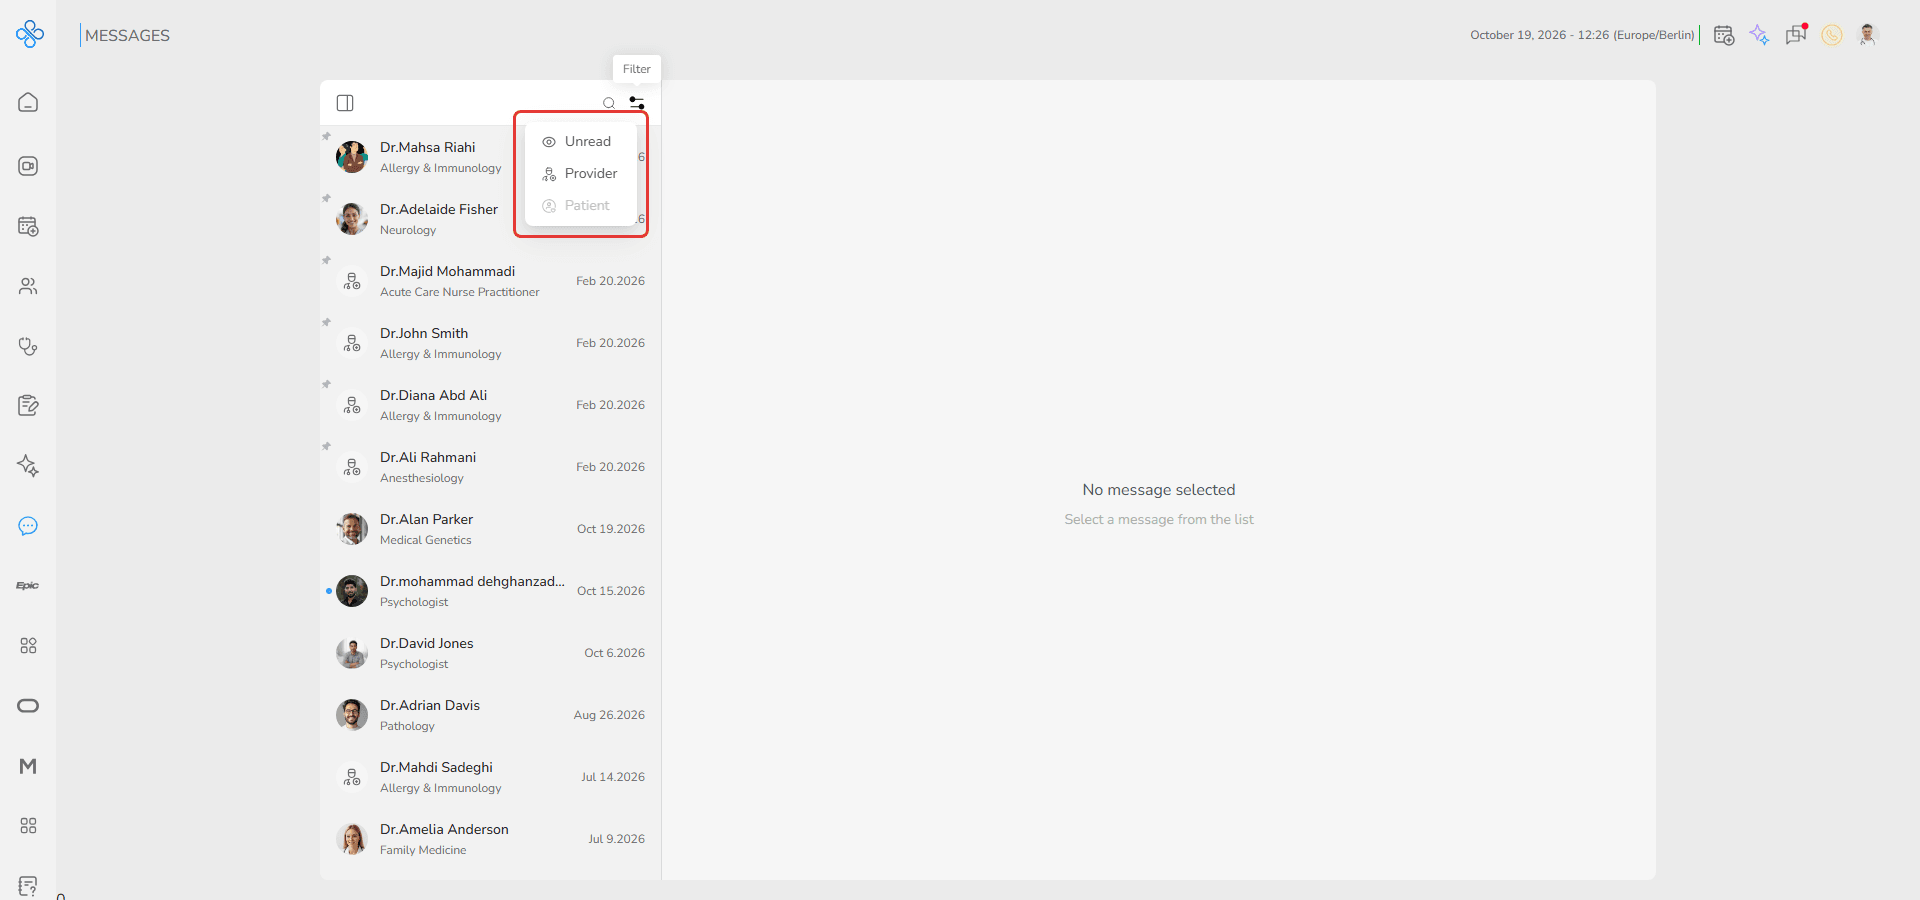
Use the filter icon at the top of the list to narrow it by:
- Unread
- Provider
- Patient (not available yet)
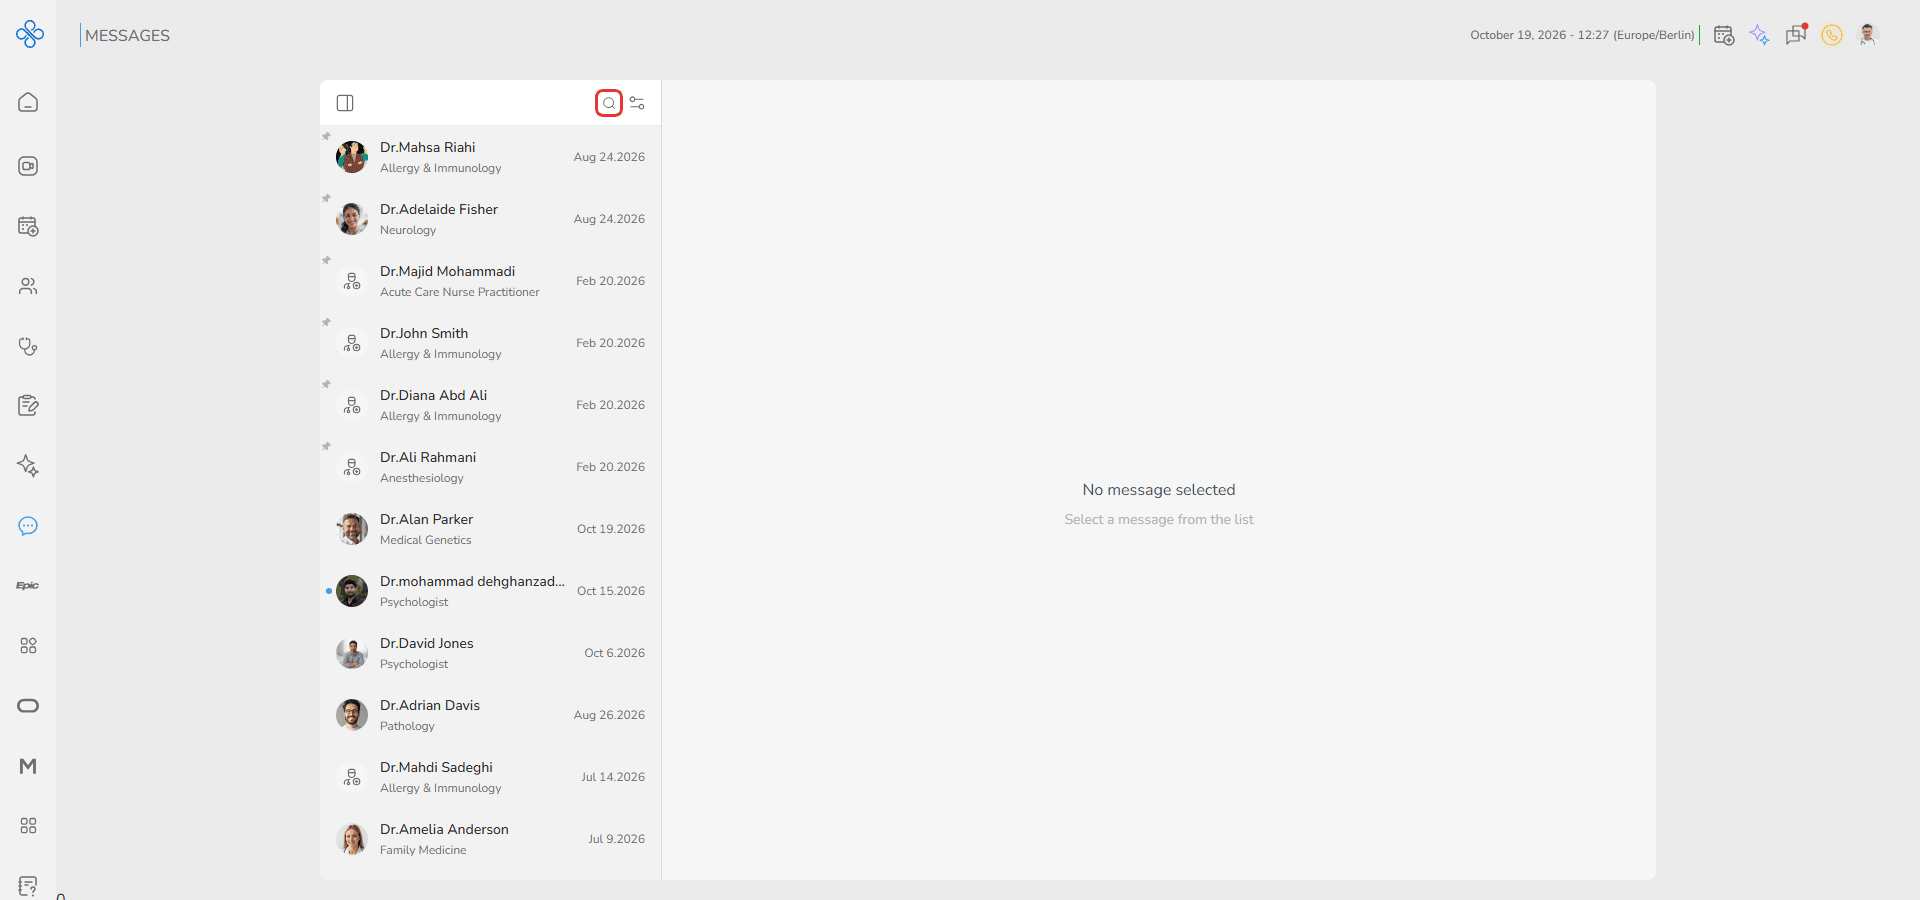
You can use the search icon at the top-right of the contacts list to quickly find a specific provider or patient by searching their name within your conversations list.
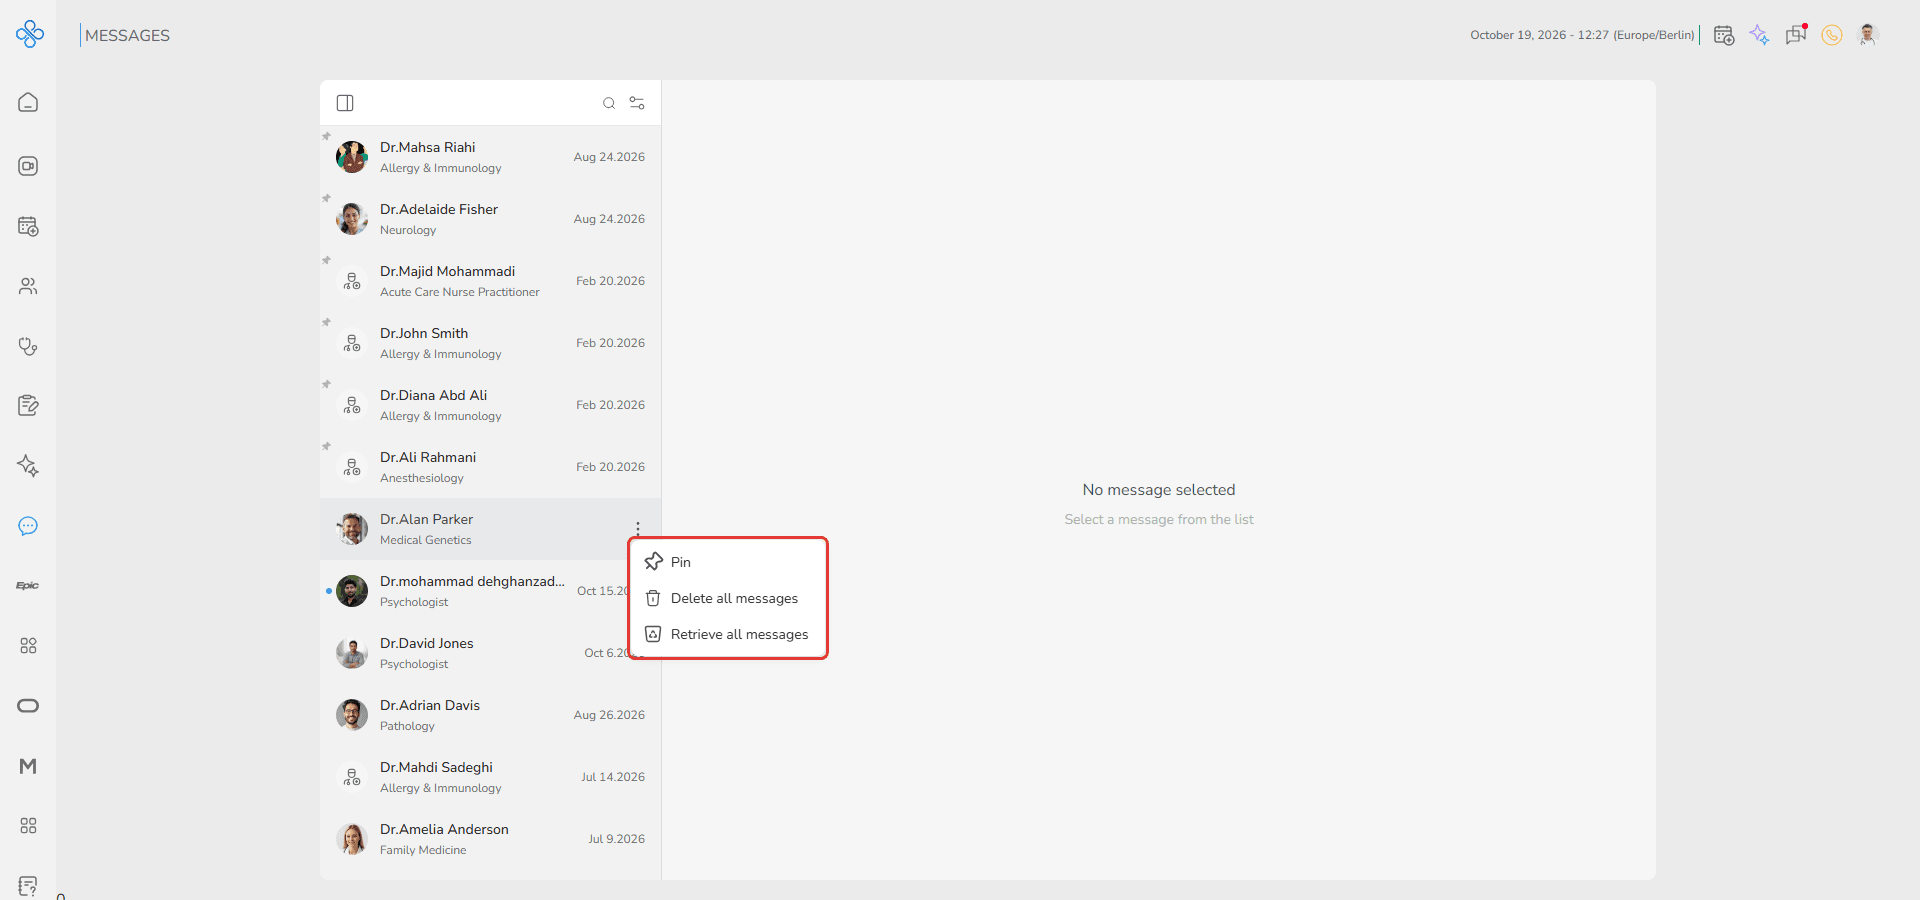
More Actions (Hover over a contact)
When you hover over a conversation, a More actions (⋮) button appears. Click it to open these options:
- Pin — Keeps the contact at the top of the list
- Delete all messages — Removes the conversation history
- Retrieve all messages — Restores messages
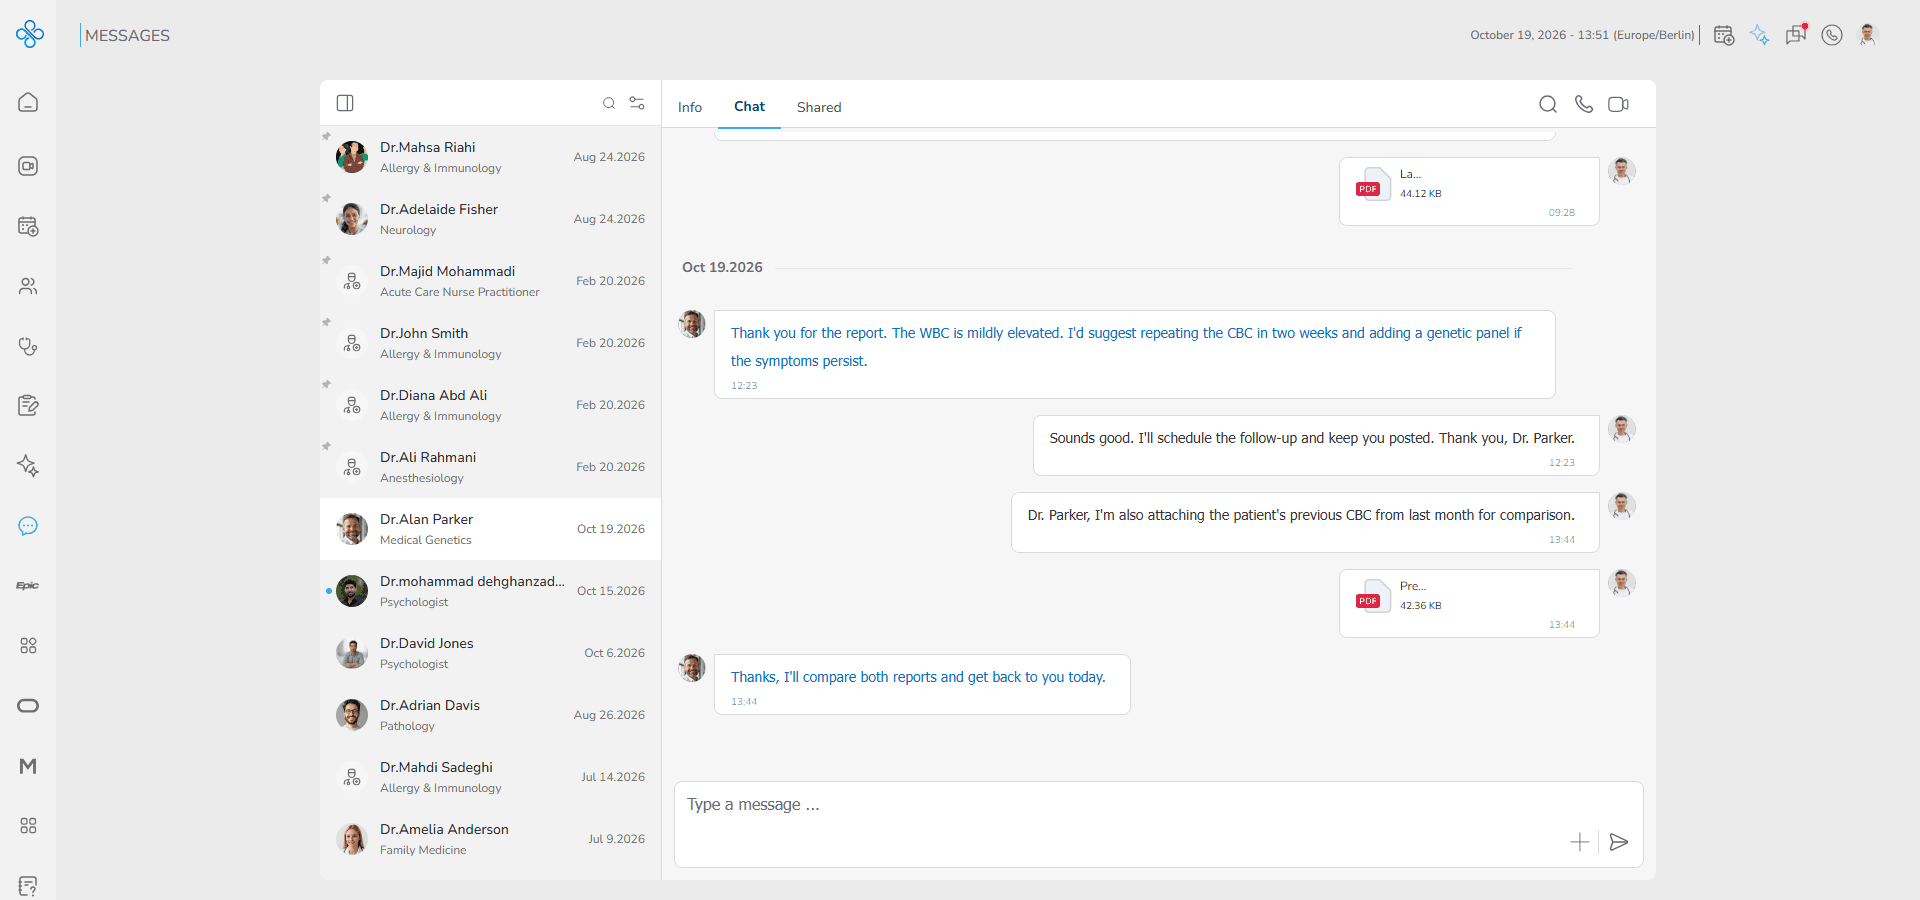
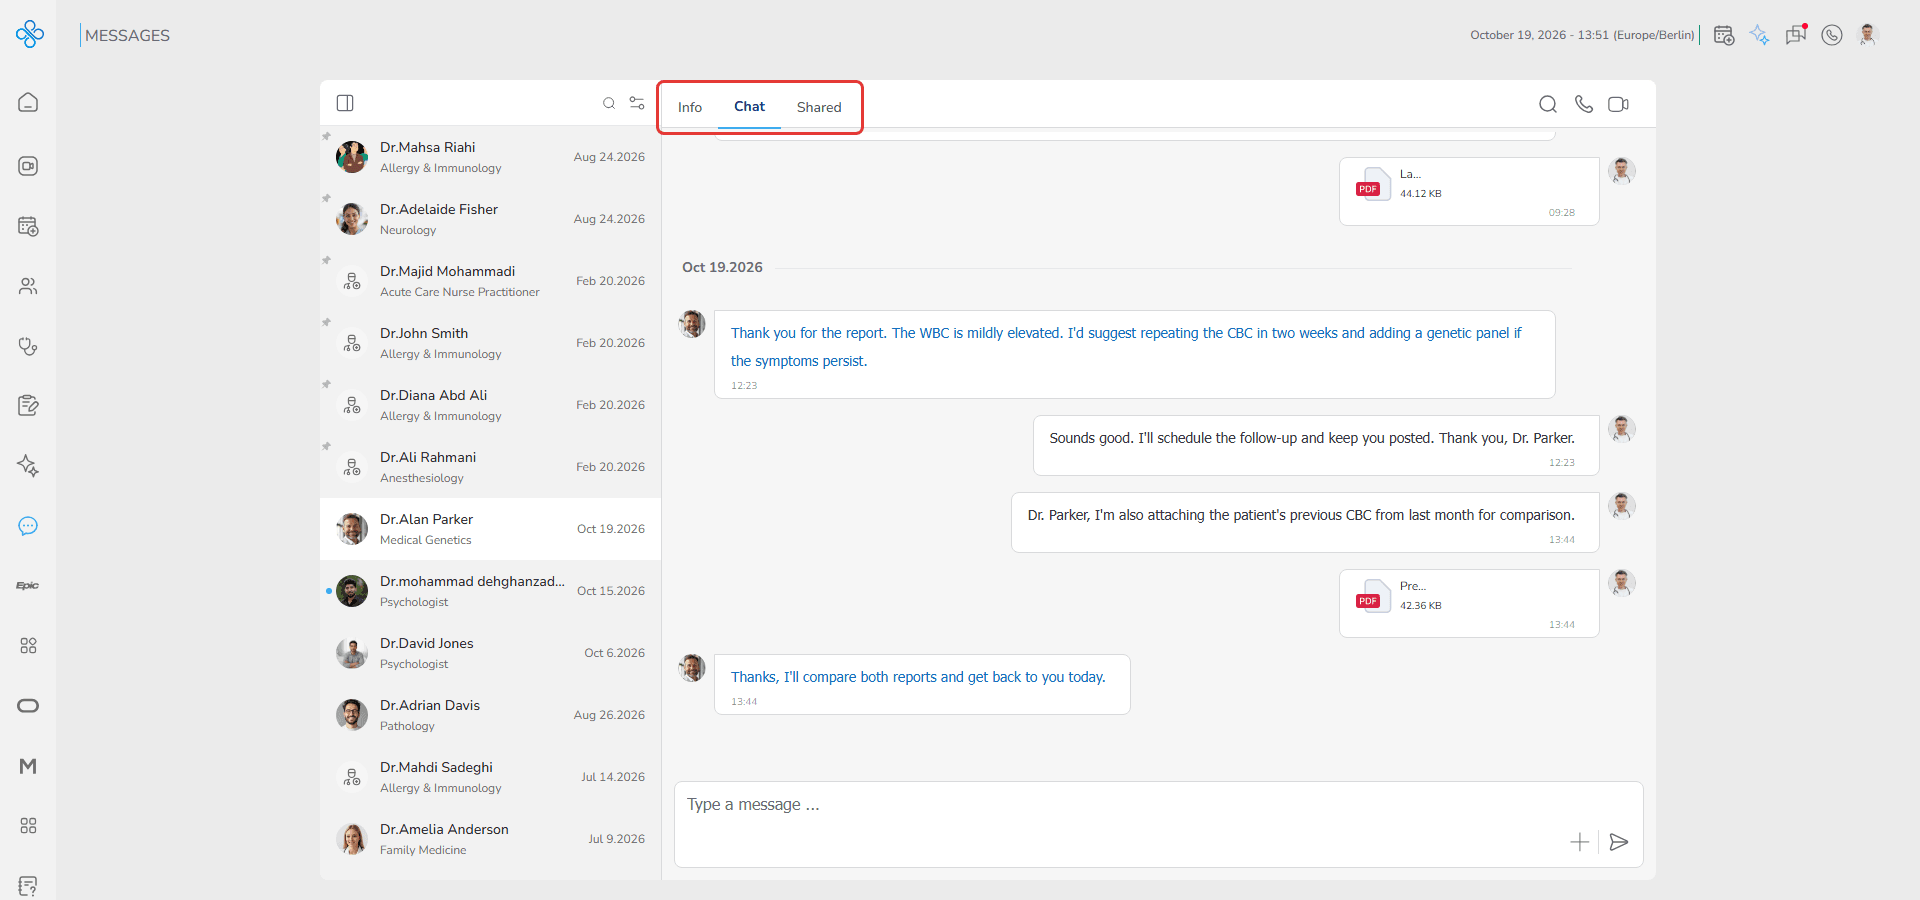
Clicking a contact opens the conversation workspace on the right. After selecting, three tabs become available:
- Info — Shows the contact’s profile on the same page
- Chat — View and send messages (opens by default)
- Shared — Review exchanged files
The next sections explain each tab step by step.
Chat Tab
The Chat tab is where you communicate directly with your contact.
You can send messages, share files, and stay in touch without leaving the Messages page.
This works like a simple messaging app, but it is focused on patient and provider communication.
Before you start
To message a Provider, you must either follow them or have had a prior call with them.
If you cannot send messages, open the Info tab and check that you are following the provider.
Step 1: Open the Chat tab
When you select a conversation, the Chat tab opens by default. You can also click Chat at the top of the conversation.
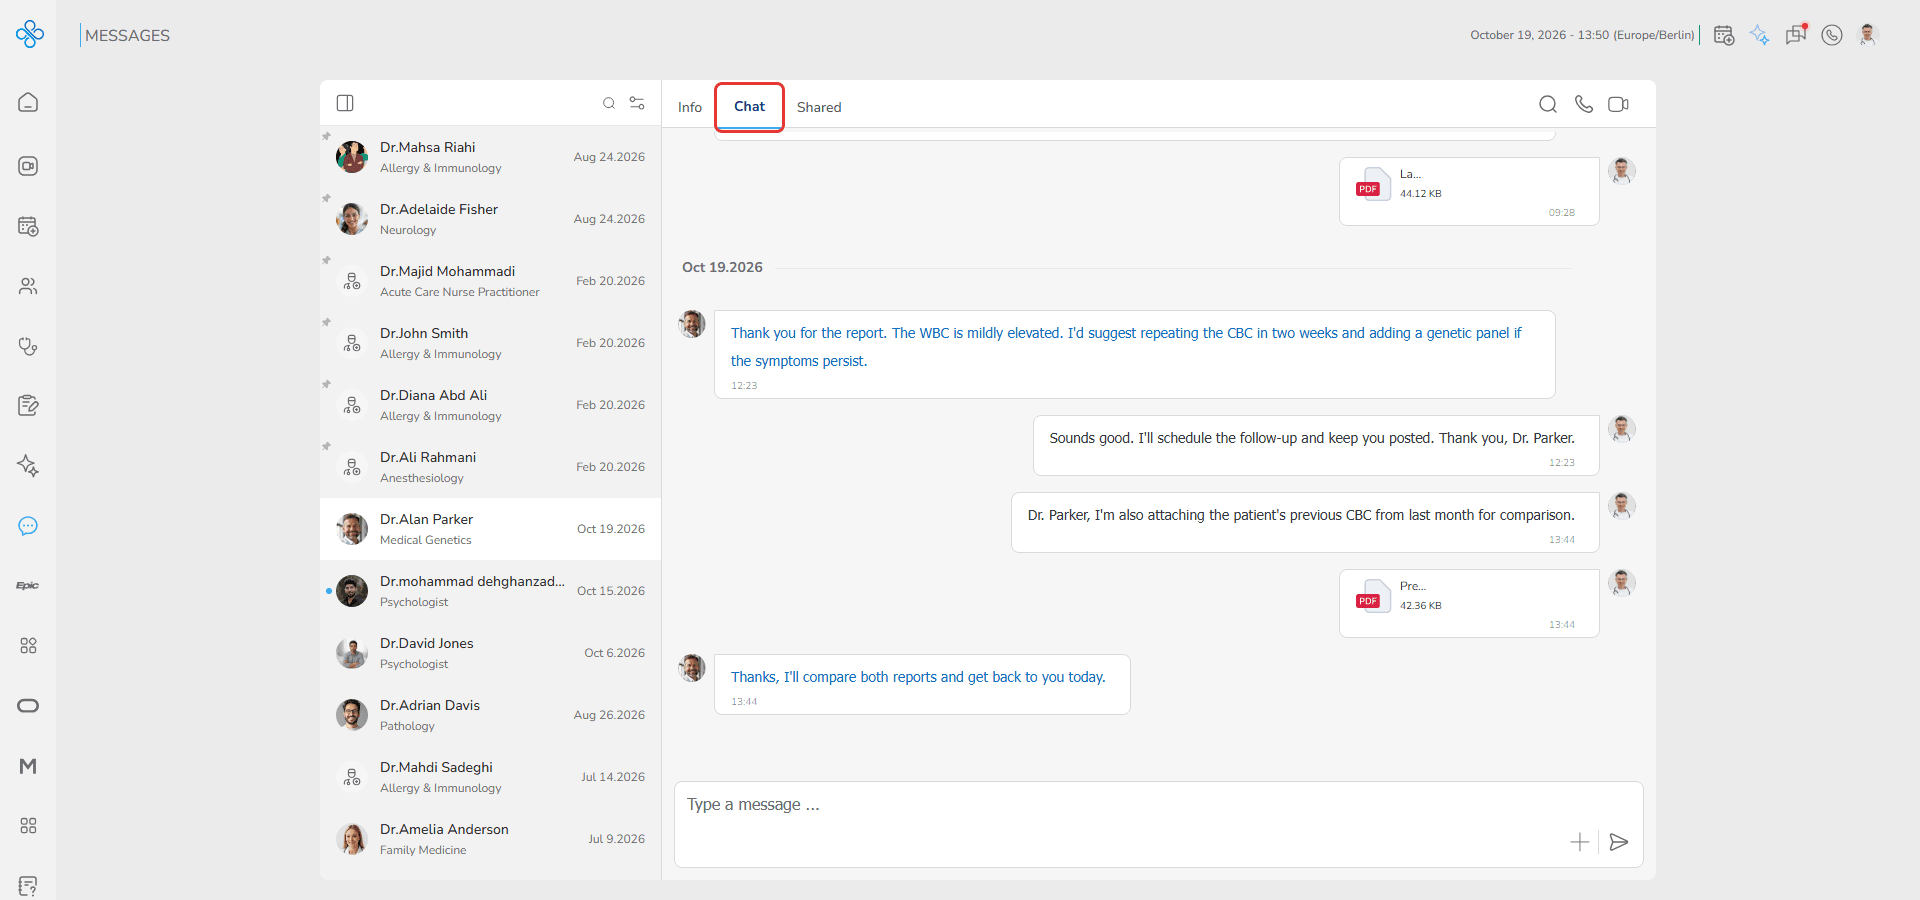
You will see the conversation screen:
- Messages appear in the center, grouped by date
- The input box is at the bottom
- Search and call options are at the top right
Step 2: Send a message
1. Go to the message input box at the bottom
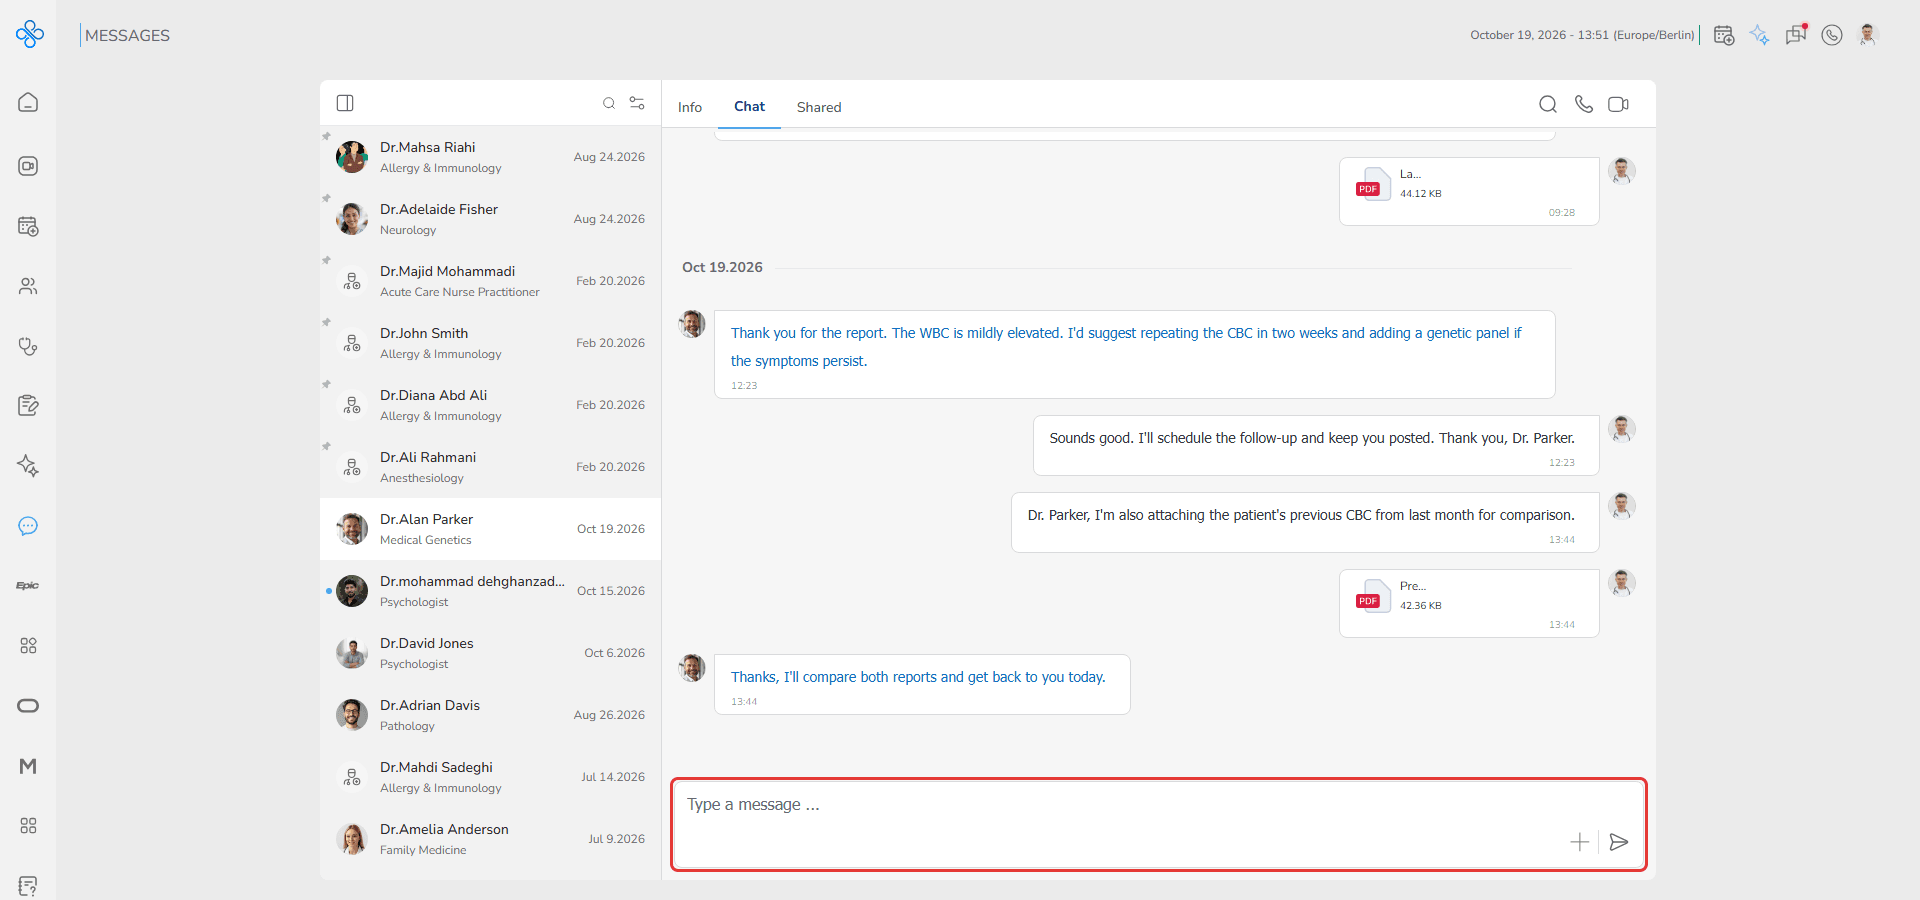
2. Type your message
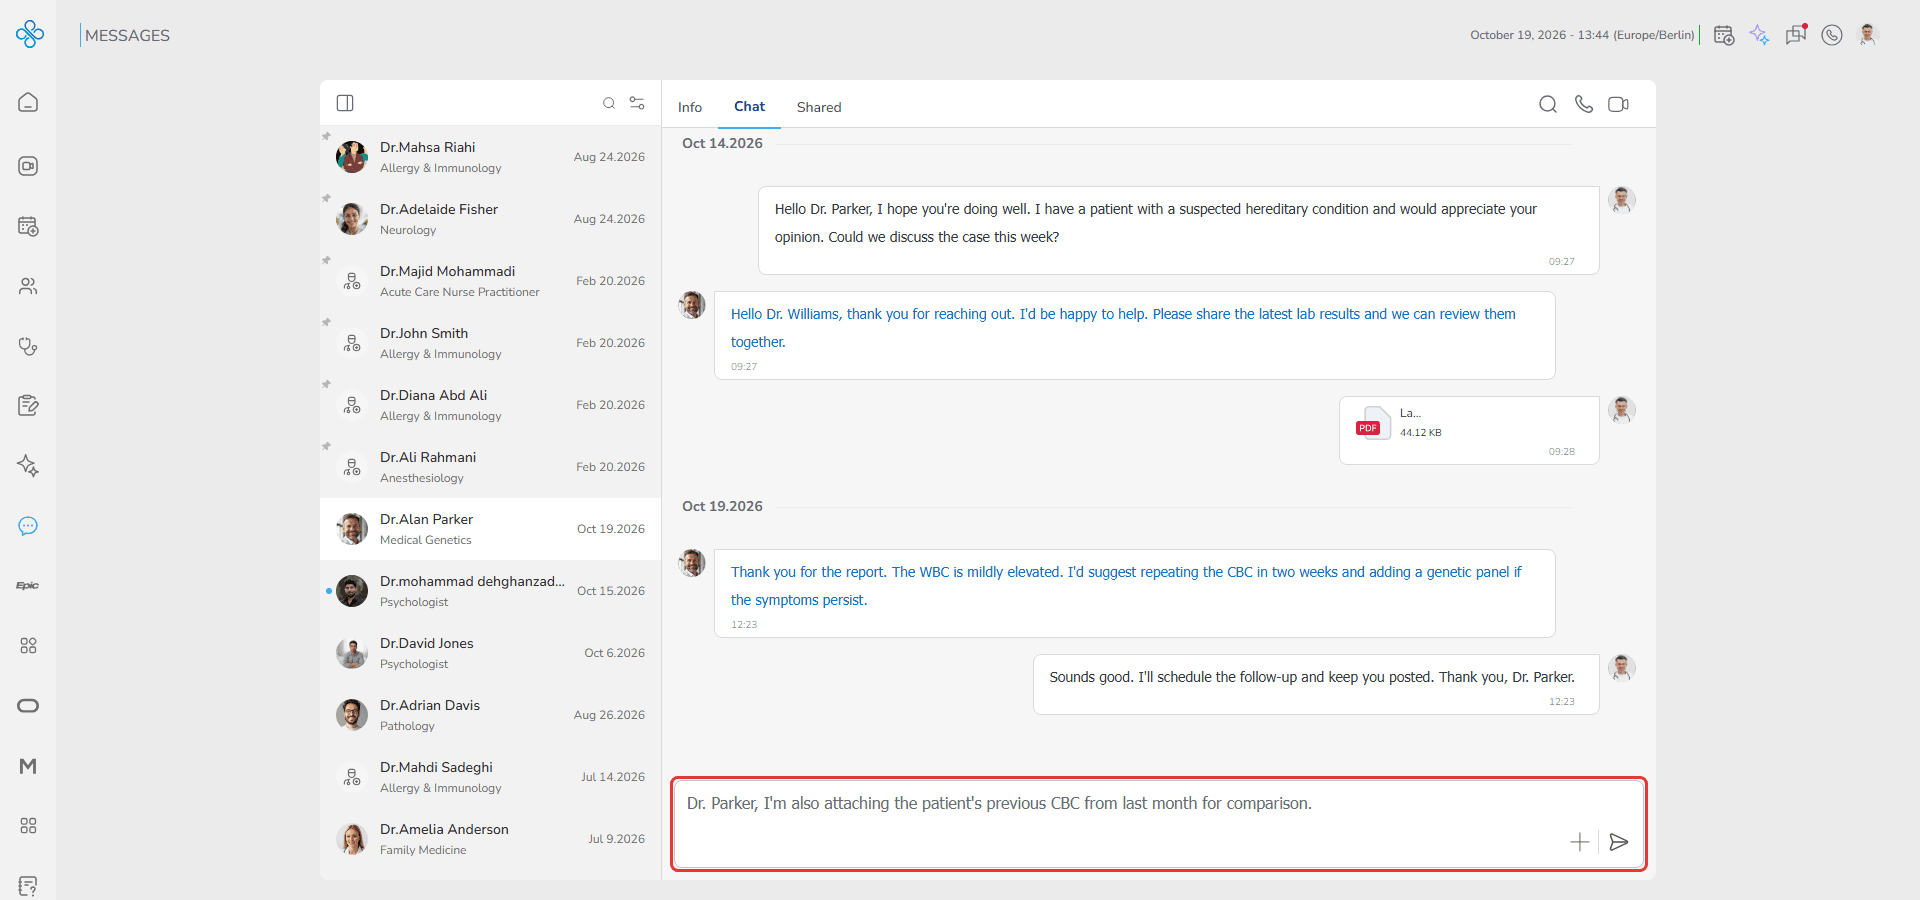
3. Press Enter or click the Send button
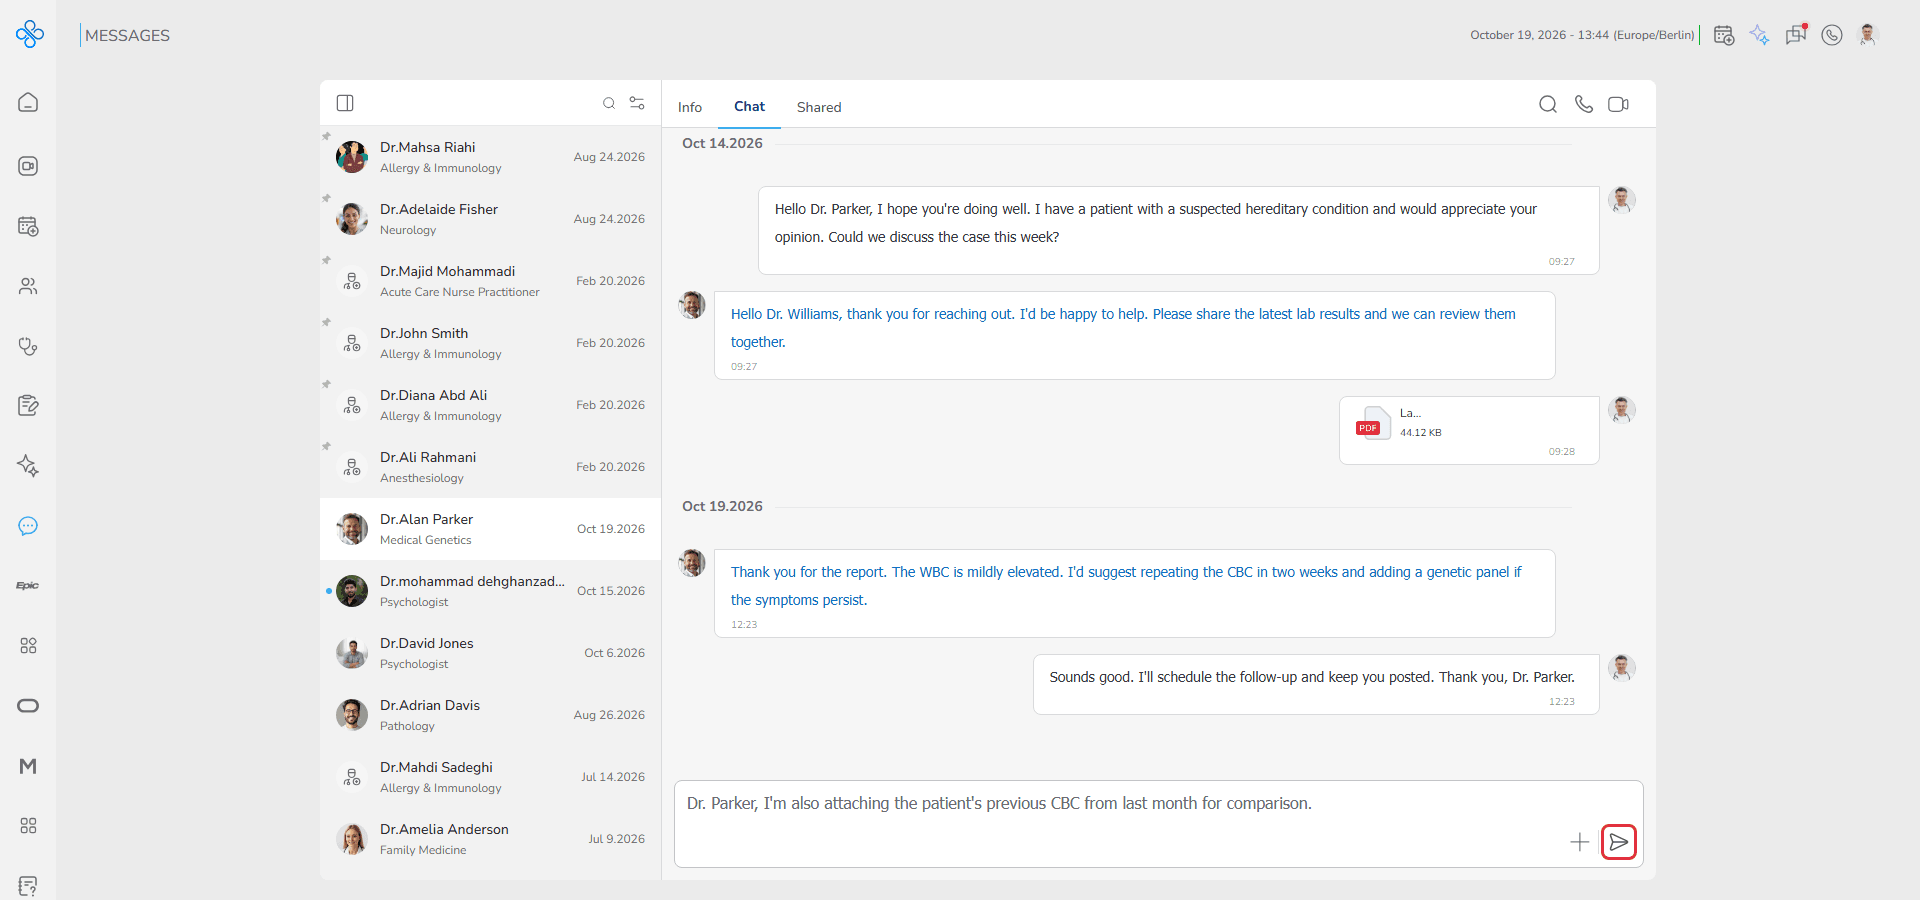
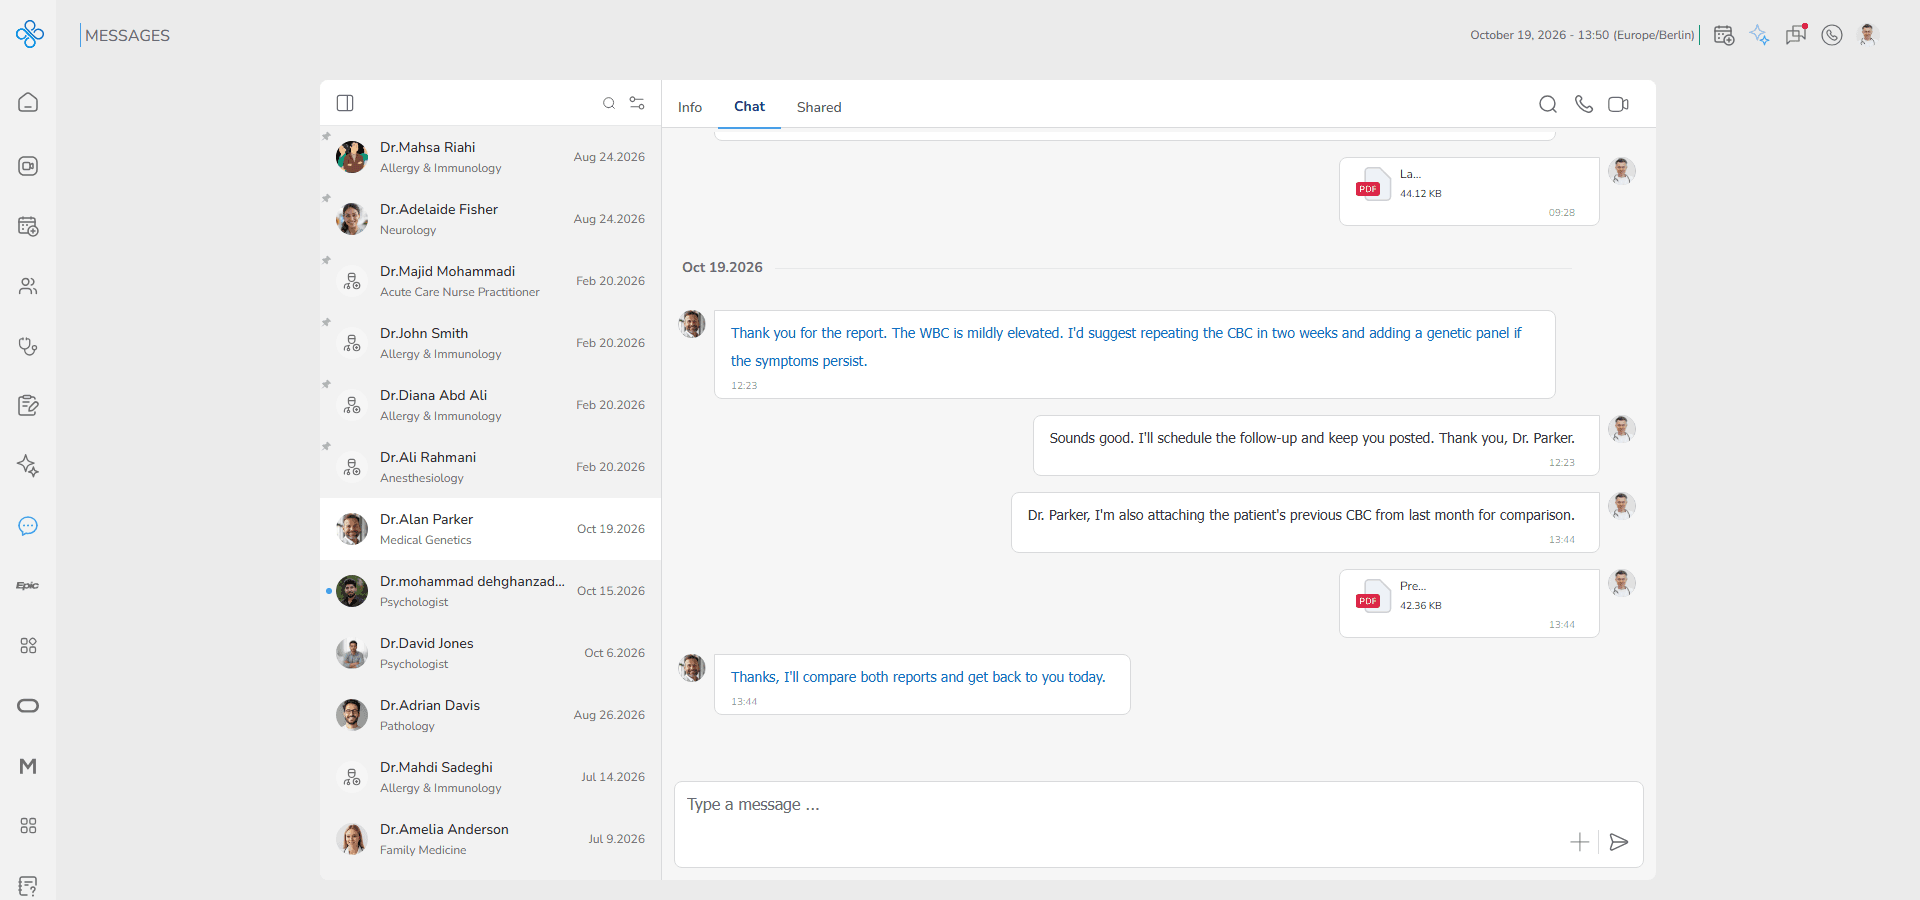
Your message appears immediately in the conversation.
If your contact is online, they may respond in real time.
Step 3: Delete a message
You can delete a message you sent.
1. Hover over the message — a More Actions (⋮) button appears
2. Click it and select Delete Message
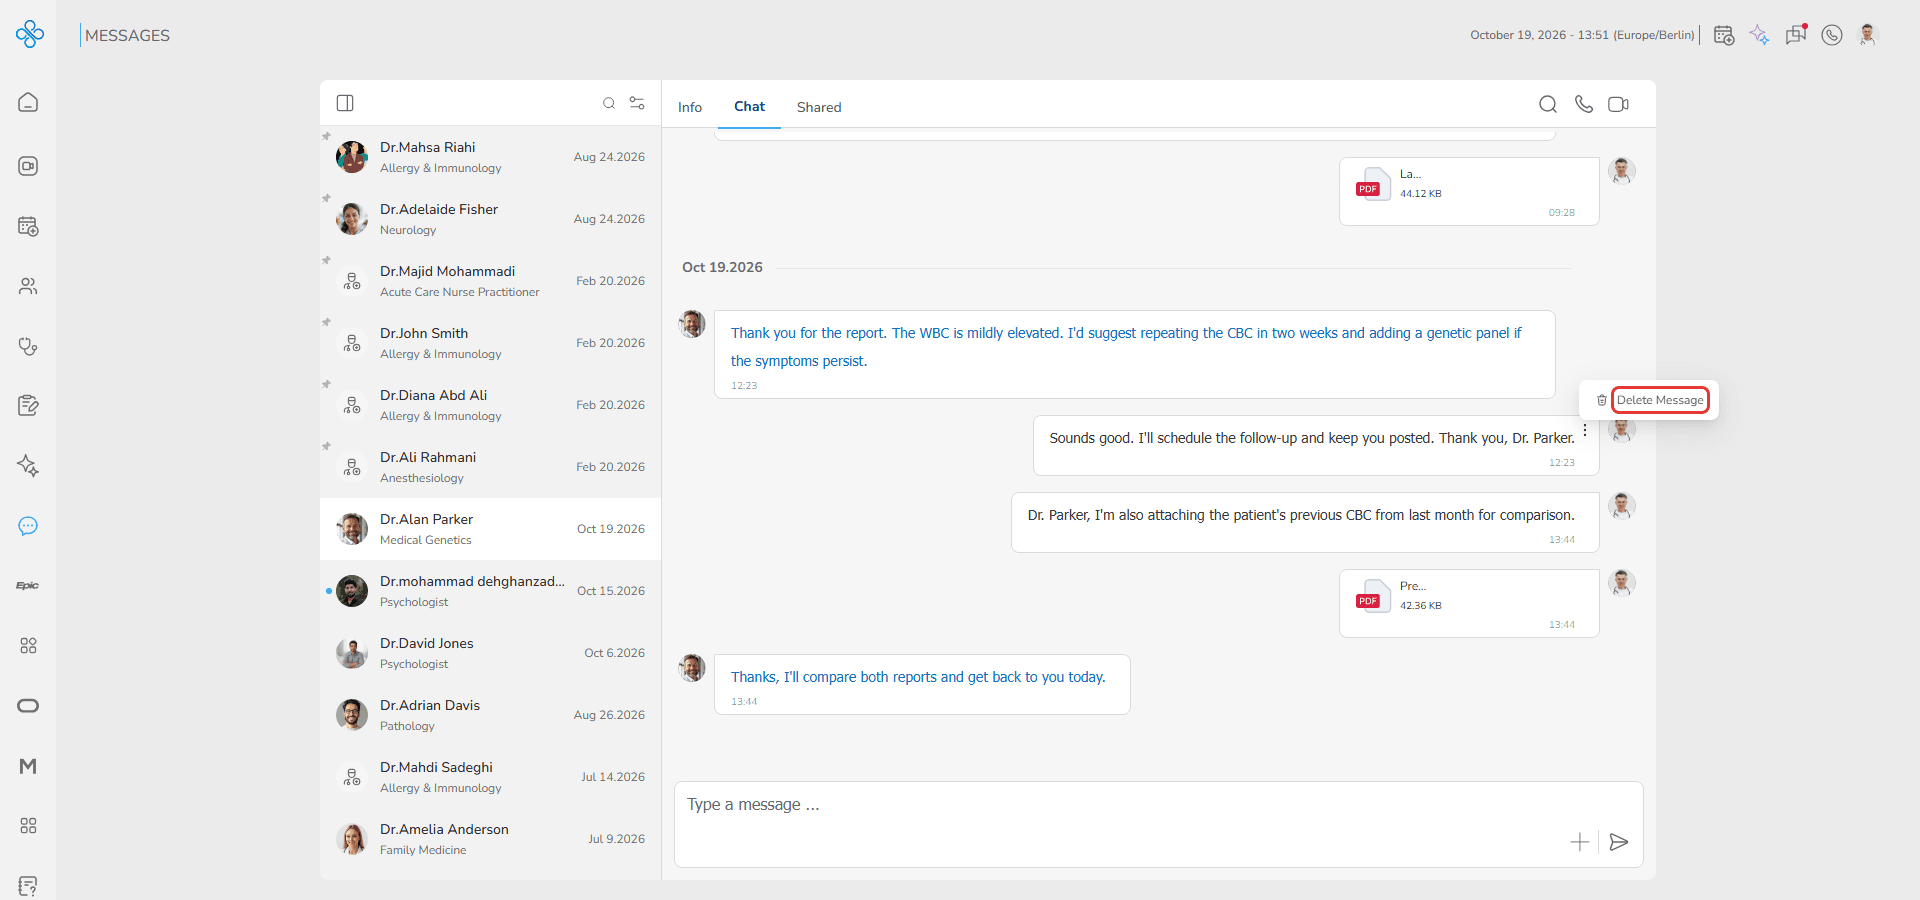
The message is removed from the conversation.
Step 4: Send a file
You can share documents or images directly in the chat.
1. Click the attachment (+) icon in the message box
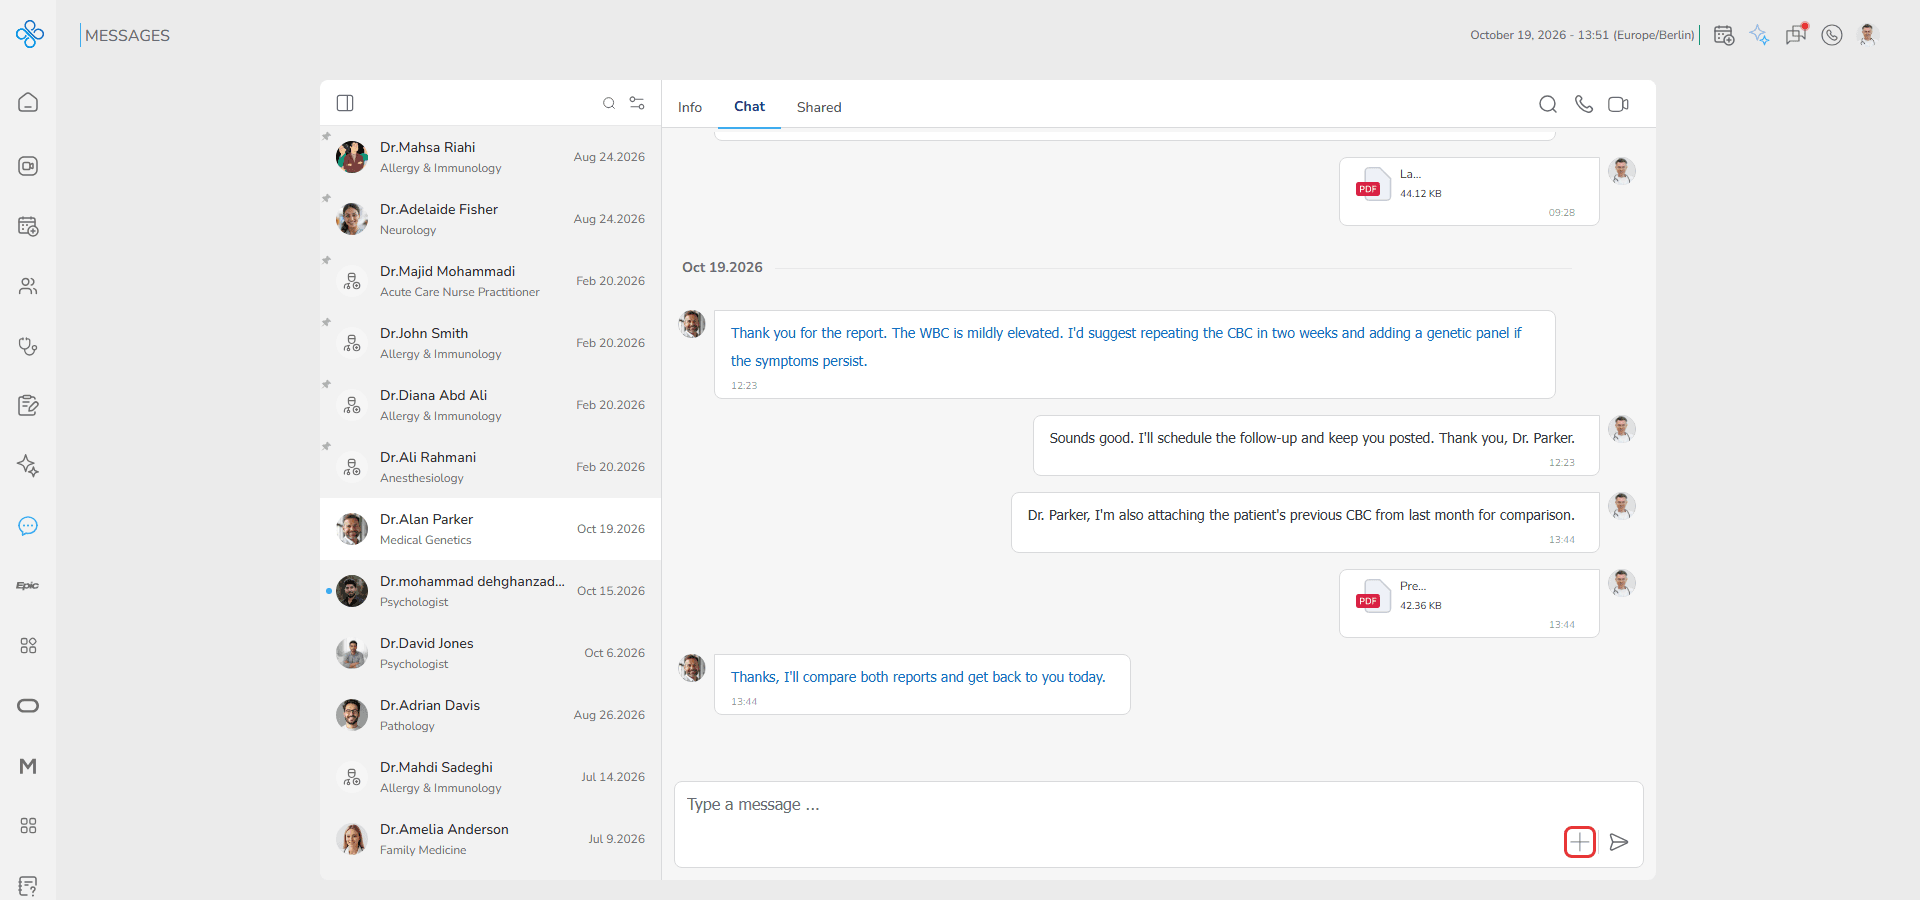
2. Select a file from your device — it appears in the message box before sending
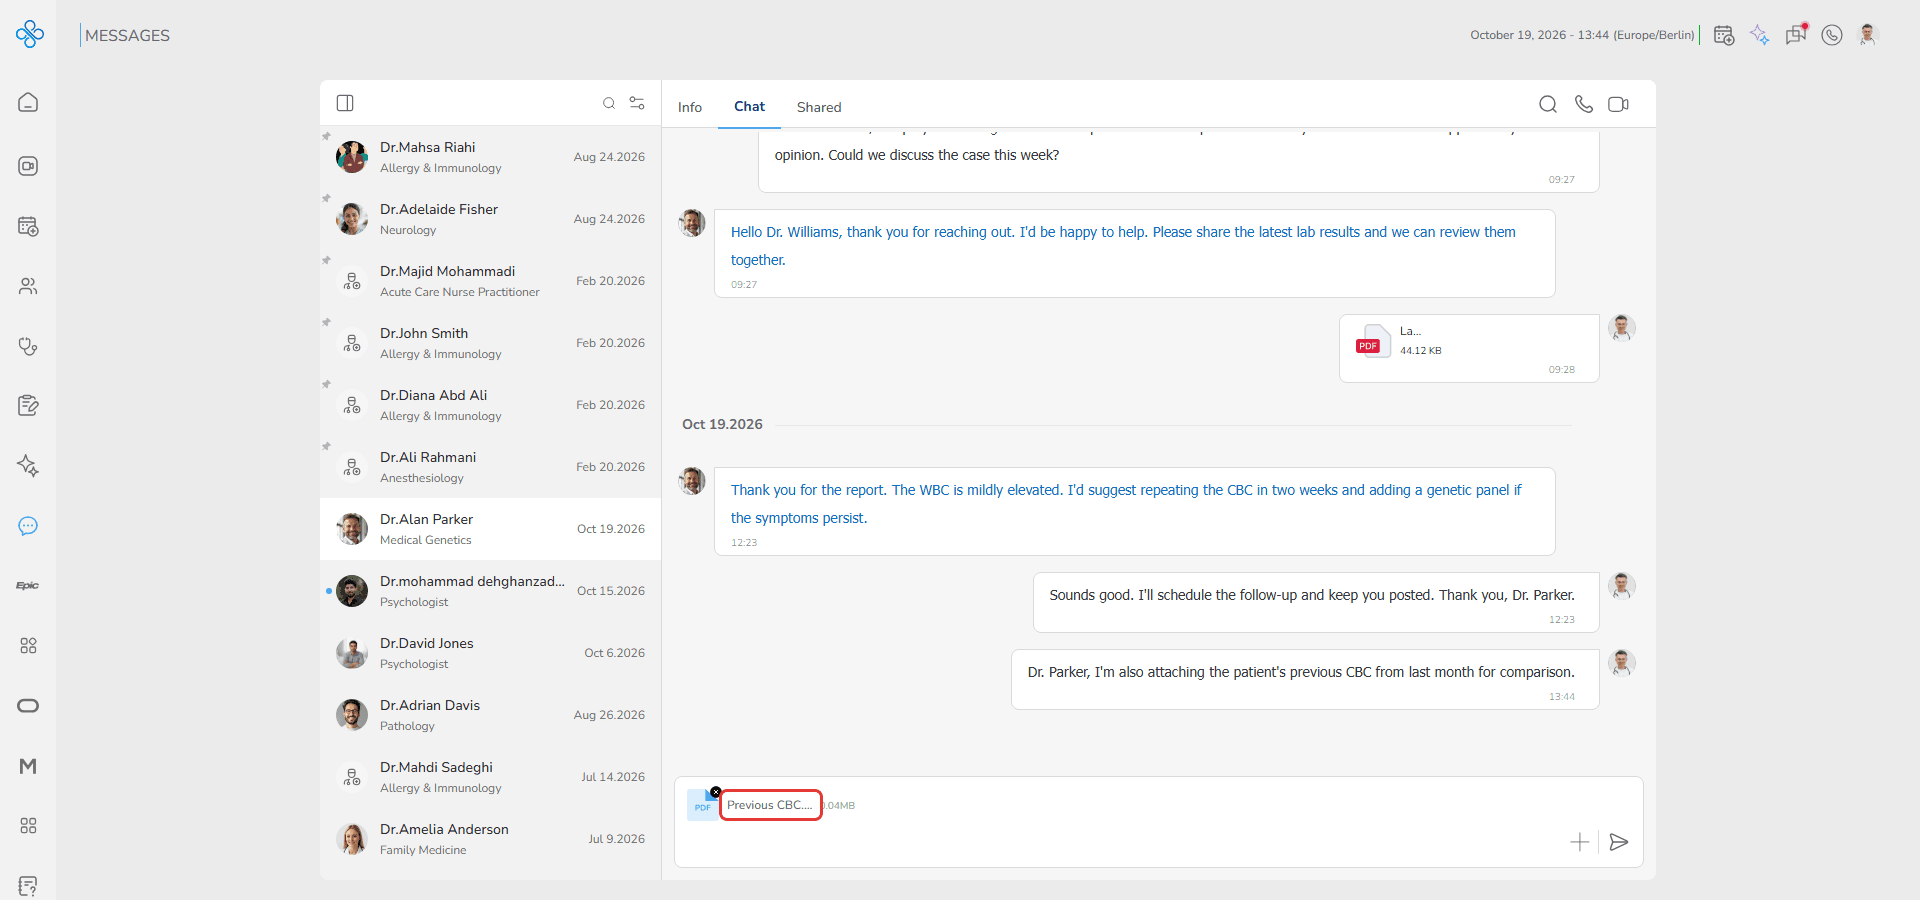
3. Click the Send button
The file appears in the chat as a clickable item (see the PDF in the conversation above).
You and your contact can open or download it anytime.
The same file is also available in the Shared tab.
Step 5: Search inside the conversation
If the conversation becomes long, you can search in messages.
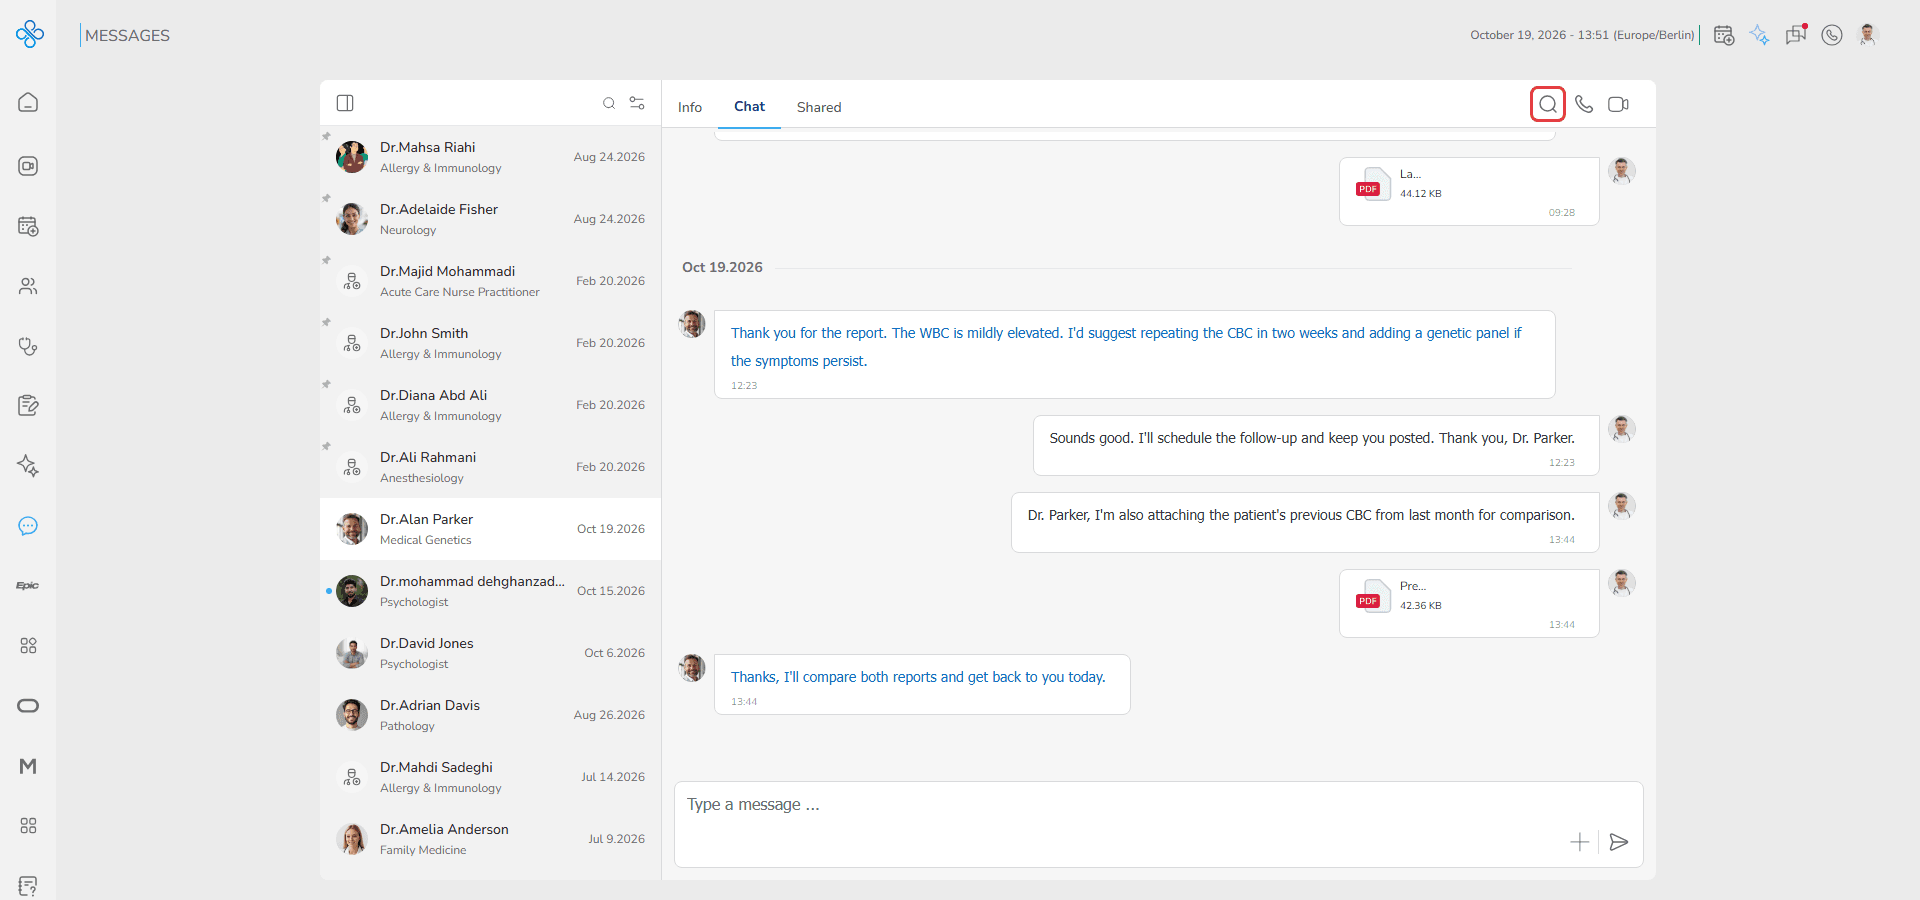
1. Click the search icon at the top
2. Type a keyword
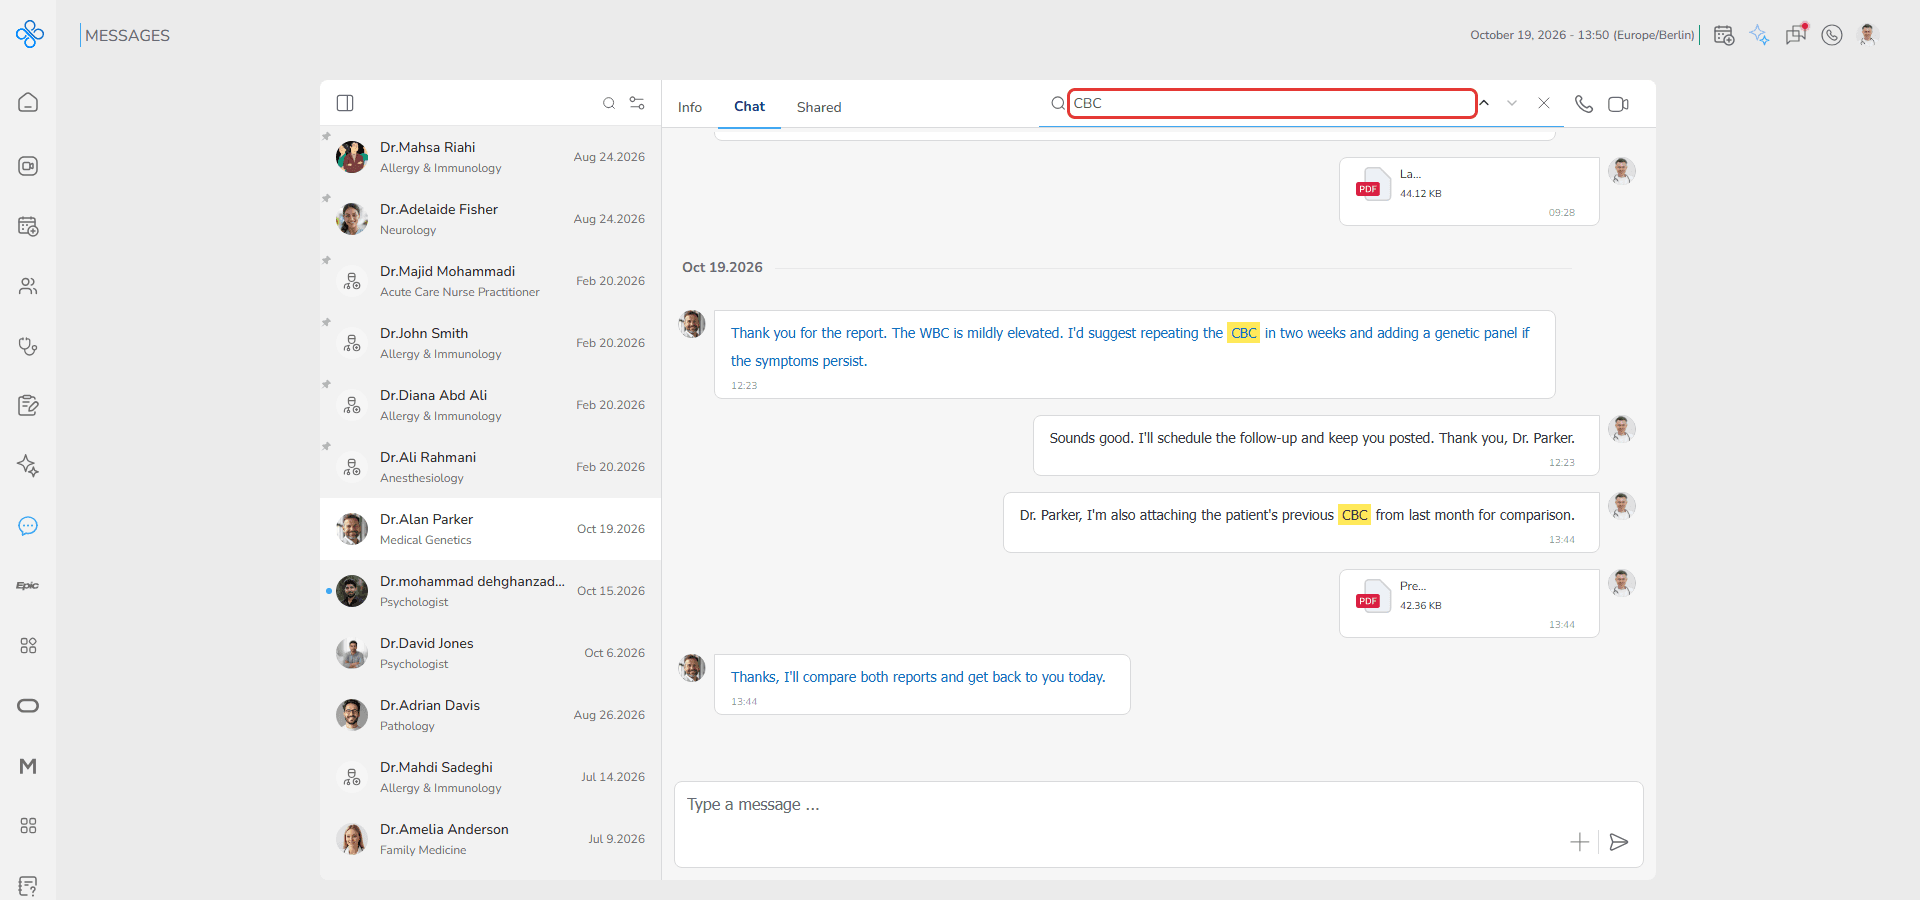
3. Press Enter — matching words are highlighted in the messages
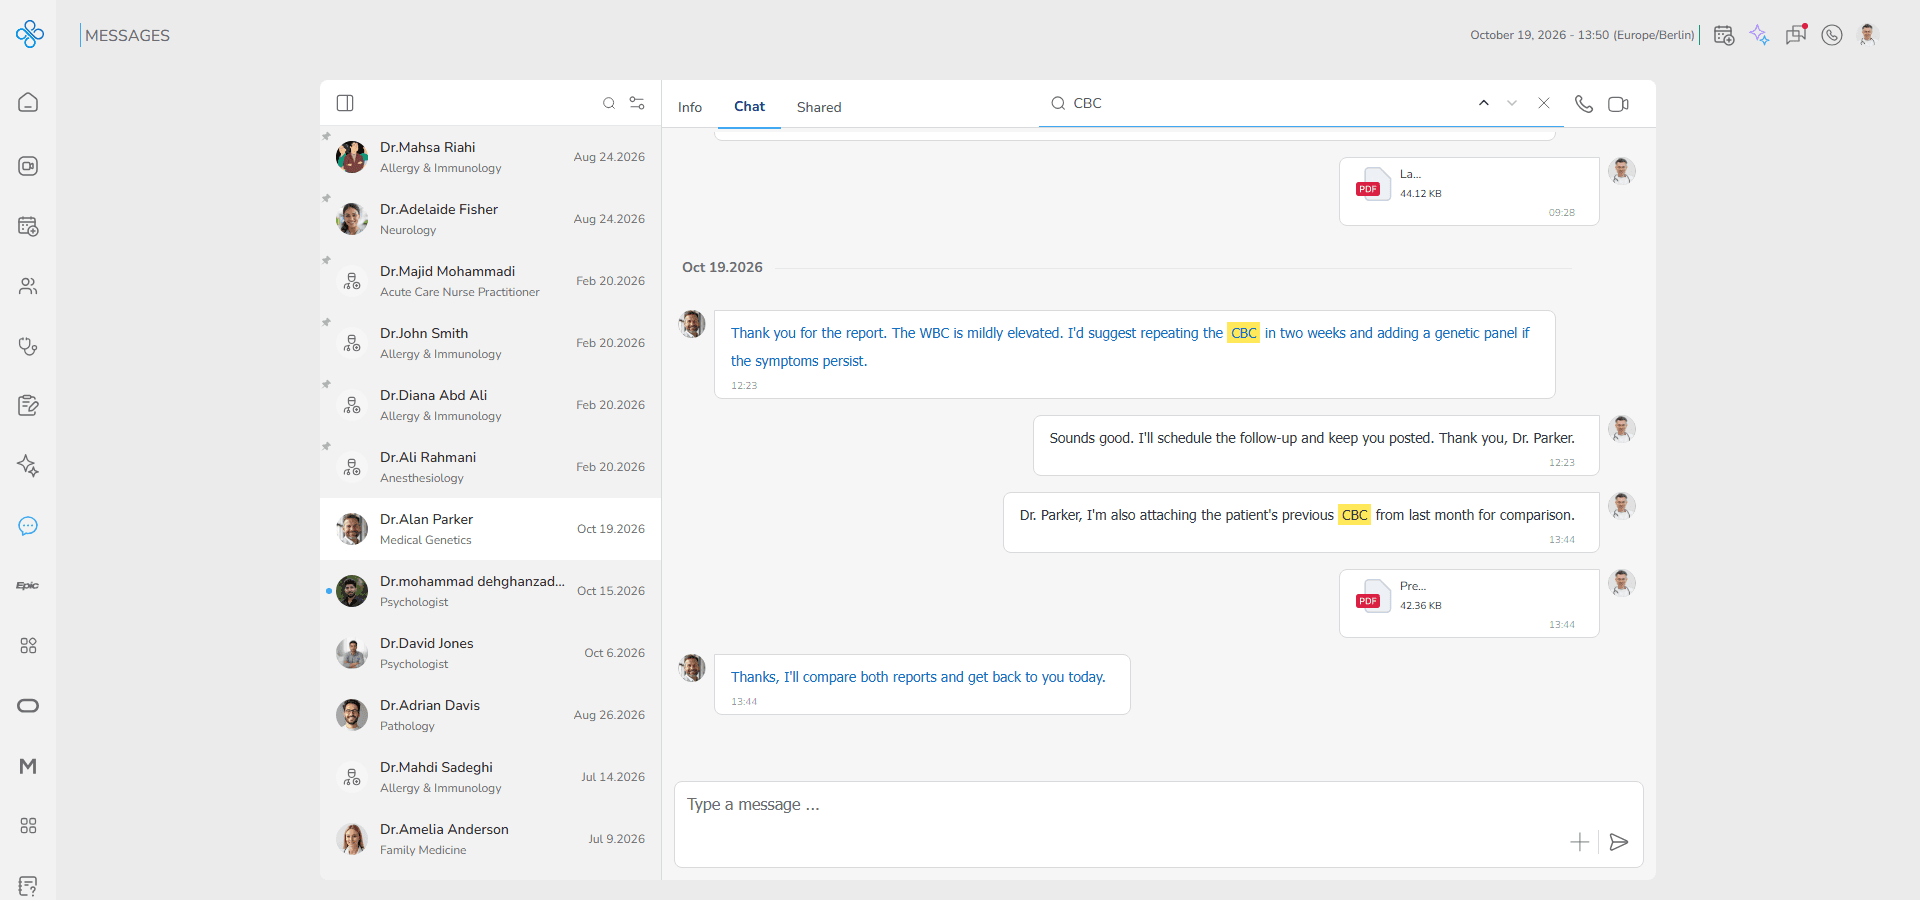
4. Use the arrows to move between results
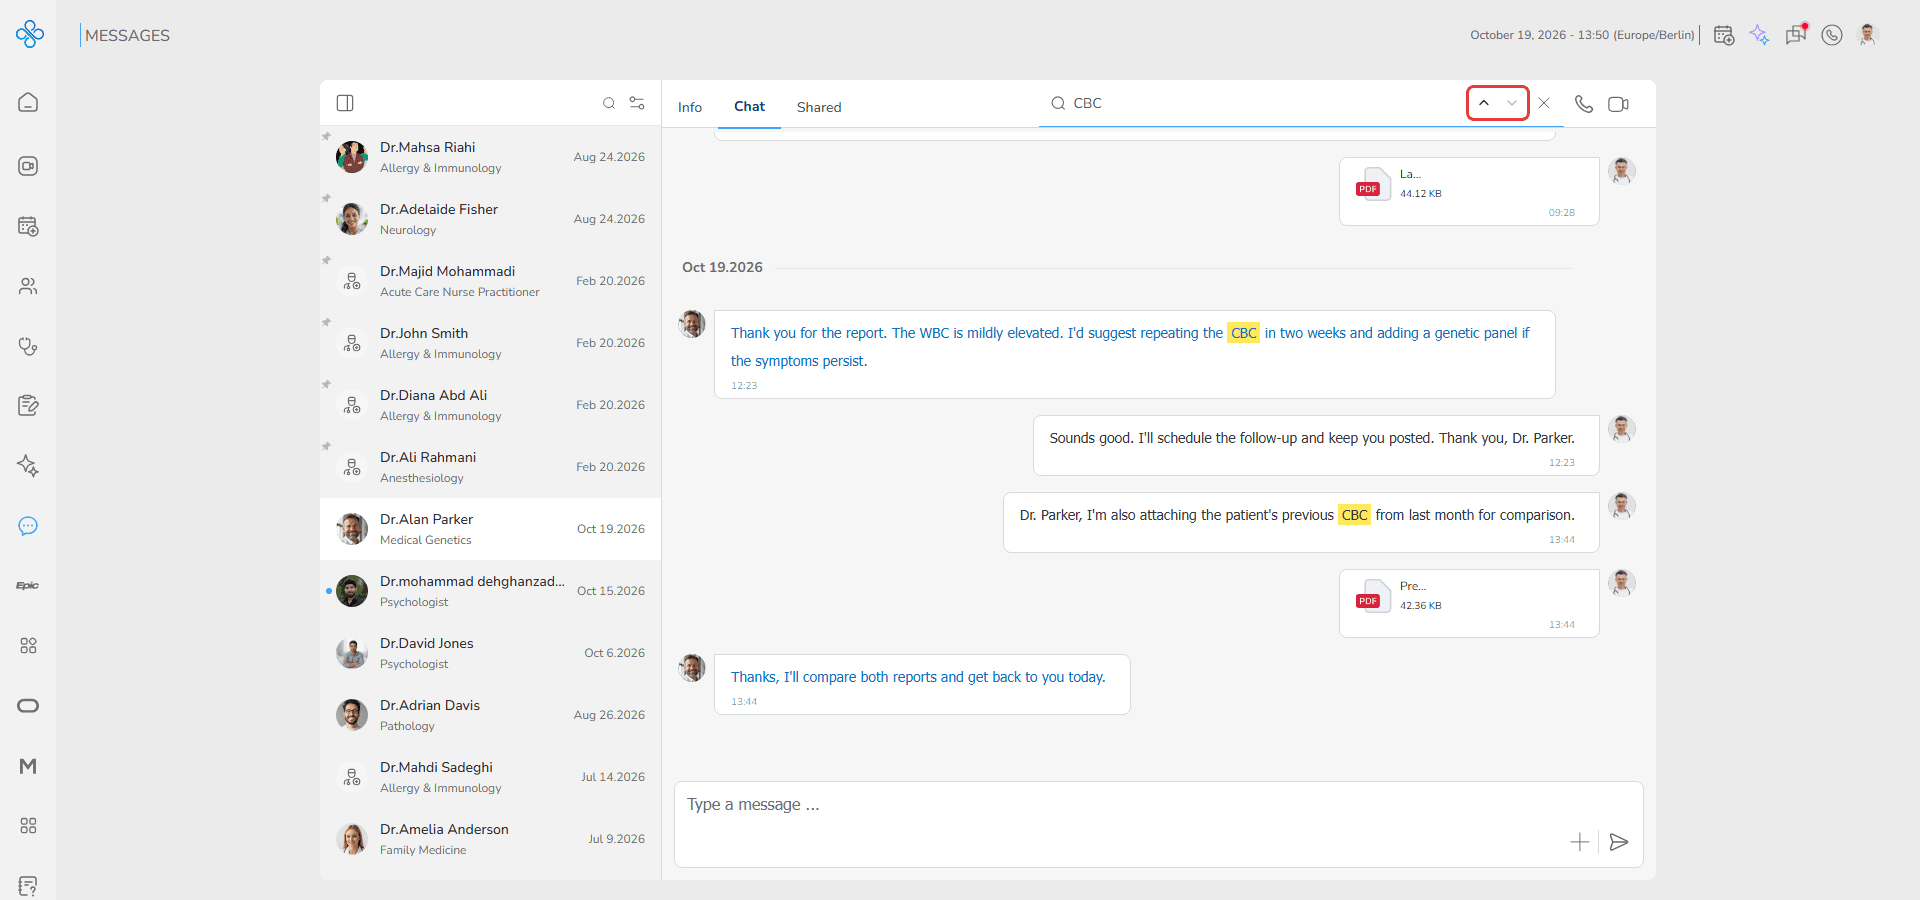
This helps you quickly find important information without scrolling.
Step 6: Start a call
At the top right of the chat, you will see the call buttons.
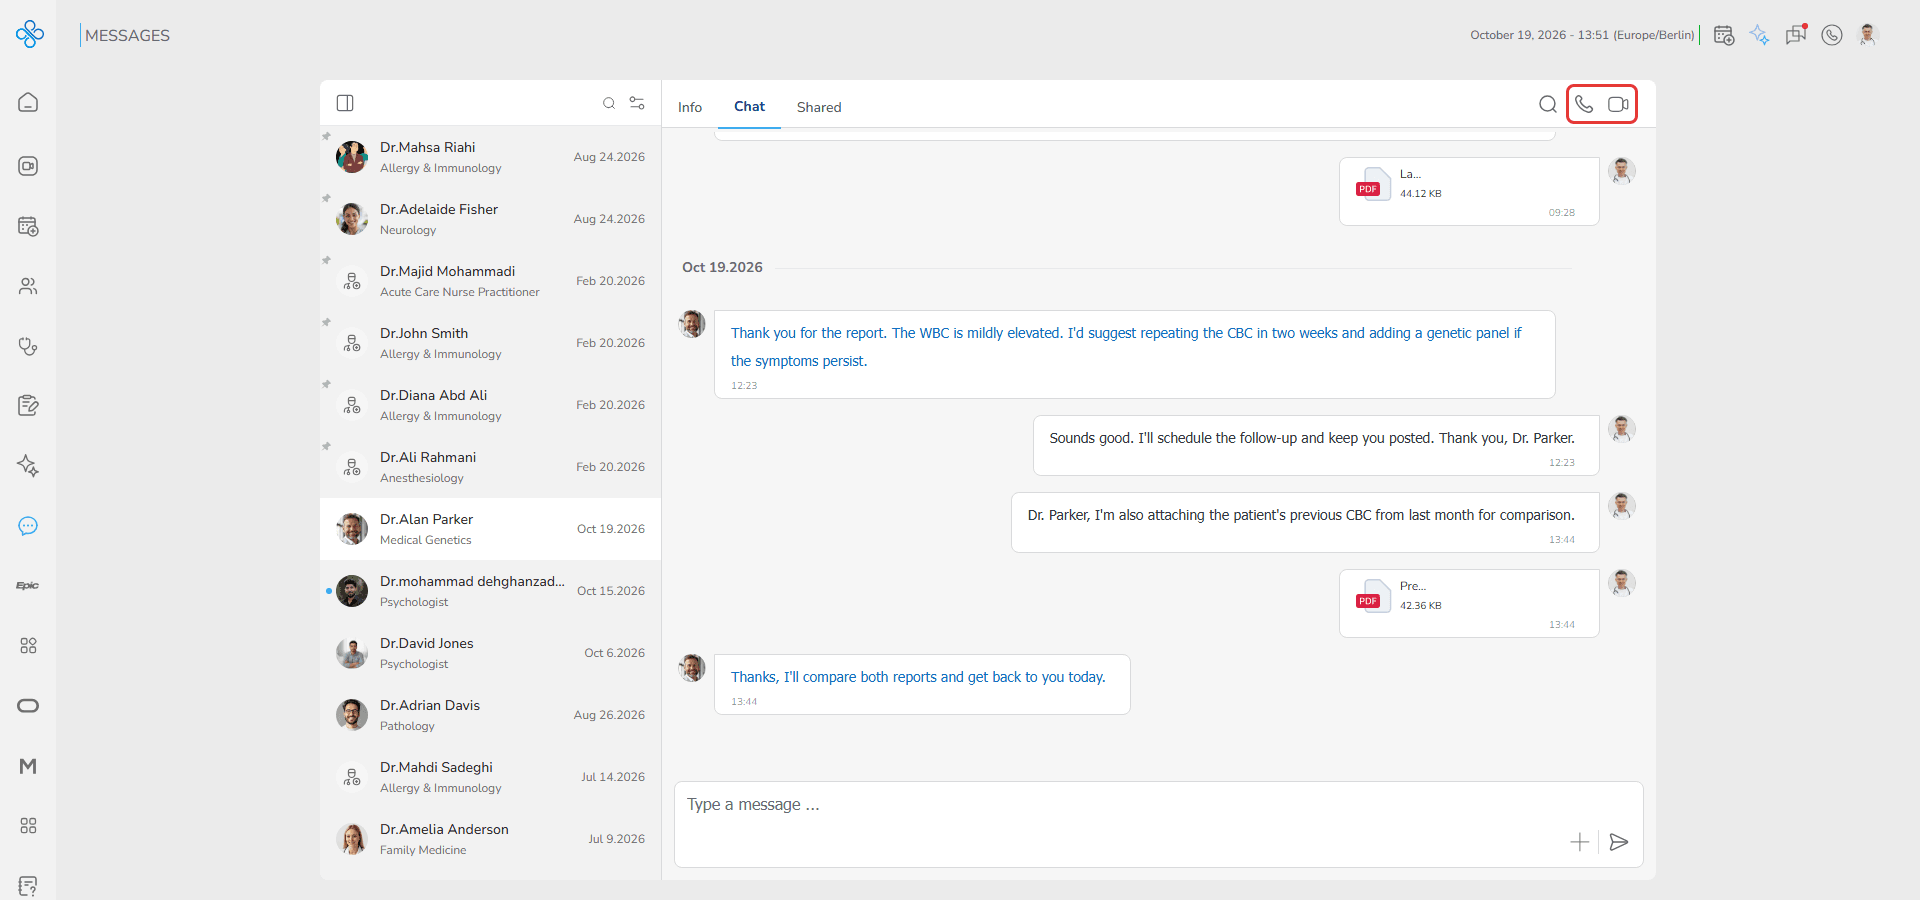
You can:
- Start a voice call
- Start a video call
Click one of these to begin communication immediately, without leaving the Messages page.
What happens when you use chat
- Messages are sent instantly after you send them
- Files appear immediately in the conversation
- Uploaded files are also saved in the Shared tab
- Search highlights matching words inside messages
When should you use this tab
Use the Chat tab when you want to:
- Ask questions
- Share patient related information
- Send documents
- Follow up with your contact
- Start a quick call
Simple flow to remember
- Select a conversation
- Chat opens by default
- Send a message or file
- Continue communication or start a call
Shared Tab
The Shared tab is where you can see and manage all files exchanged between you and your contact.
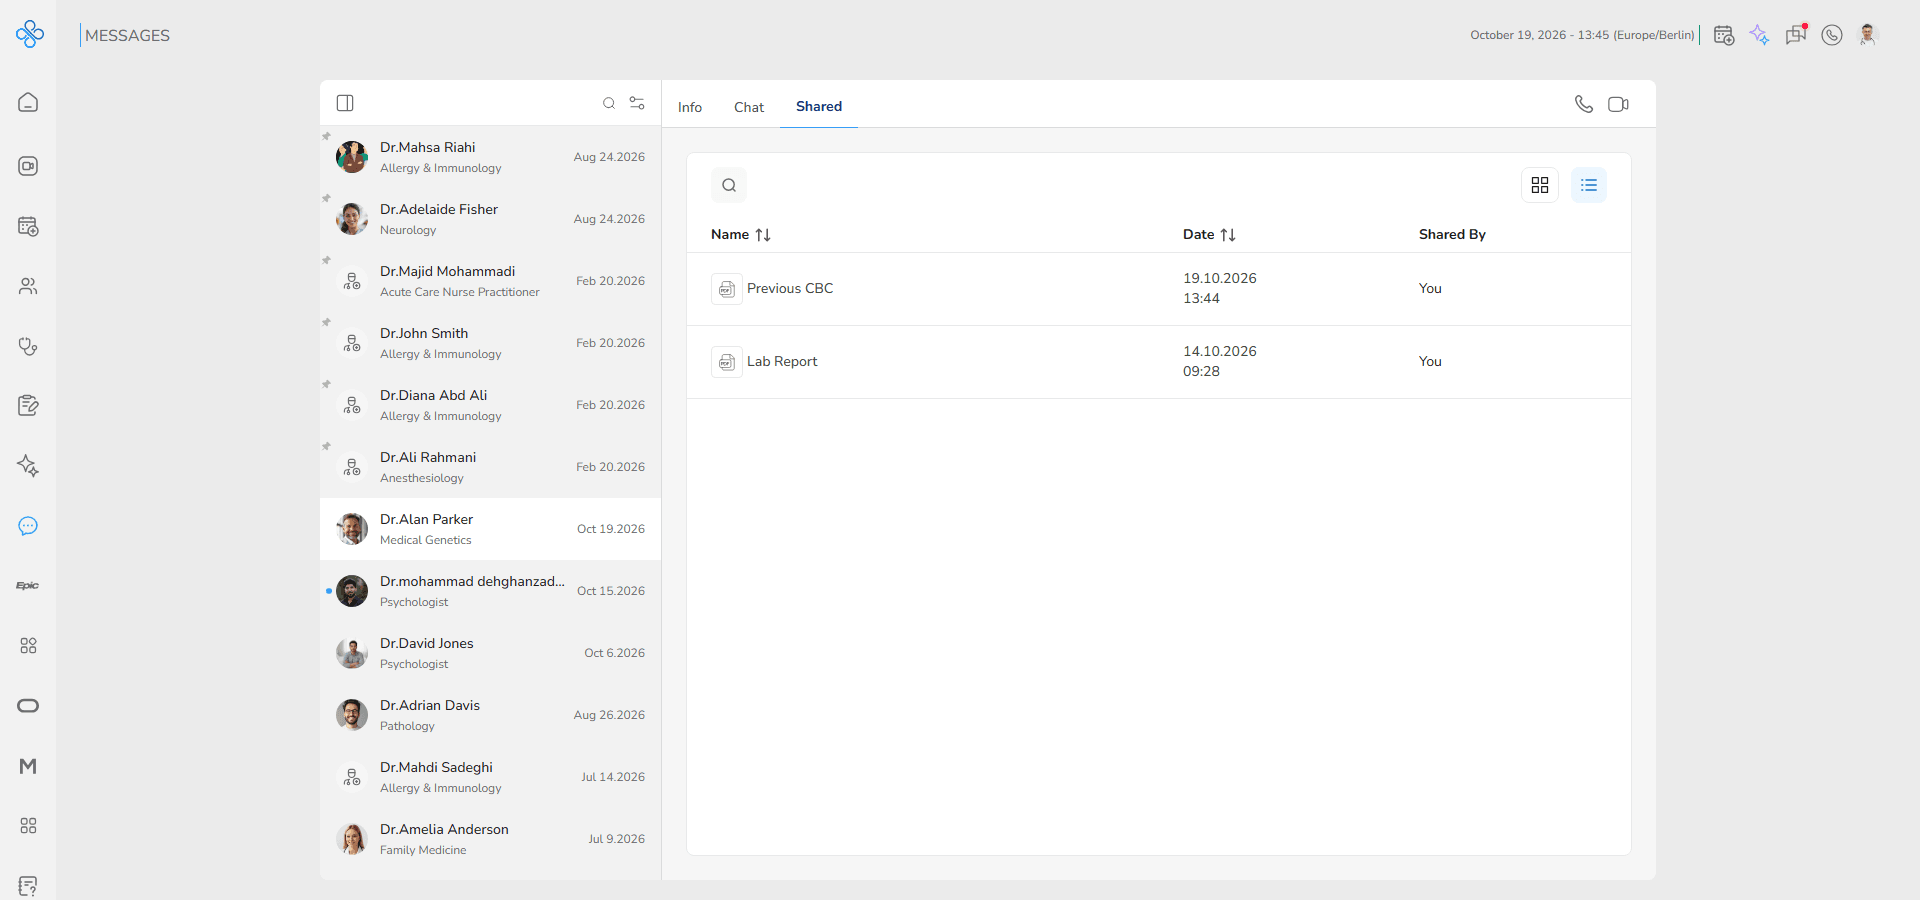
Instead of searching through chat messages, everything is collected here in one clear list.
You can use this tab to quickly find, open, download, or remove files when needed.
Step 1: Open the Shared tab
Click the Shared tab at the top of the conversation.
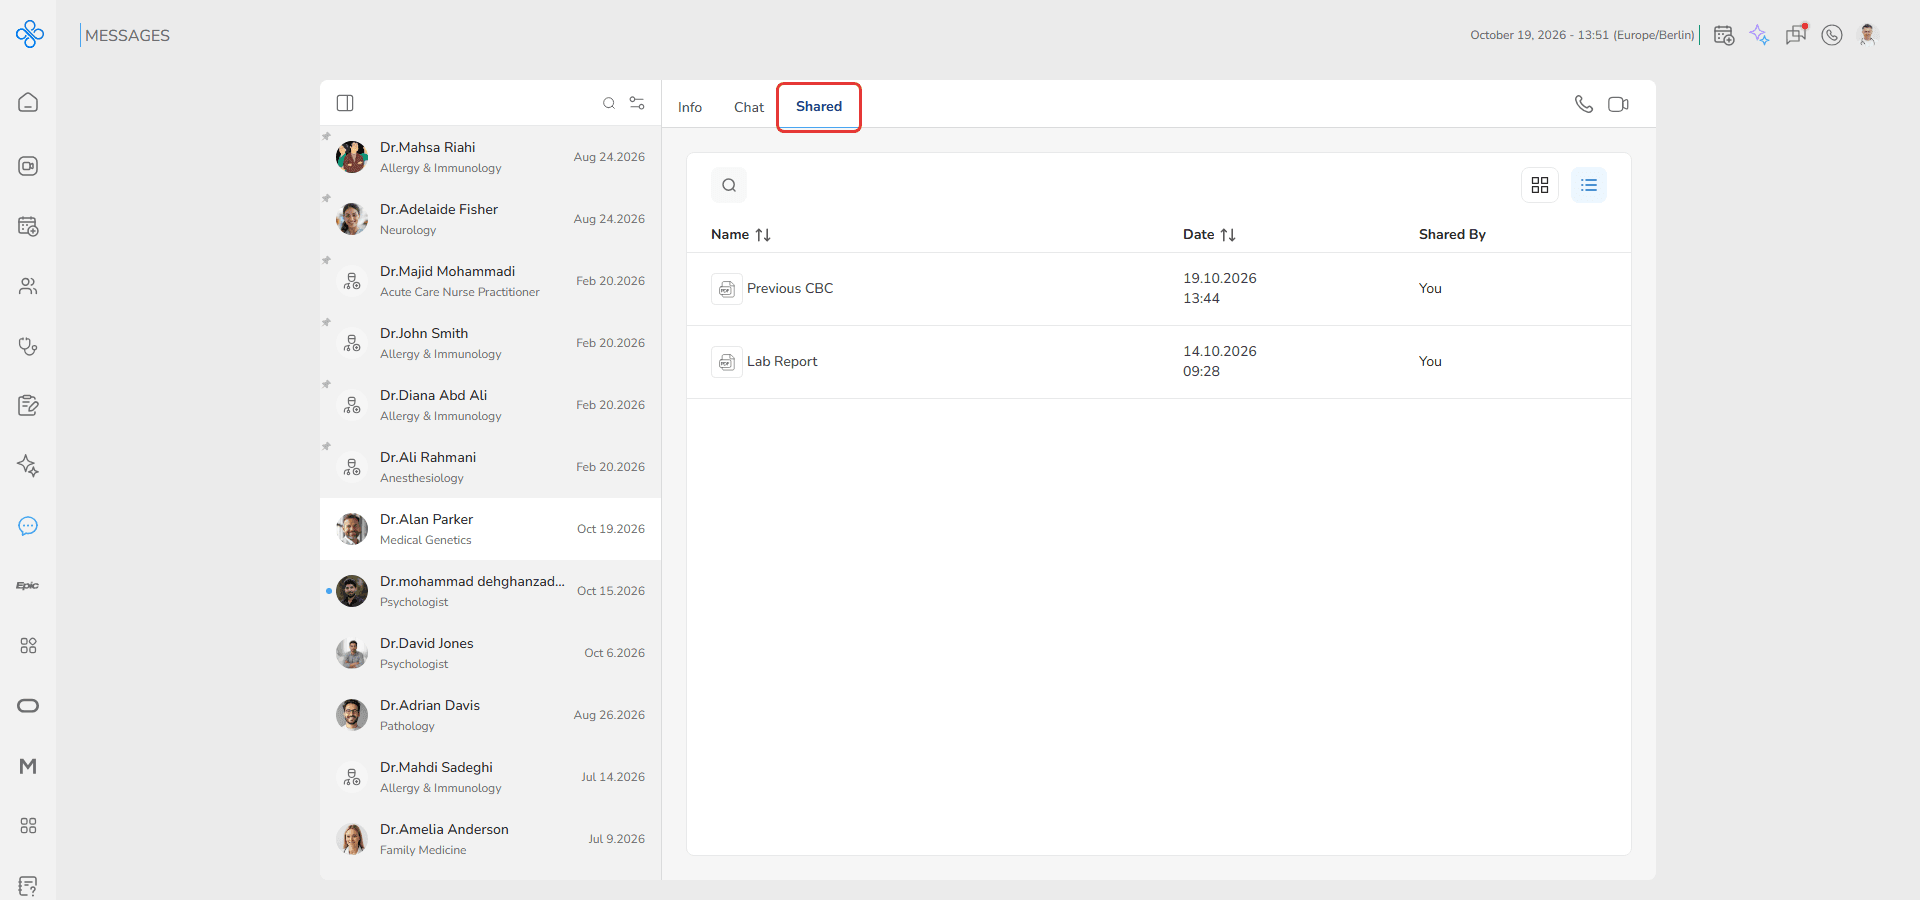
You will see a list of all shared files.
Each file includes details like name, date, and who shared it.
Step 2: Change file view (Grid / List)
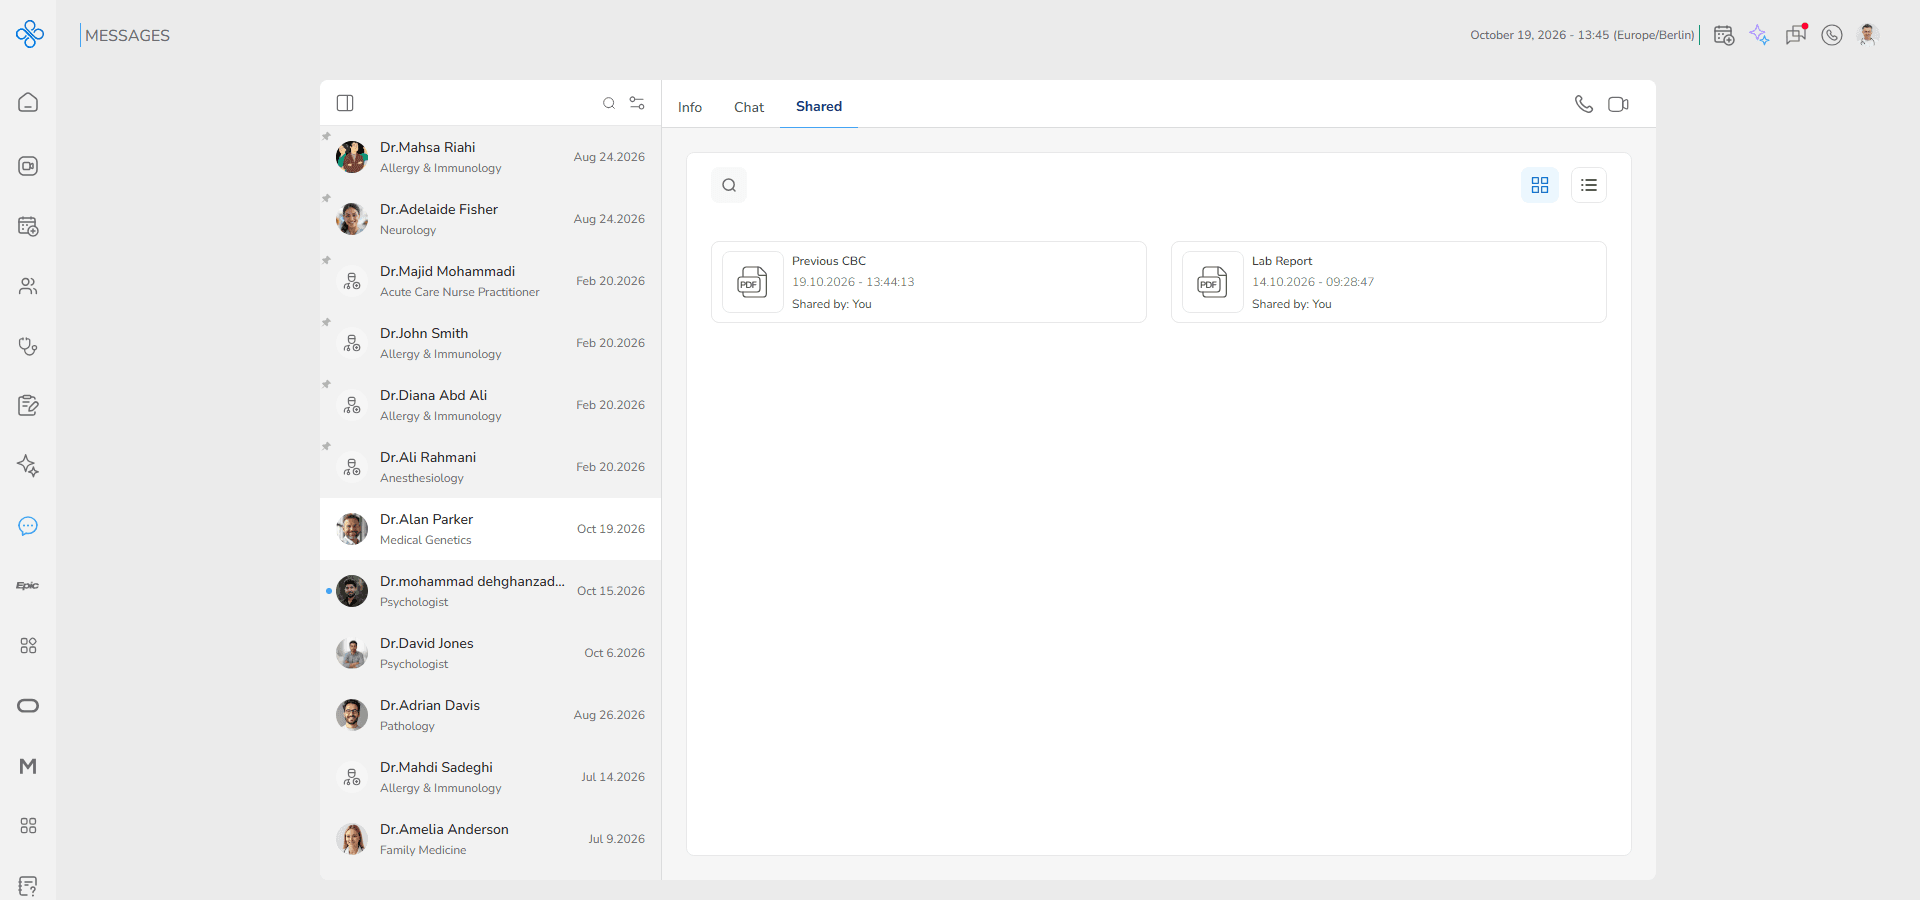
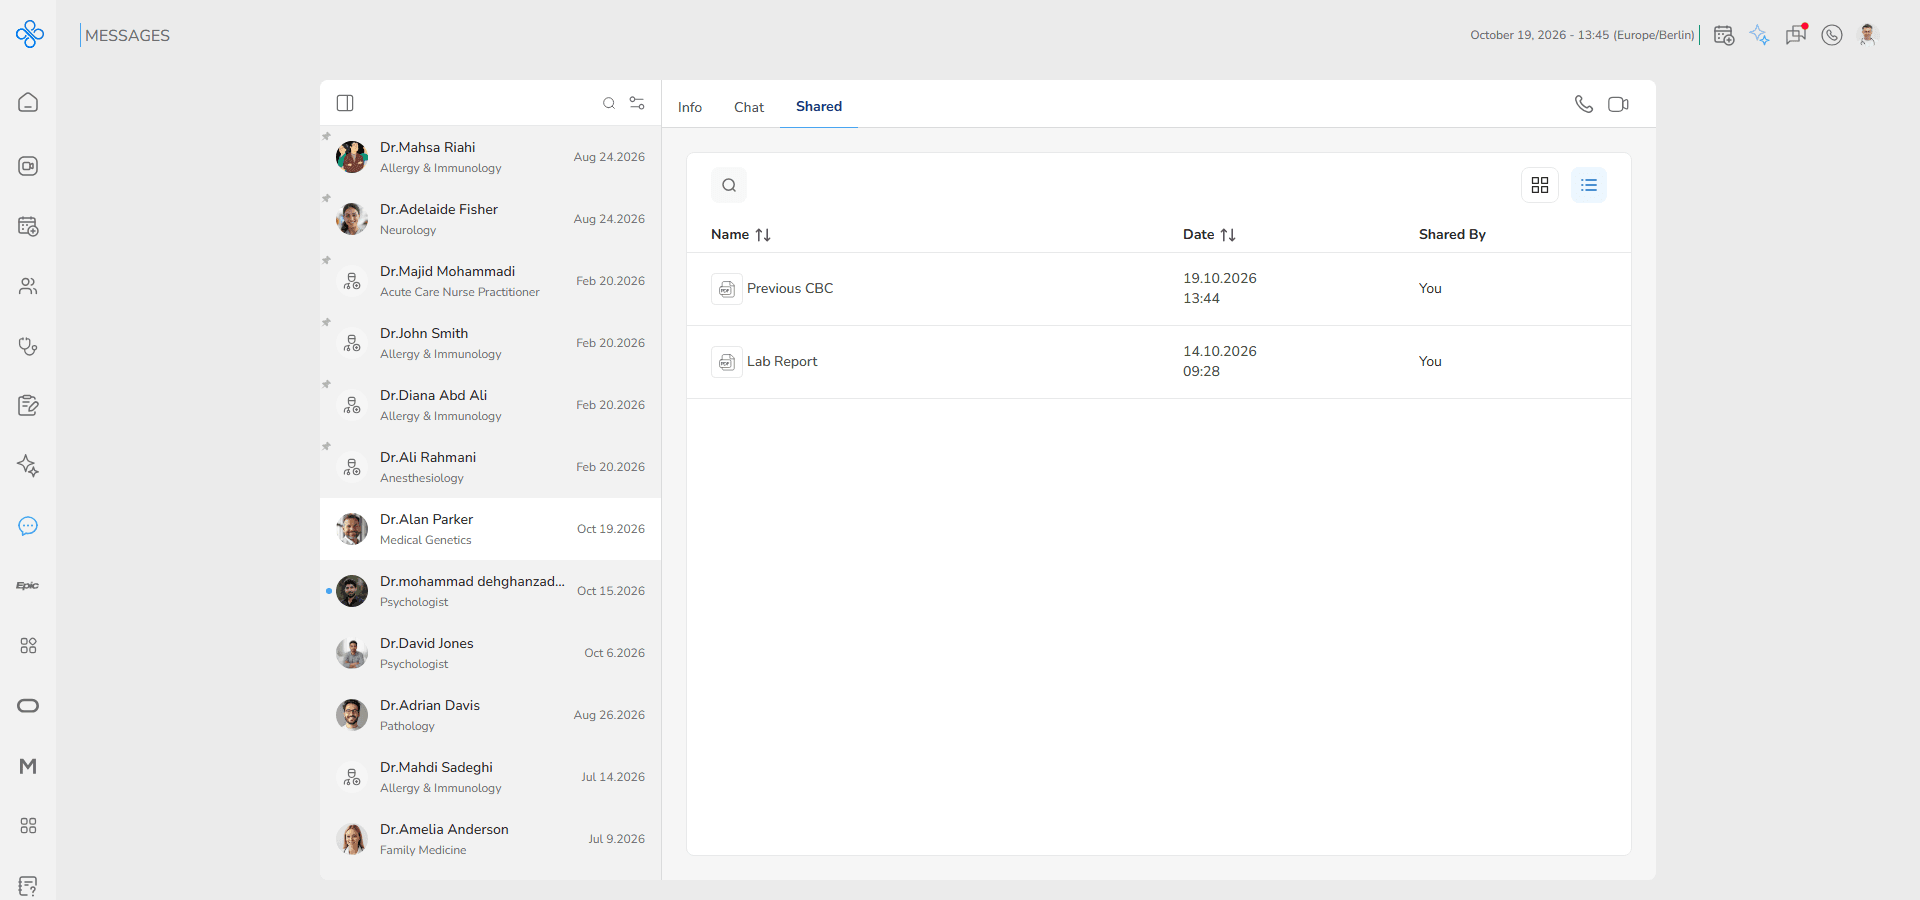
At the top right of the file list, you will see two buttons.
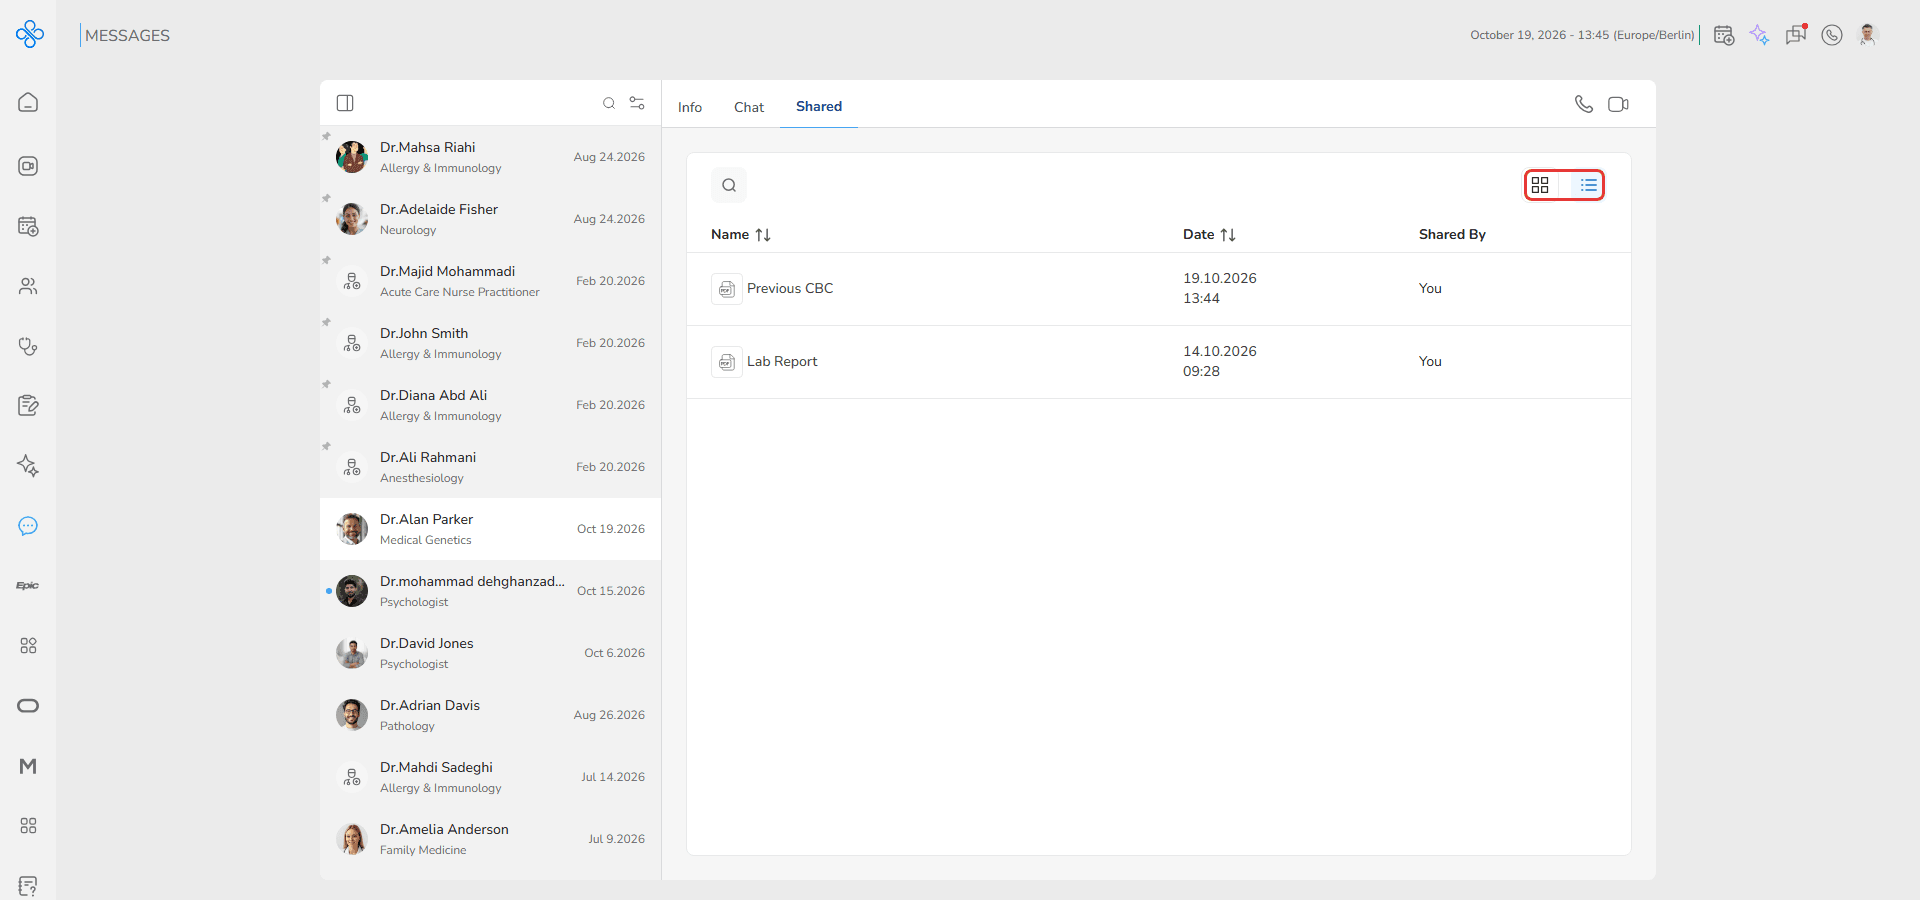
These buttons control how files are displayed:
- Grid view → shows files as cards
- List view → shows files in rows with their details
Step 3: Find a file
If the list is long, you do not need to scroll.
1. Click the search icon at the top left of the list
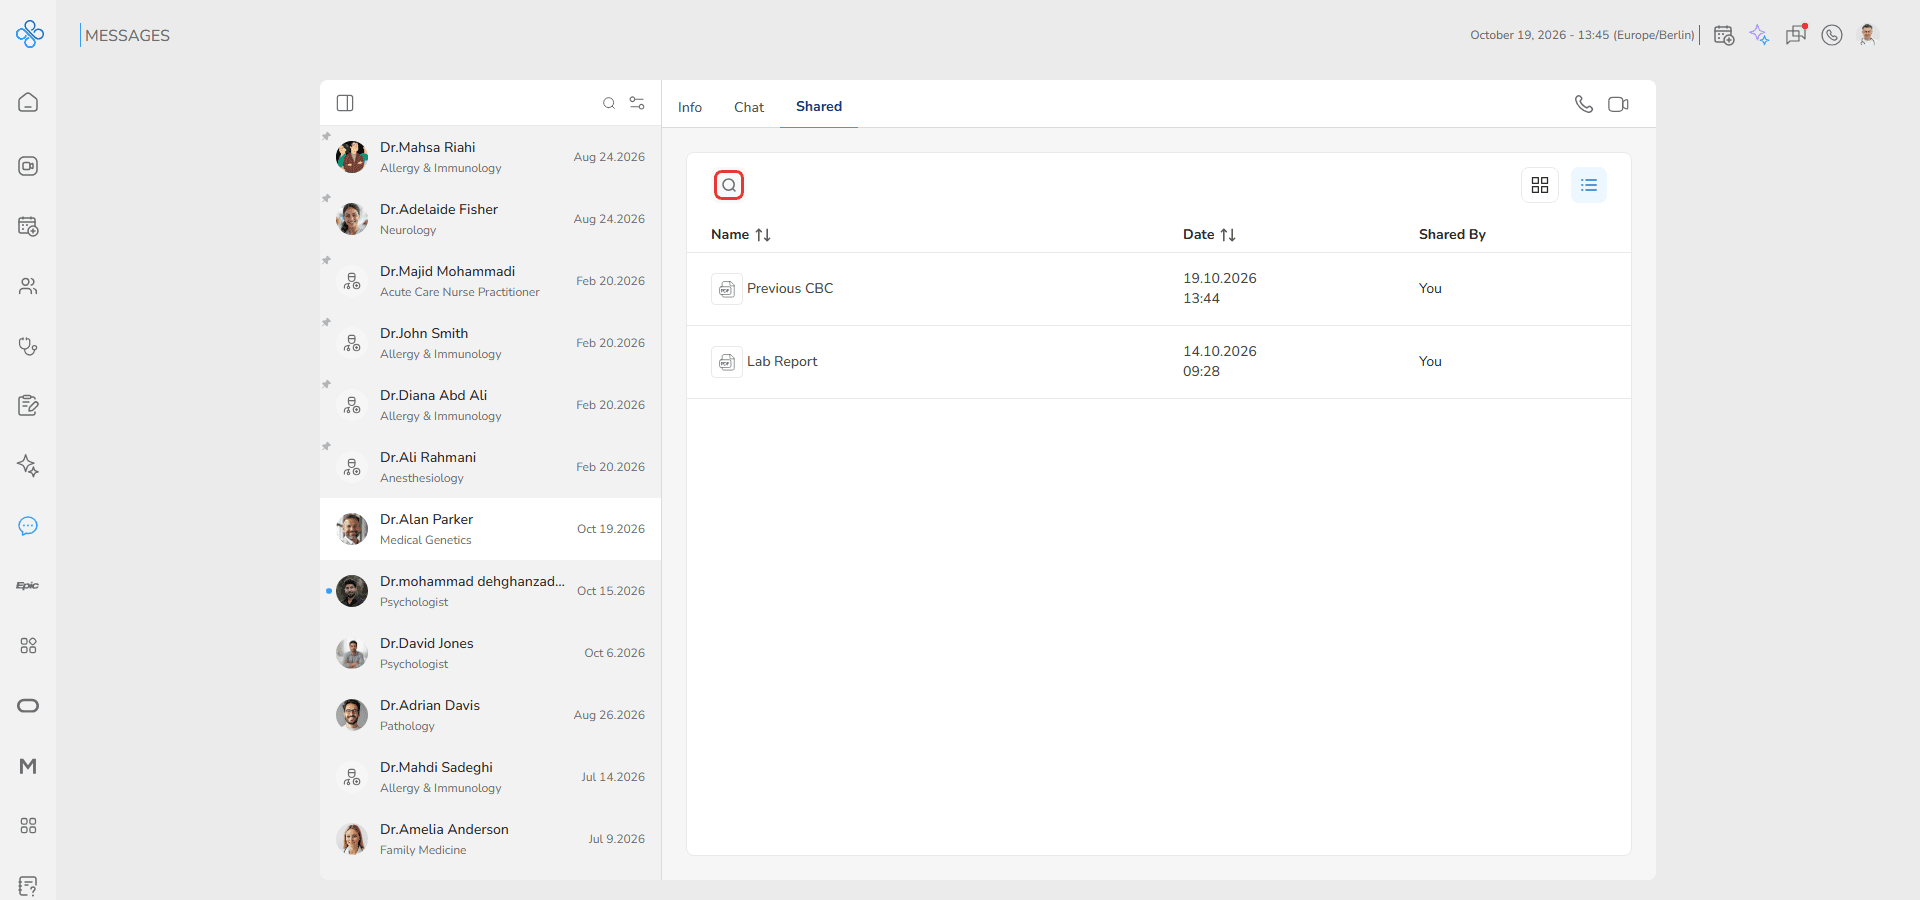
2. Start typing a file name or keyword
- The list updates instantly as you type
- Only matching files remain visible
Step 4: Sort the file list
You can organize files to find what you need faster.
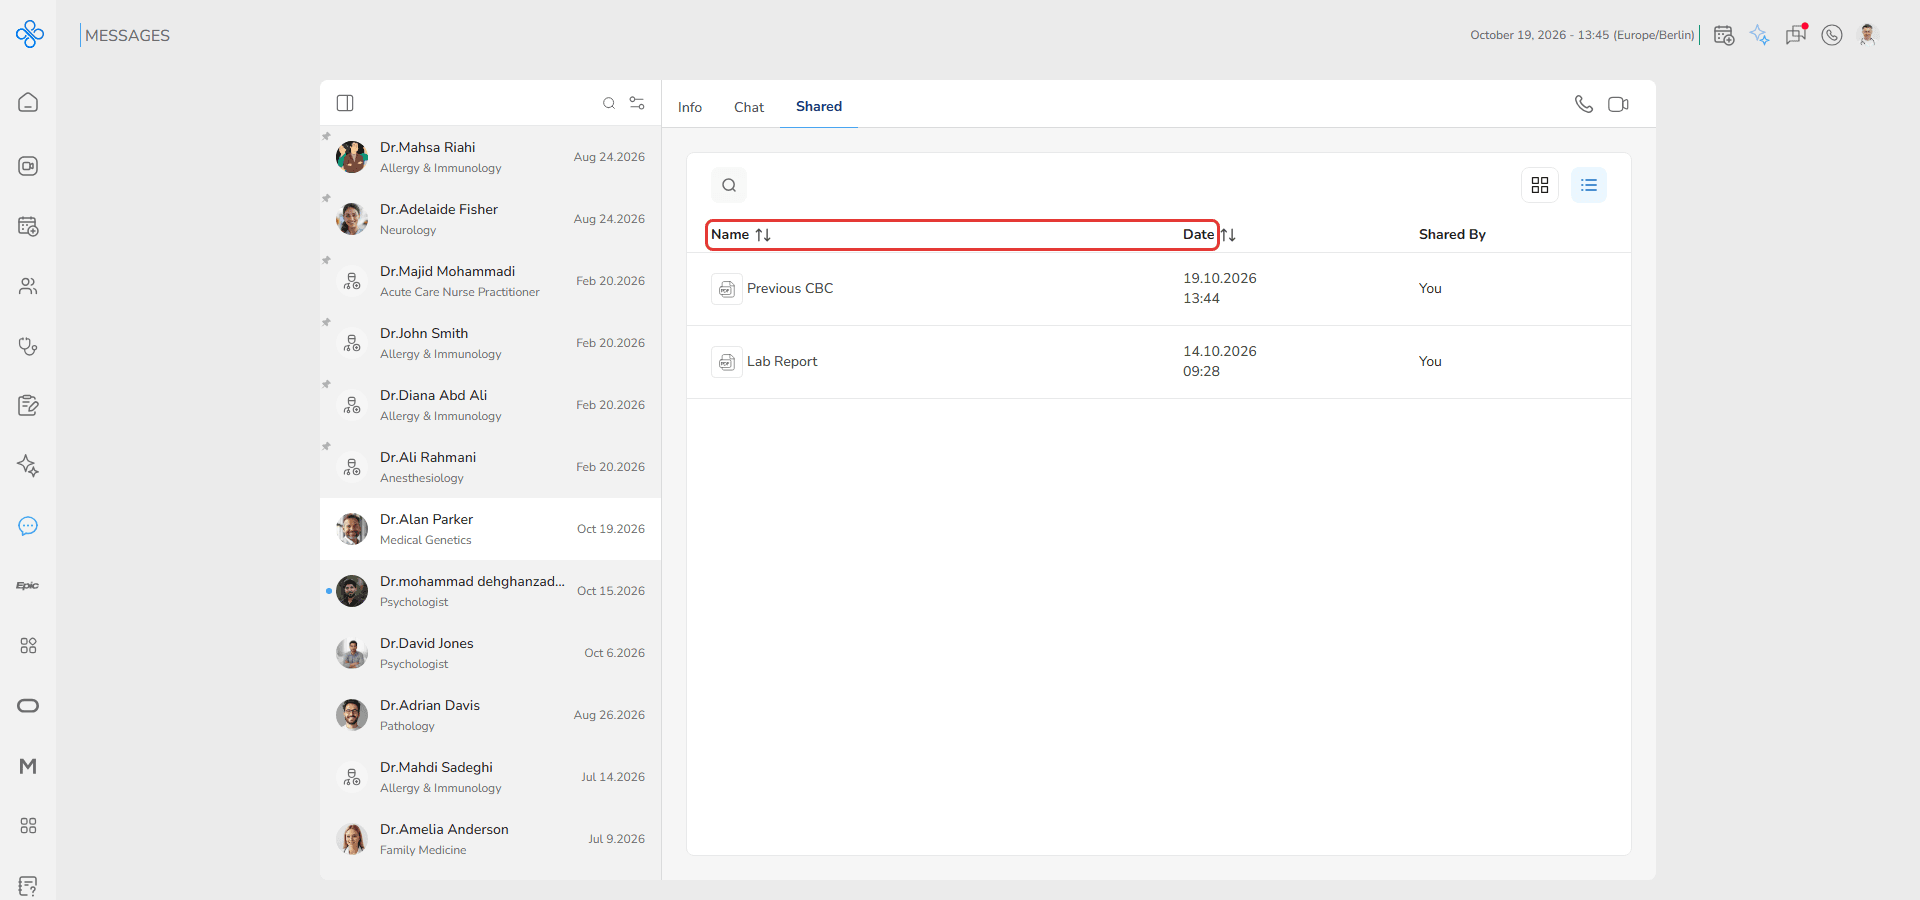
- Click the Name column arrows to sort alphabetically
- Click the Date column arrows to sort by newest or oldest
Click again to switch between ascending and descending order.
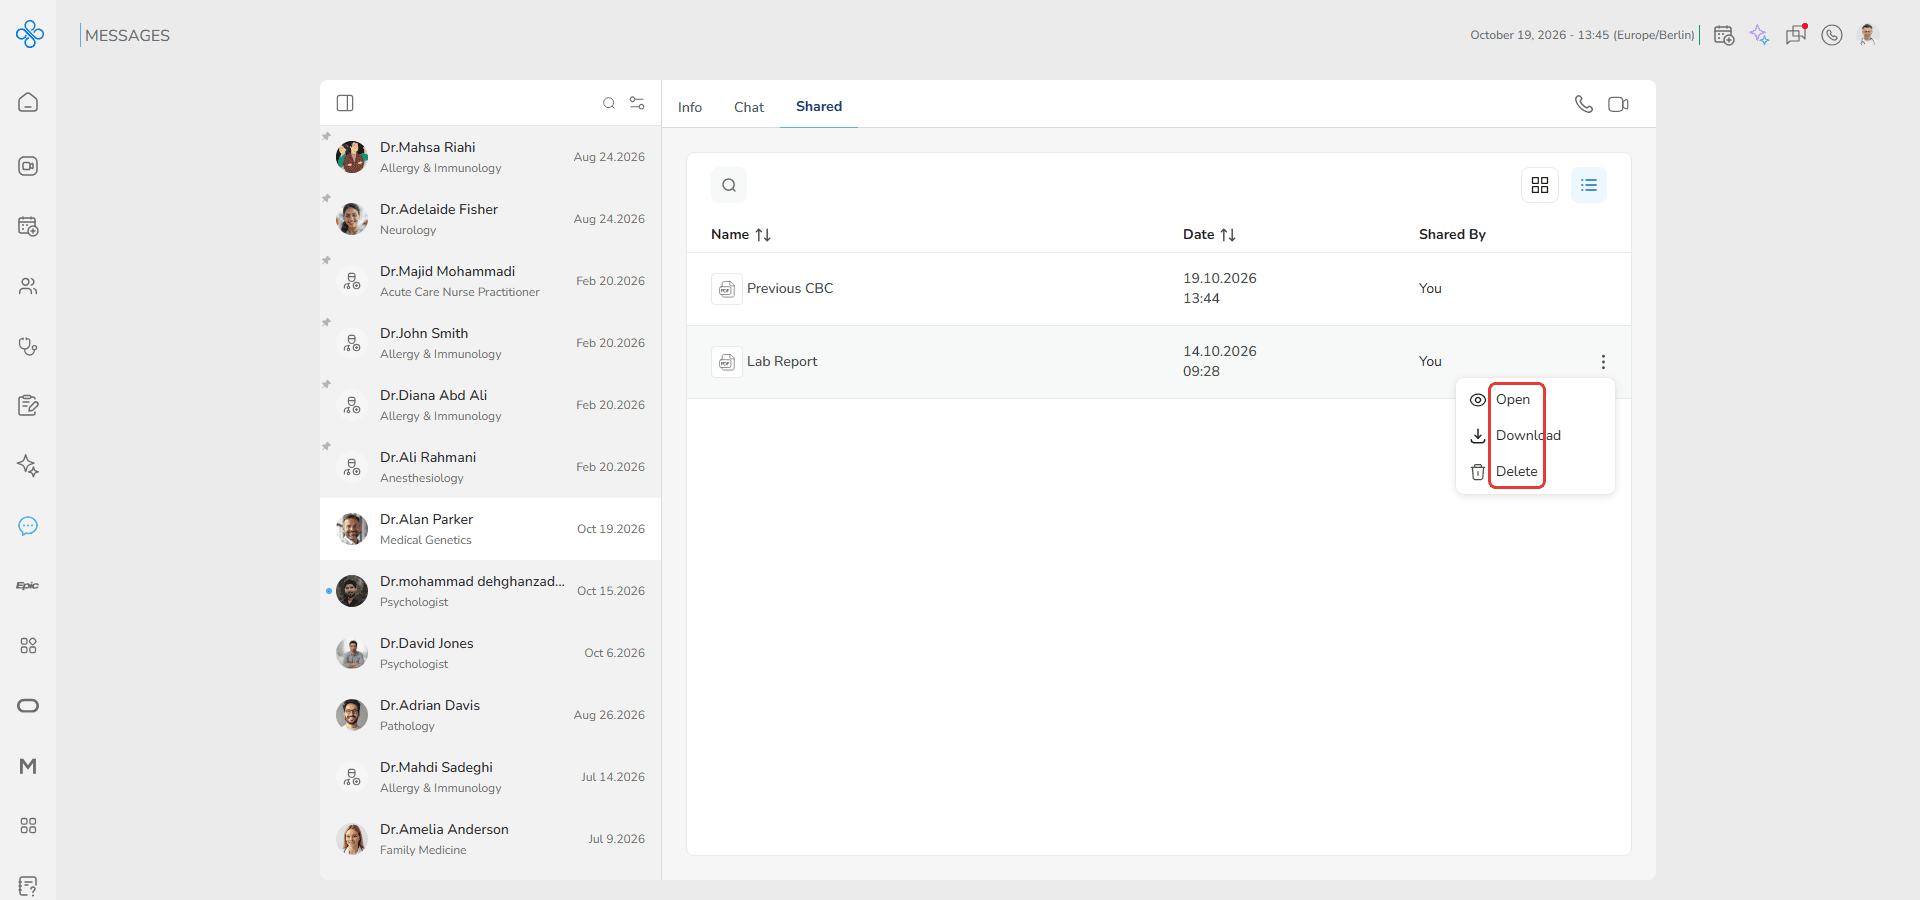
Step 5: Use file actions
For each file, you have additional options.
Move your mouse over a file row:
- A More Actions (⋮) button appears
Click it to open the available actions: Open, Download and Delete.
Open file (Viewer)
Click Open — the file opens inside a built-in viewer.
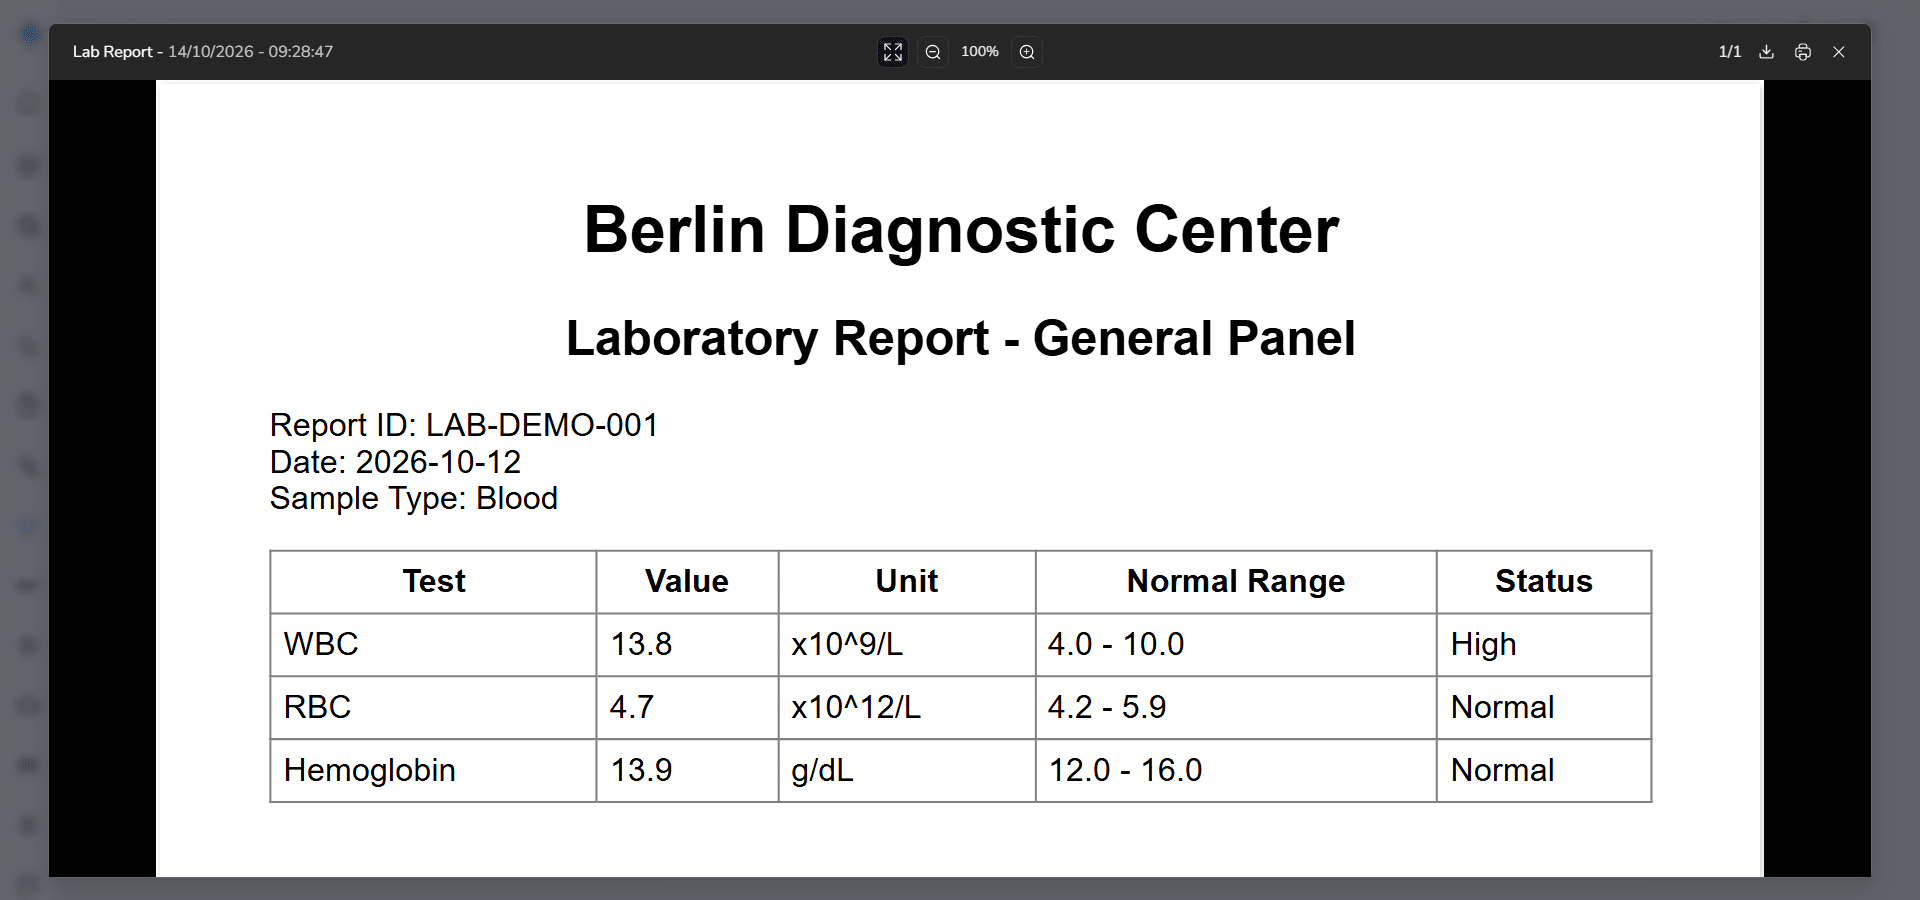
Depending on the file type (PDF, PNG, JPG), you can:
- Zoom in and zoom out
- Download the file
- Print the file
Use this option when you want to review a file without downloading it.
Download file
Click Download — the file is saved directly to your device.
Use this when you need a local copy of the file.
Delete file
1. Click Delete
2. A confirmation message appears
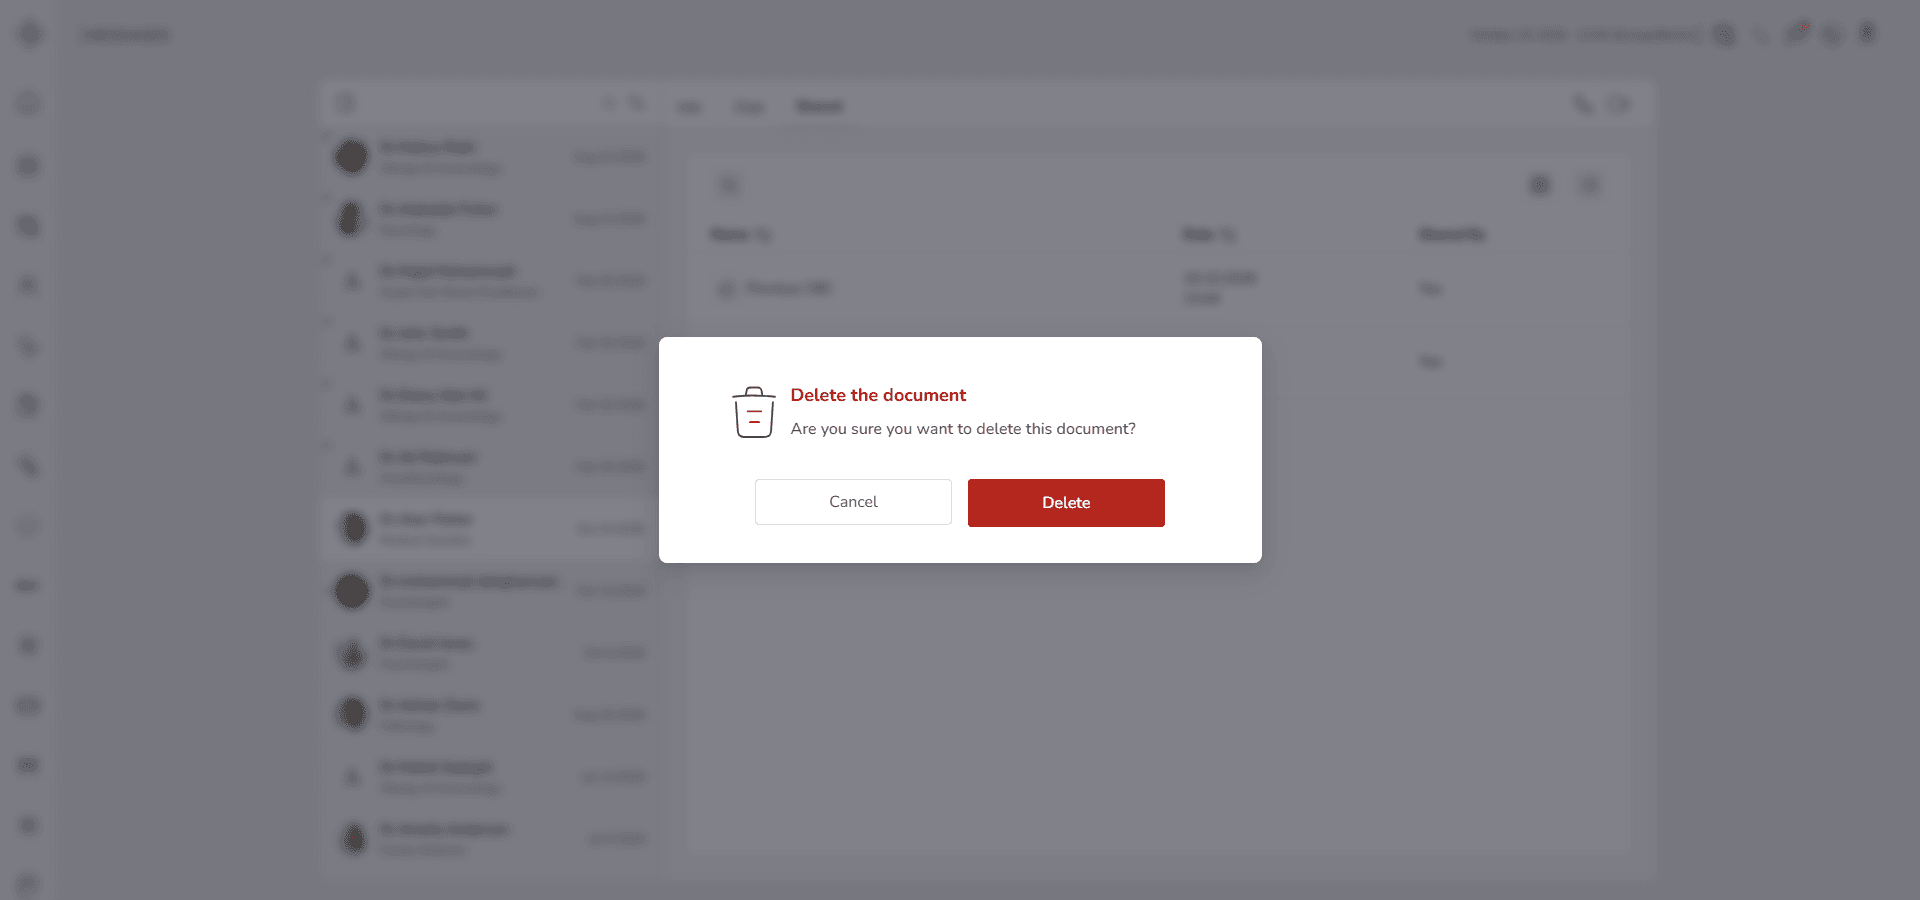
3. Click Delete again to confirm
The file is permanently removed. This action cannot be undone.
Step 6: Start communication
You can still call your contact from this tab.
At the top right of the page, you will see:
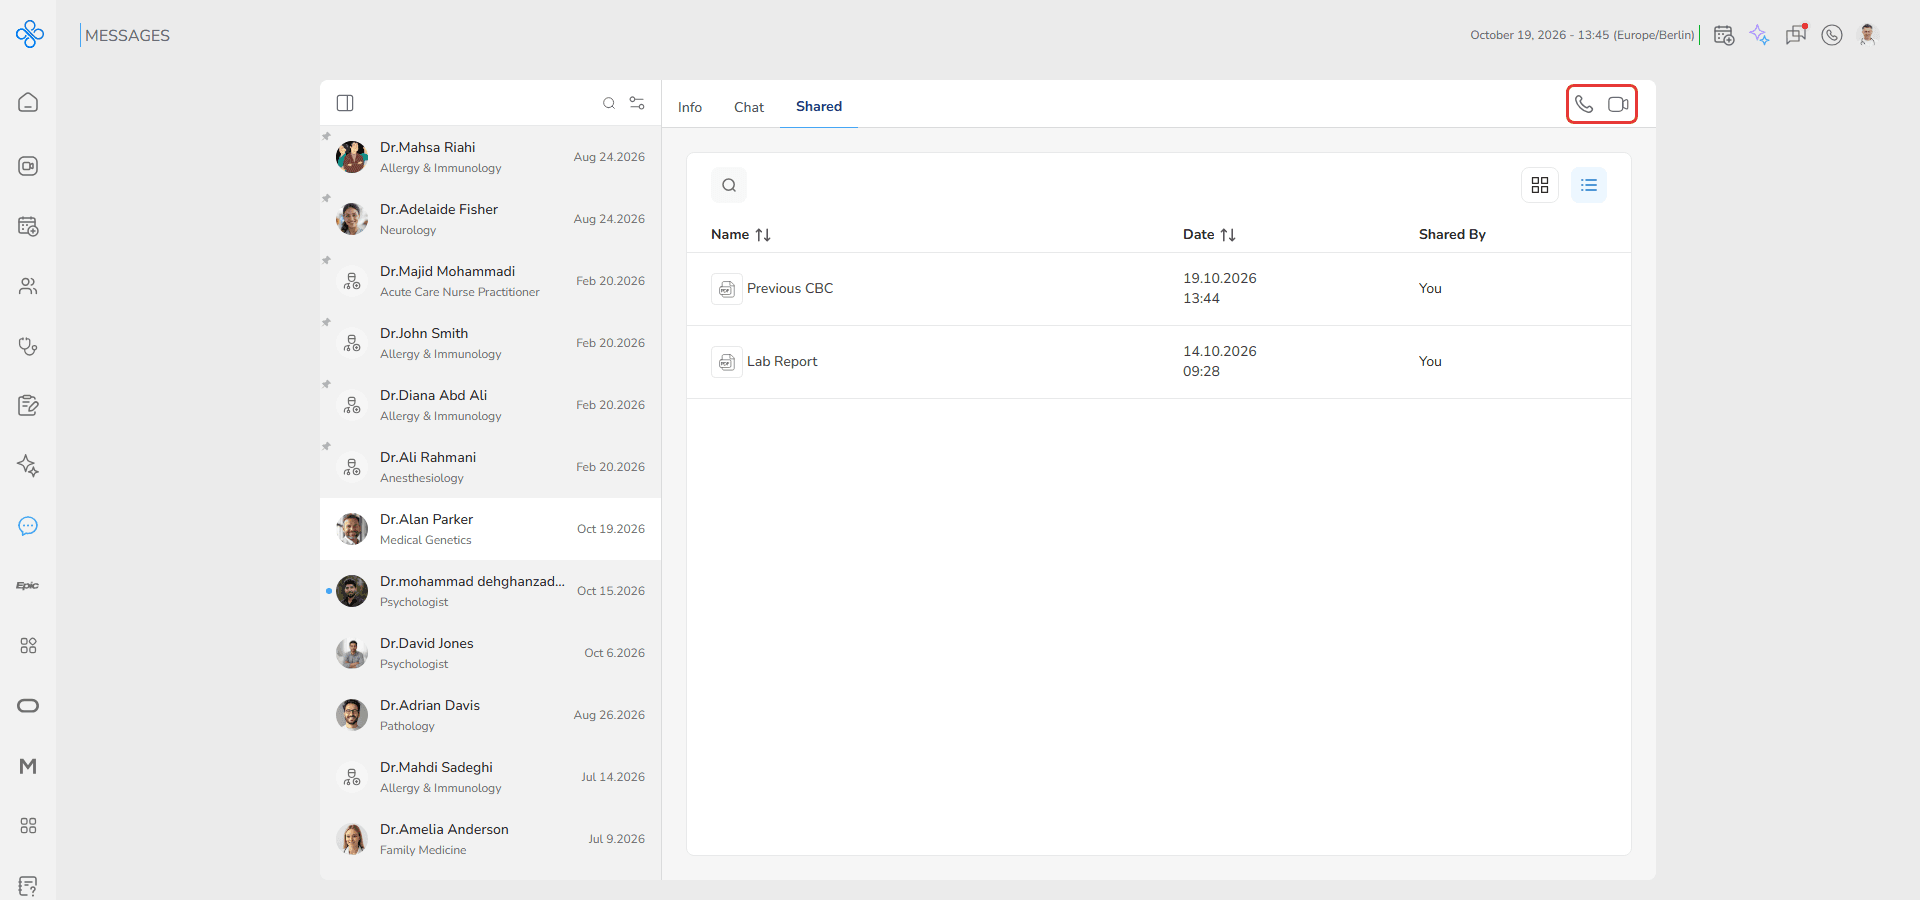
- Voice call button
- Video call button
Click one of them to start a call without leaving this tab.
What happens when you use this tab
- Files appear here automatically after being shared in chat
- Search filters results in real time
- Sorting helps you organize large file lists
- Open lets you review files inside the viewer
- Download saves files to your device instantly
- Delete removes files permanently after confirmation
Simple flow to remember
- Open the Shared tab
- Search or sort files
- Use More Actions (⋮)
- Open, download or delete as needed
Info Tab
The Info tab shows the provider’s full profile on the right side of the Messages page, so you can understand who you are talking to before or during a conversation.
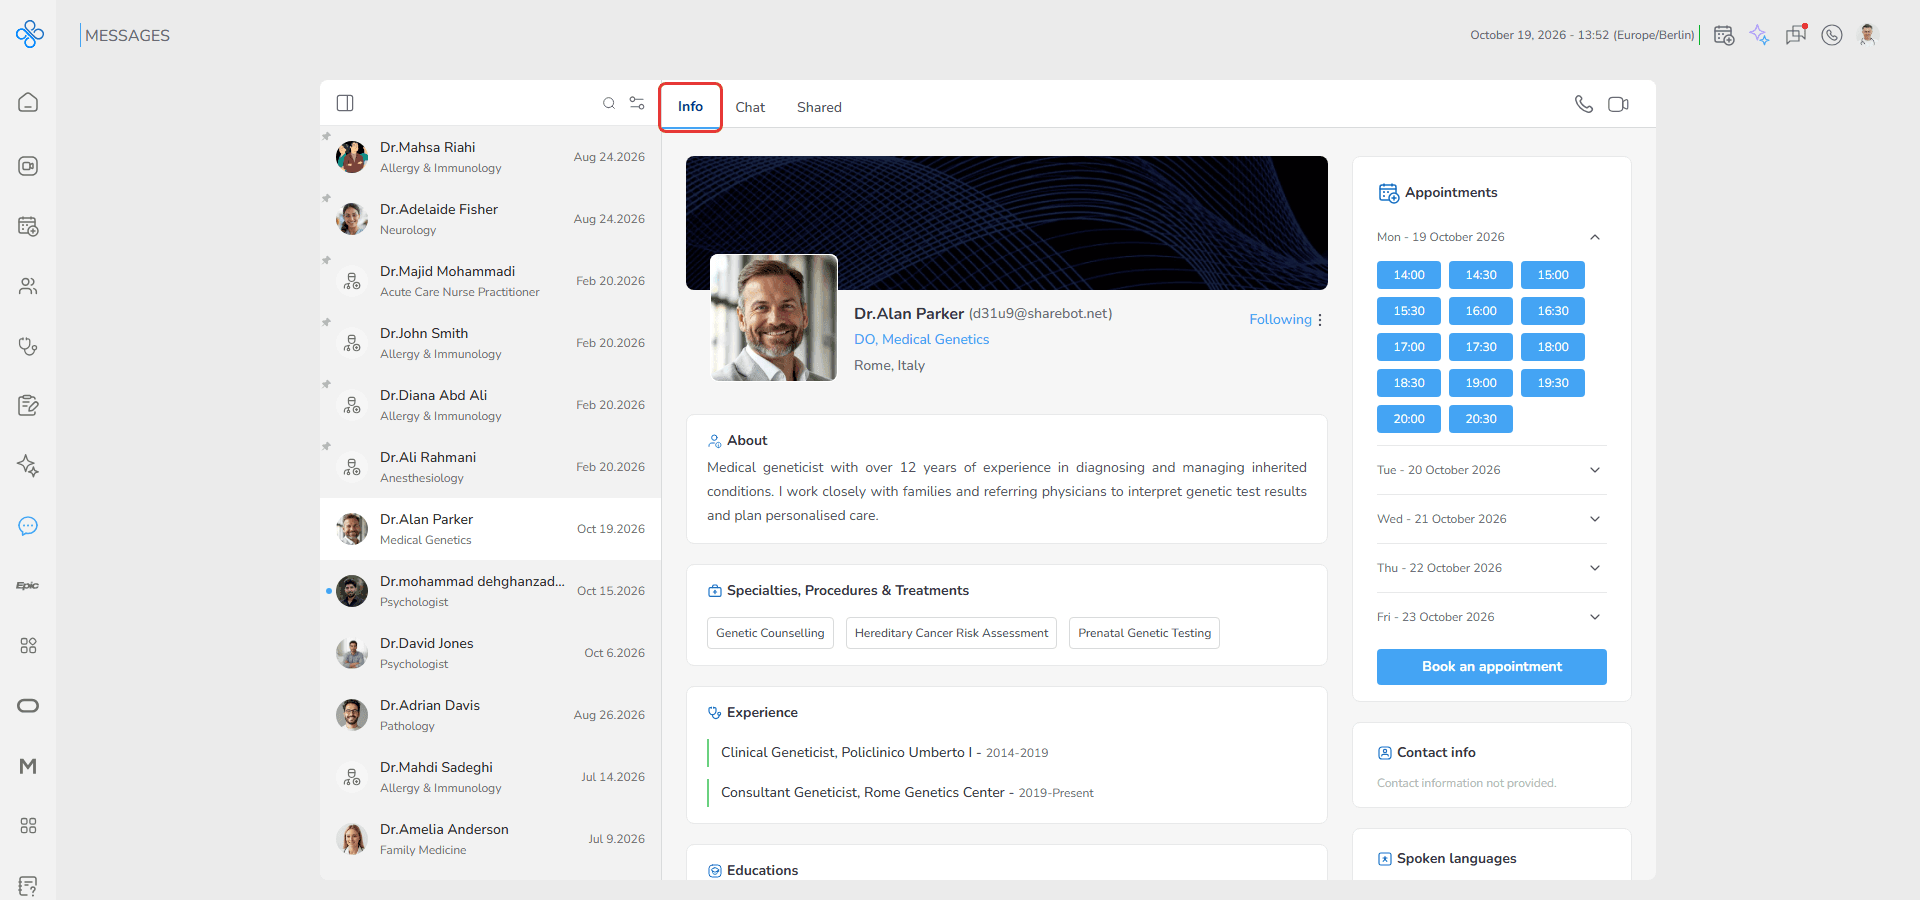
Click Info at the top of the conversation. The profile loads on the same page — you do not leave Messages.
Step 1: Review provider information
On the left side of the tab, you see the provider’s general information.
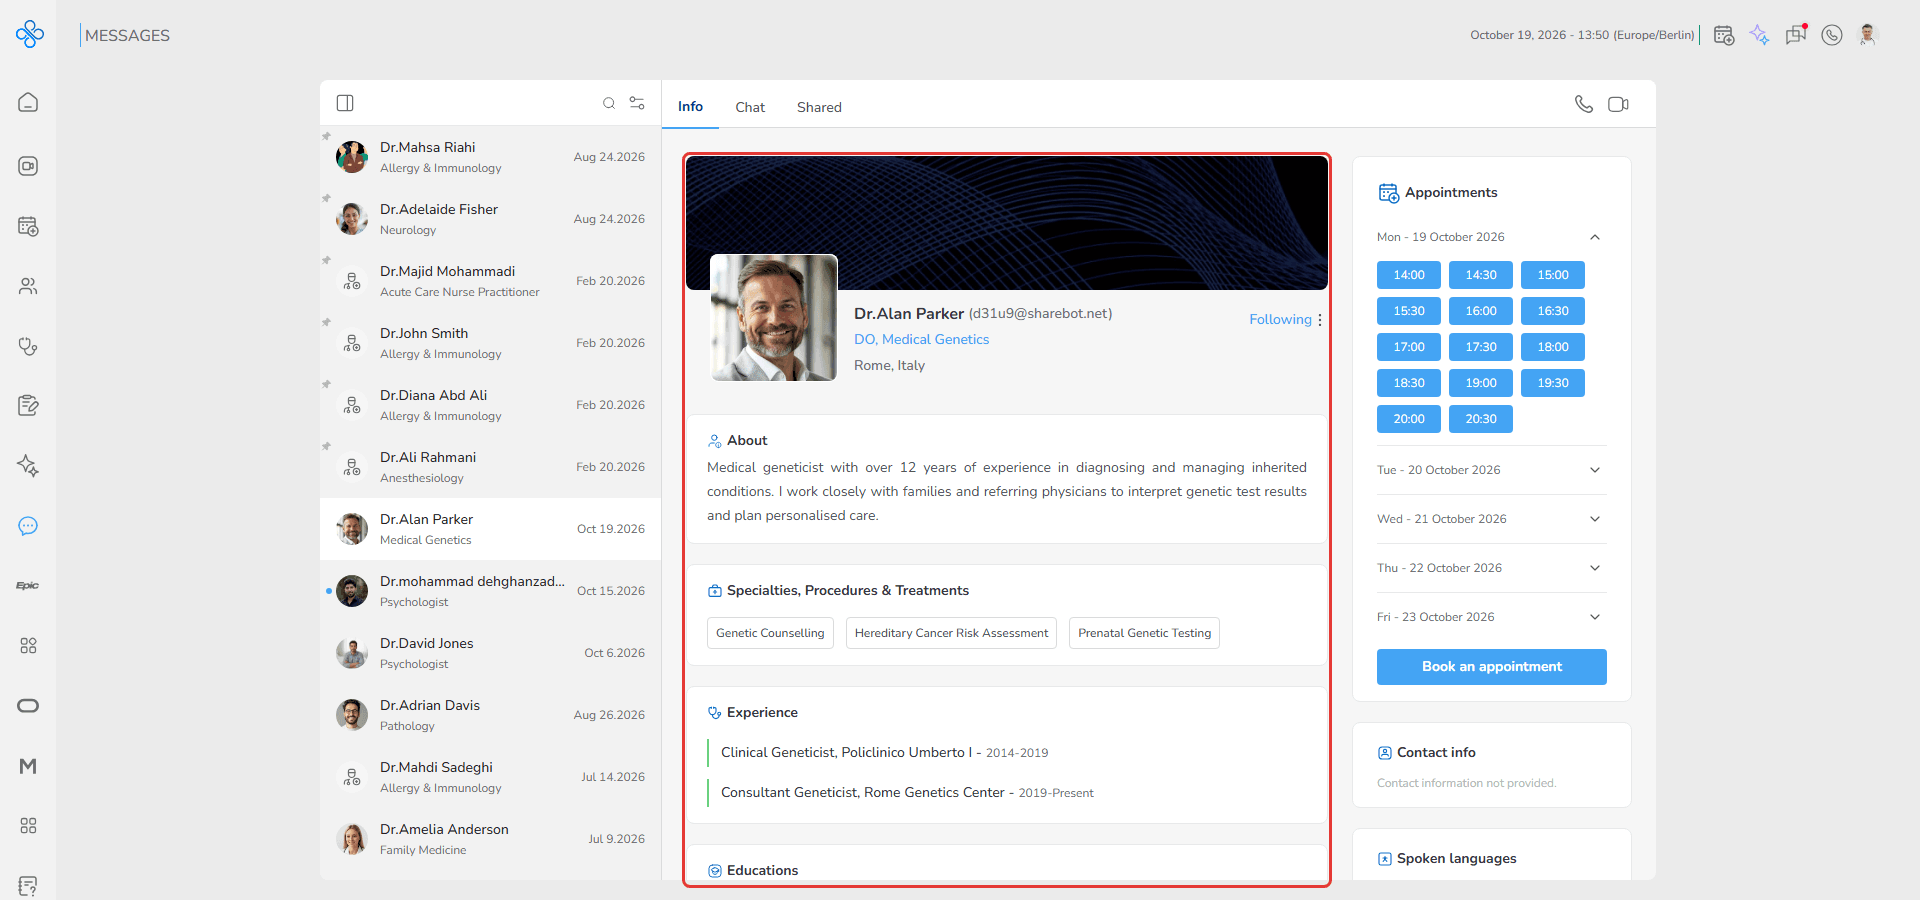
Start from the top and move down:
- Profile image and banner
- Provider name, specialty and location
Then continue scrolling:
- About section (short description about the provider)
- Specialties, procedures, and treatments
- Experience (work history)
- Educations
- Memberships
This part is only for reading and understanding the provider. You do not perform actions here.
Step 2: Check availability and choose a time
On the right side, in the Appointments box, you will see available dates.
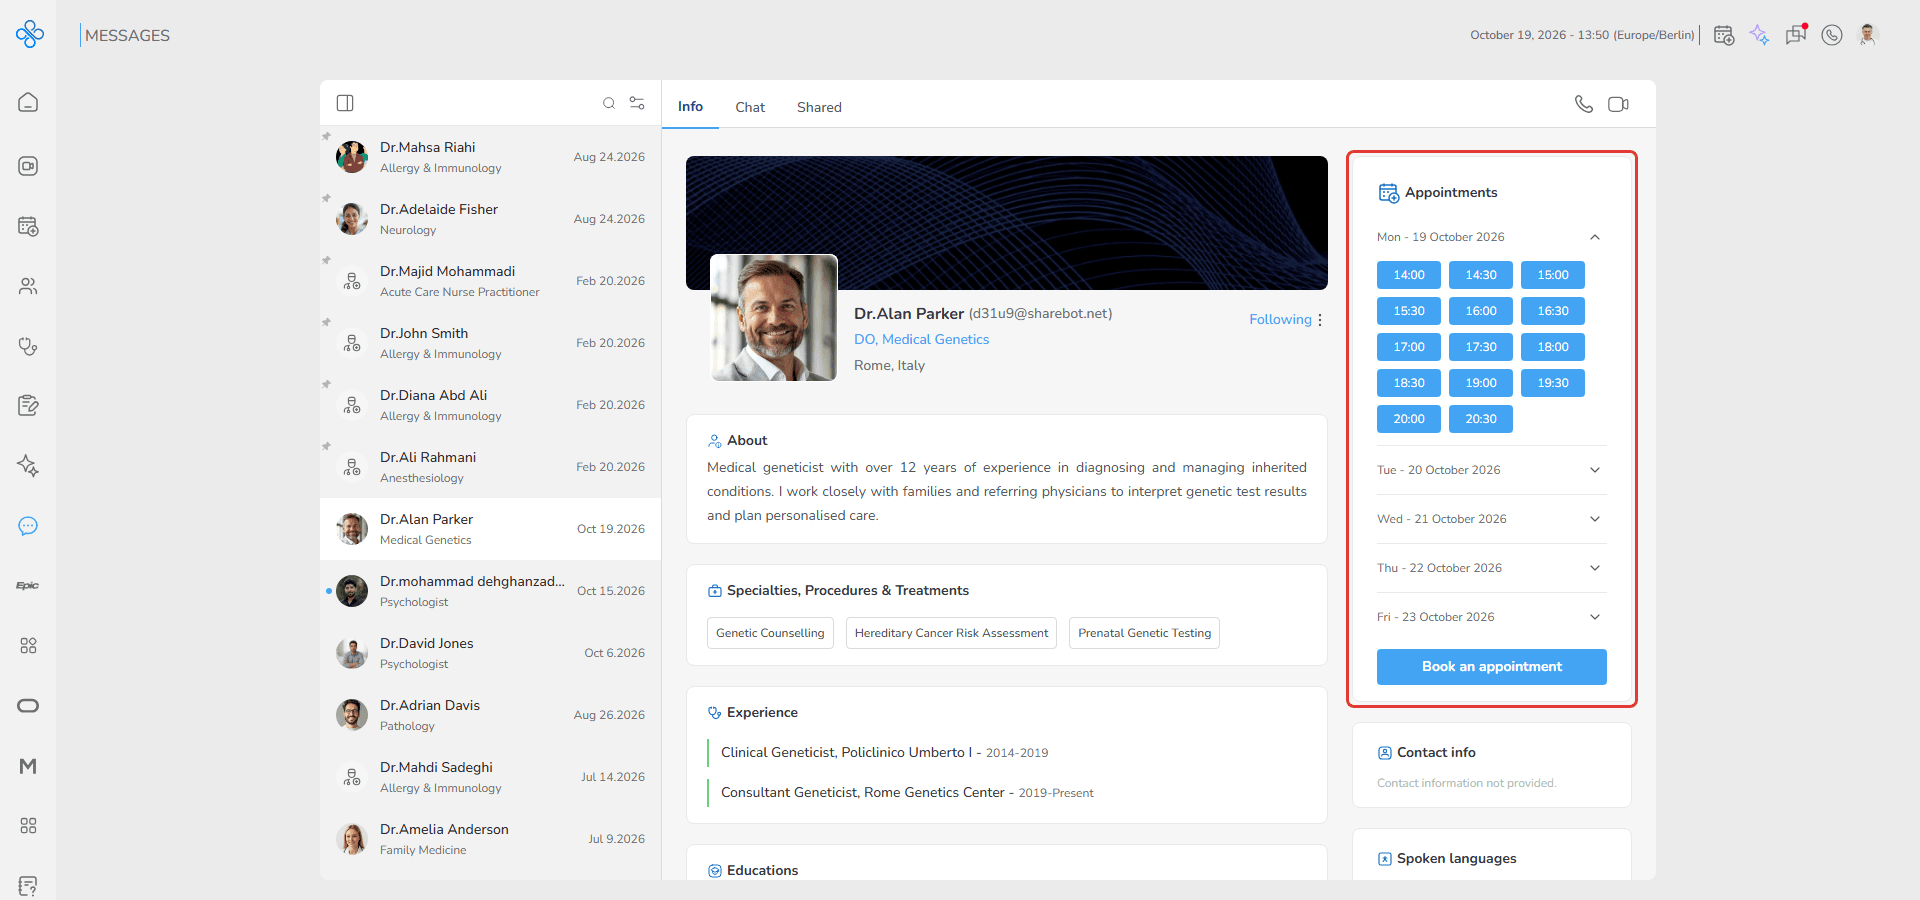
- Click on a date to expand it (the first available date is already expanded)
- Available time slots appear
- Click on the time that works for you
As soon as you click a time, the booking modal opens with the selected date and time already filled in.
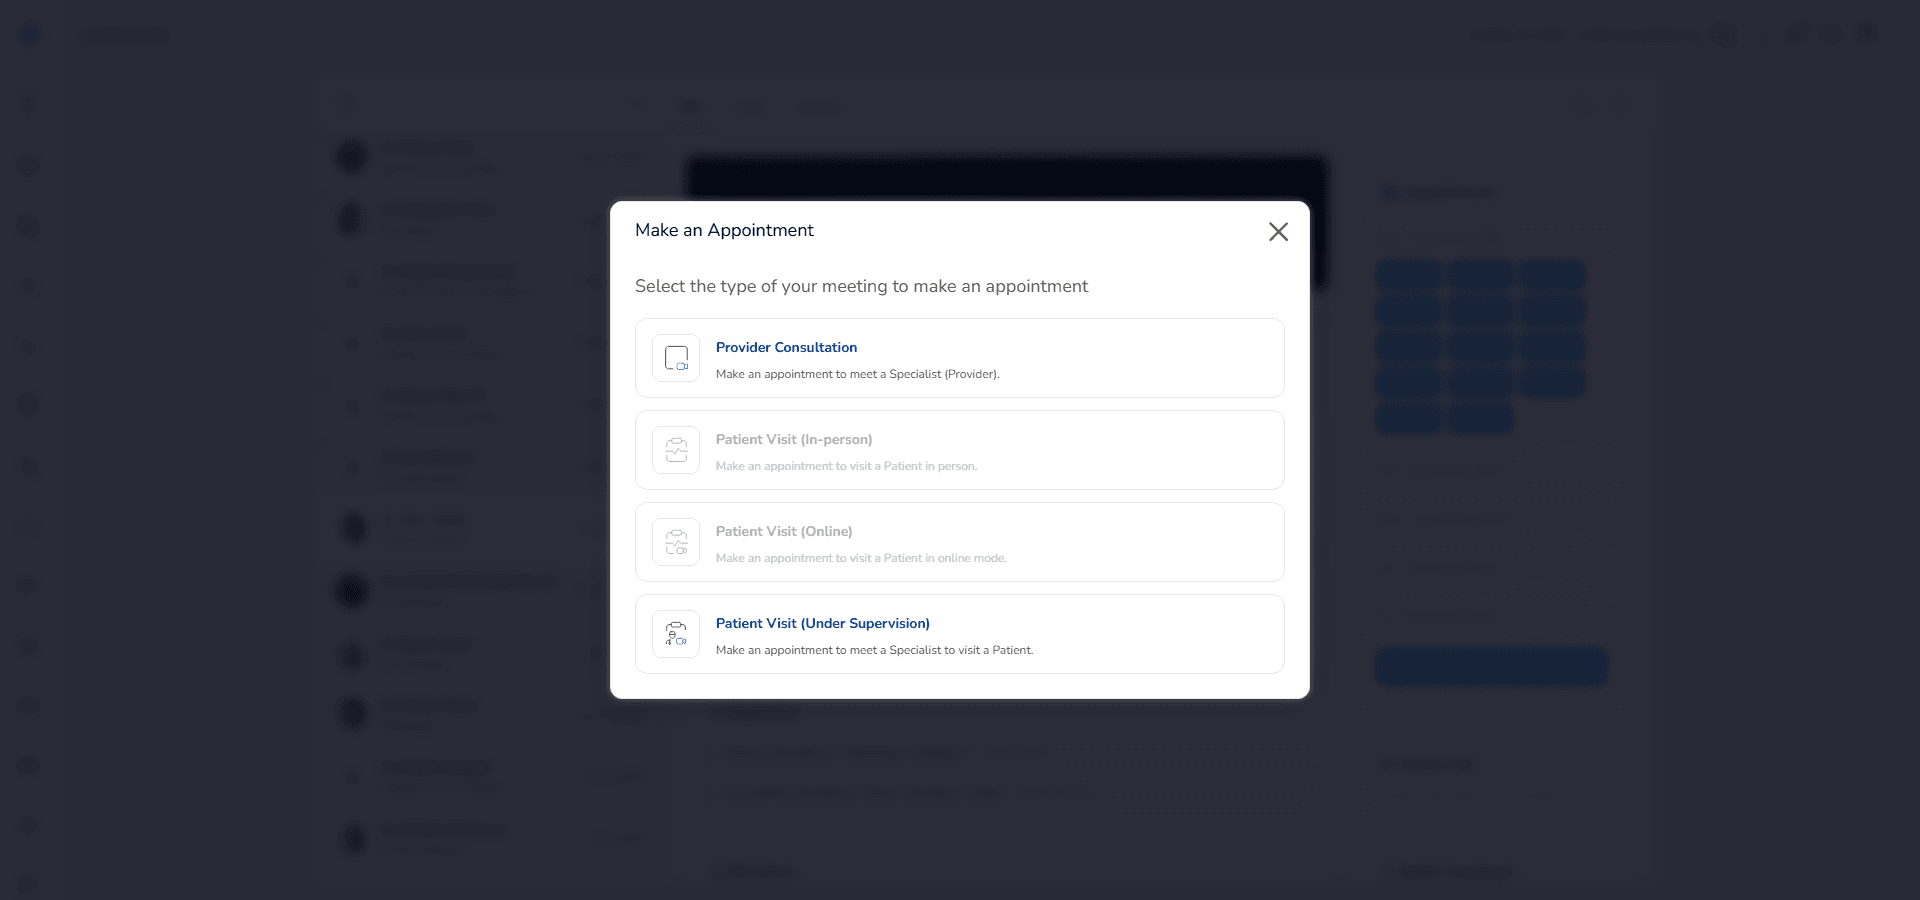
(For more details about appointment booking, please refer to the Appointment System user guide.)
Step 3: Book an appointment
You can also book directly using the booking button.
1. Click Book an appointment
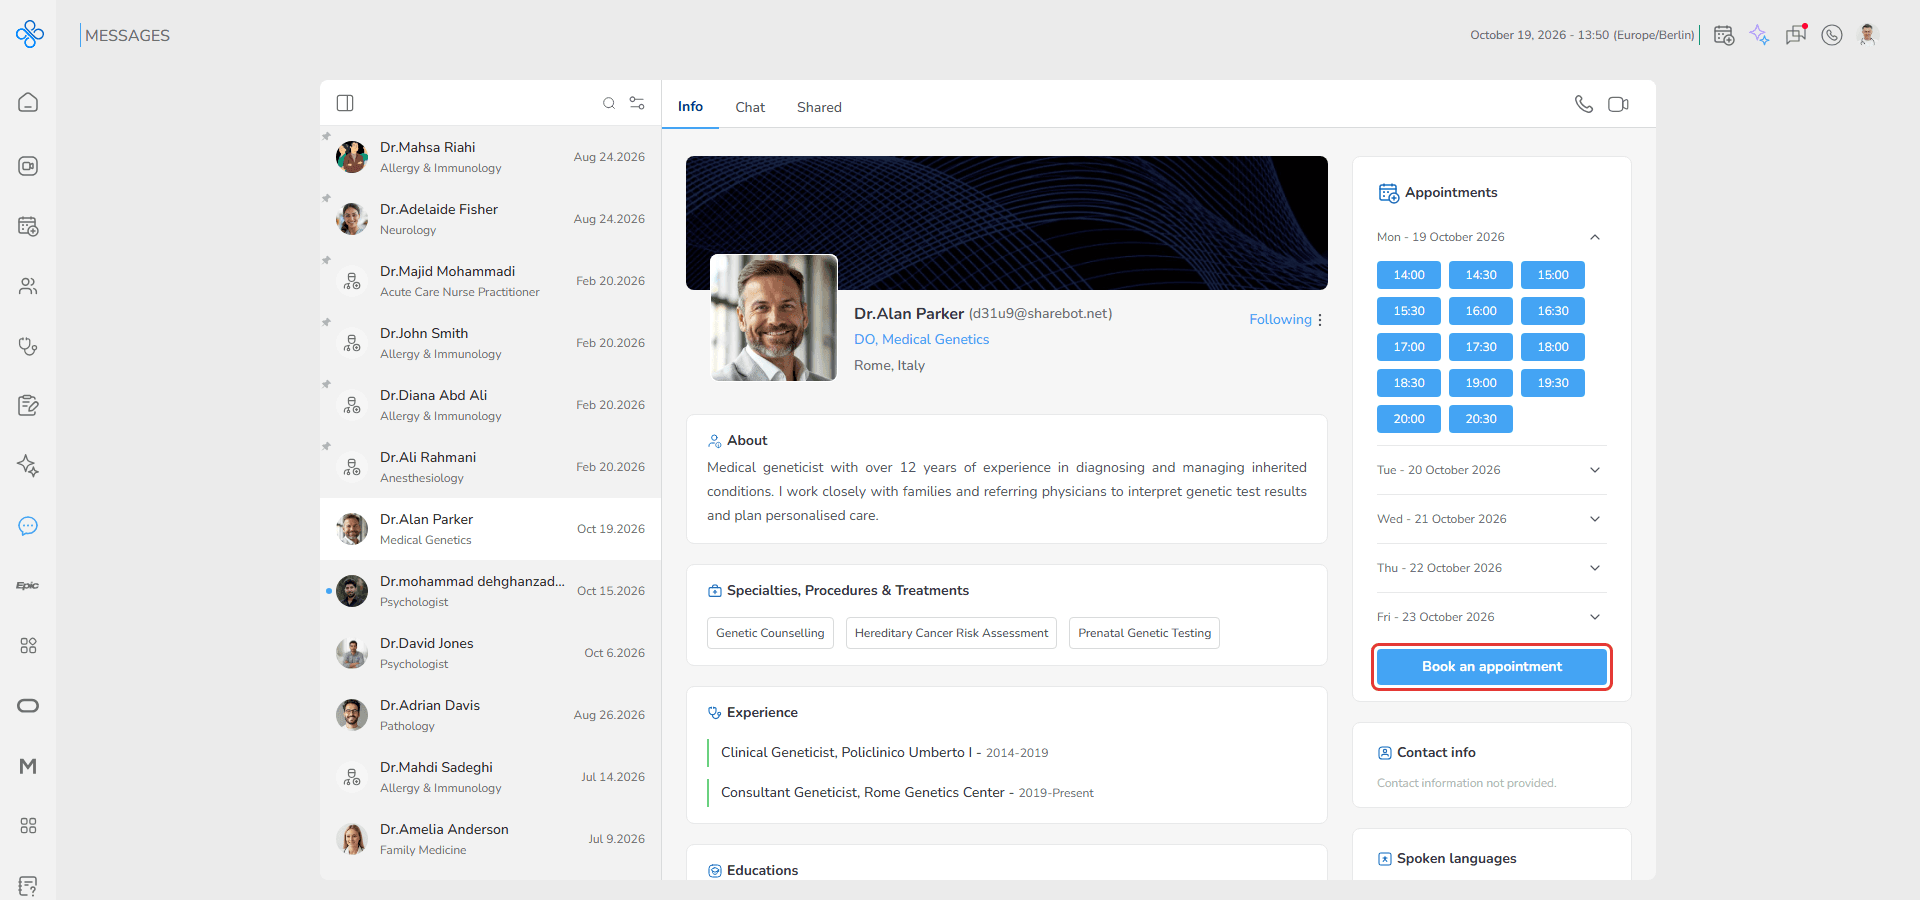
2. Choose the type of appointment:
- Provider Consultation
- Patient Visit (Under Supervision)
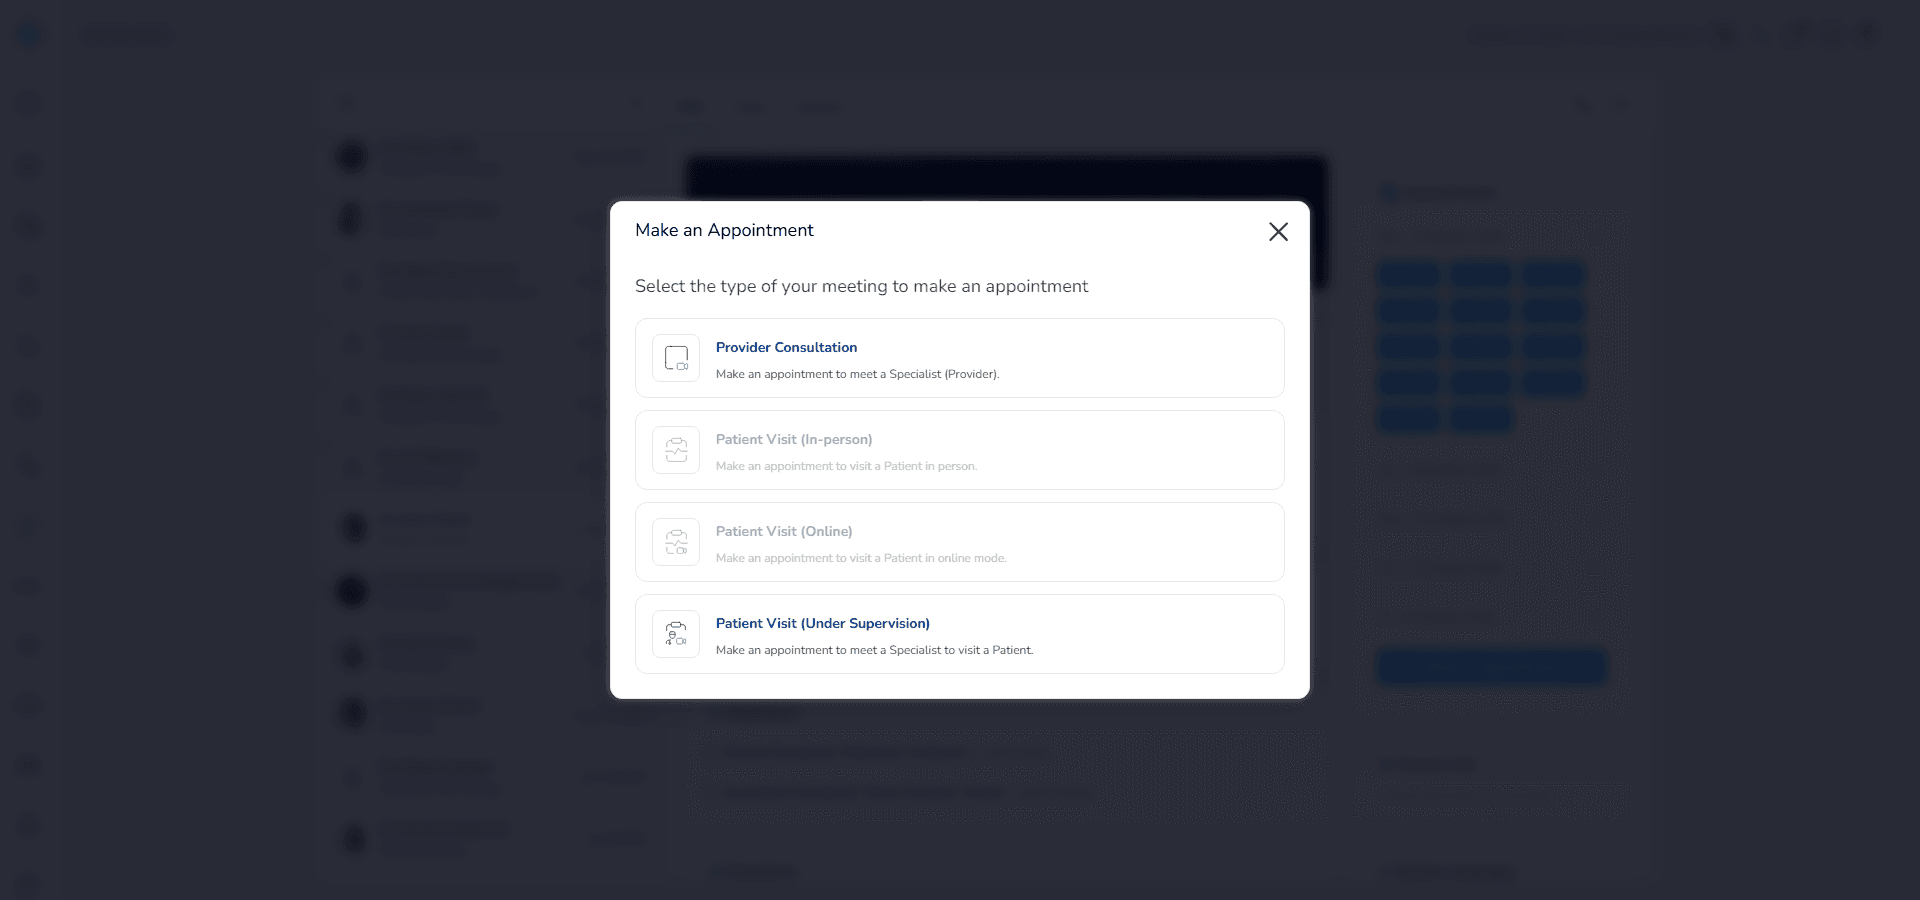
3. Complete the booking process
(For more details about appointment booking, please refer to the Appointment System user guide.)
Step 4: Contact information and spoken languages
Below the Appointments box you can see:
- Contact info — email, phone number, and address, if provided
- Spoken languages — the languages the provider speaks
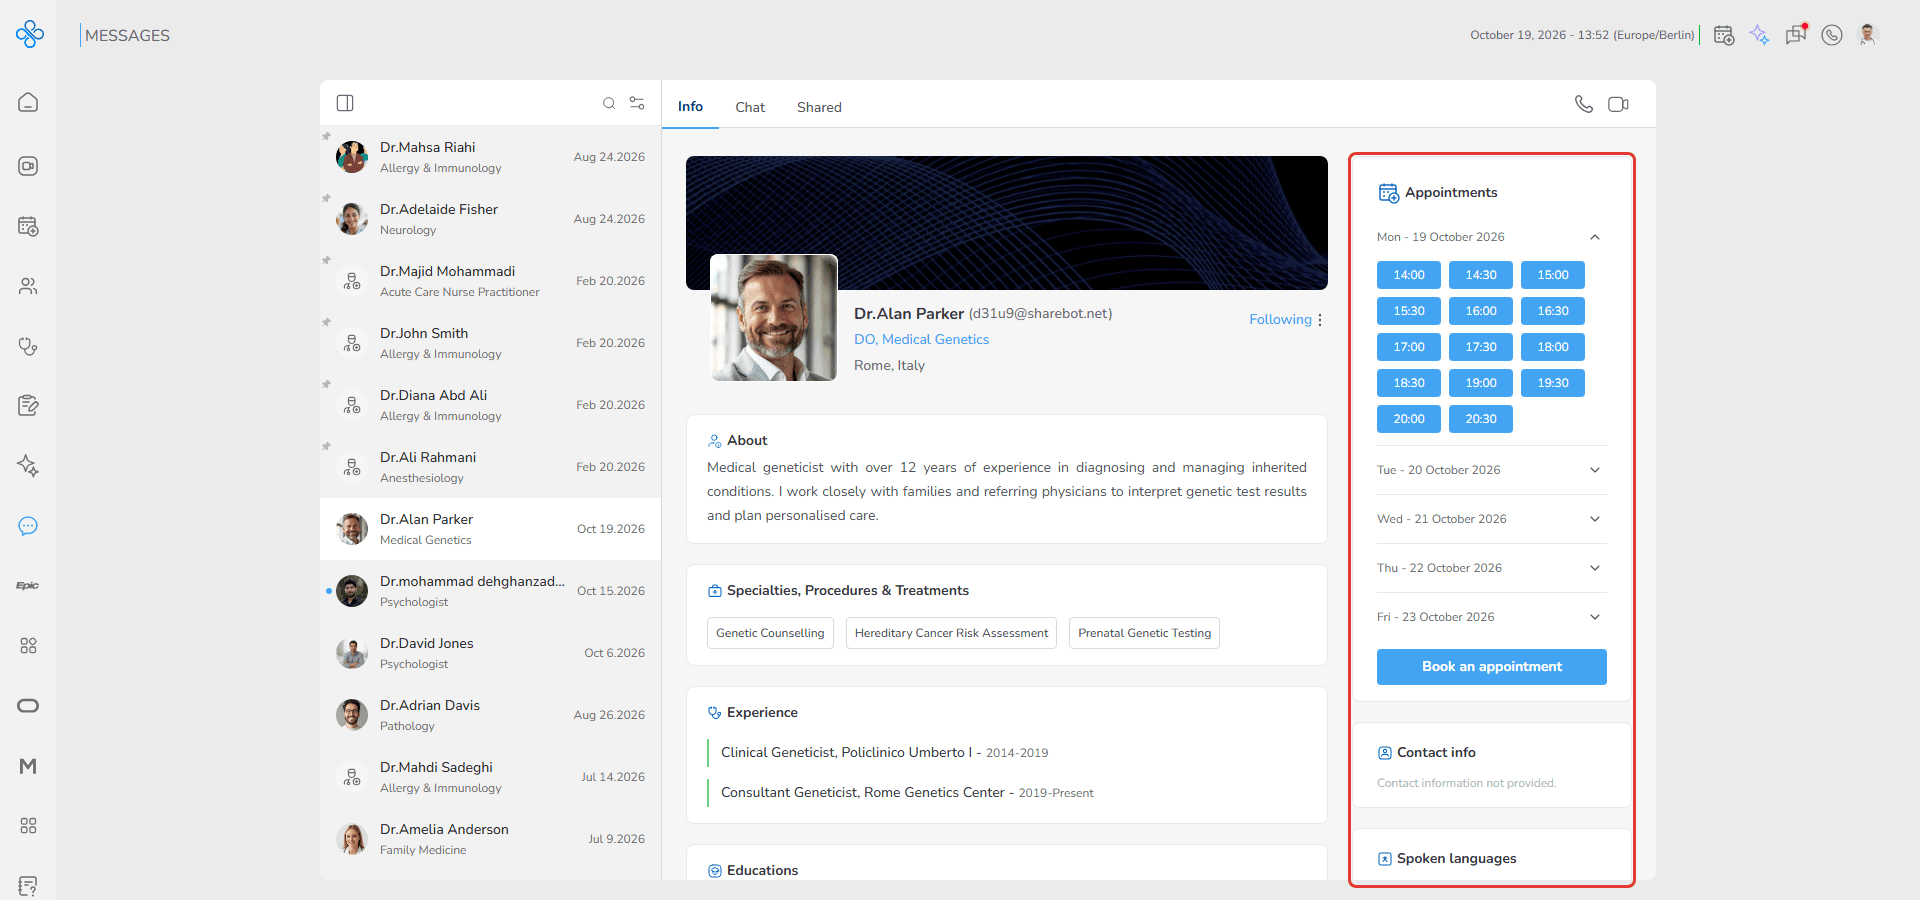
This helps you make sure communication will be easy and clear.
Step 5: Manage provider actions
Next to the provider’s name you see Following and a More Actions (⋮) button.
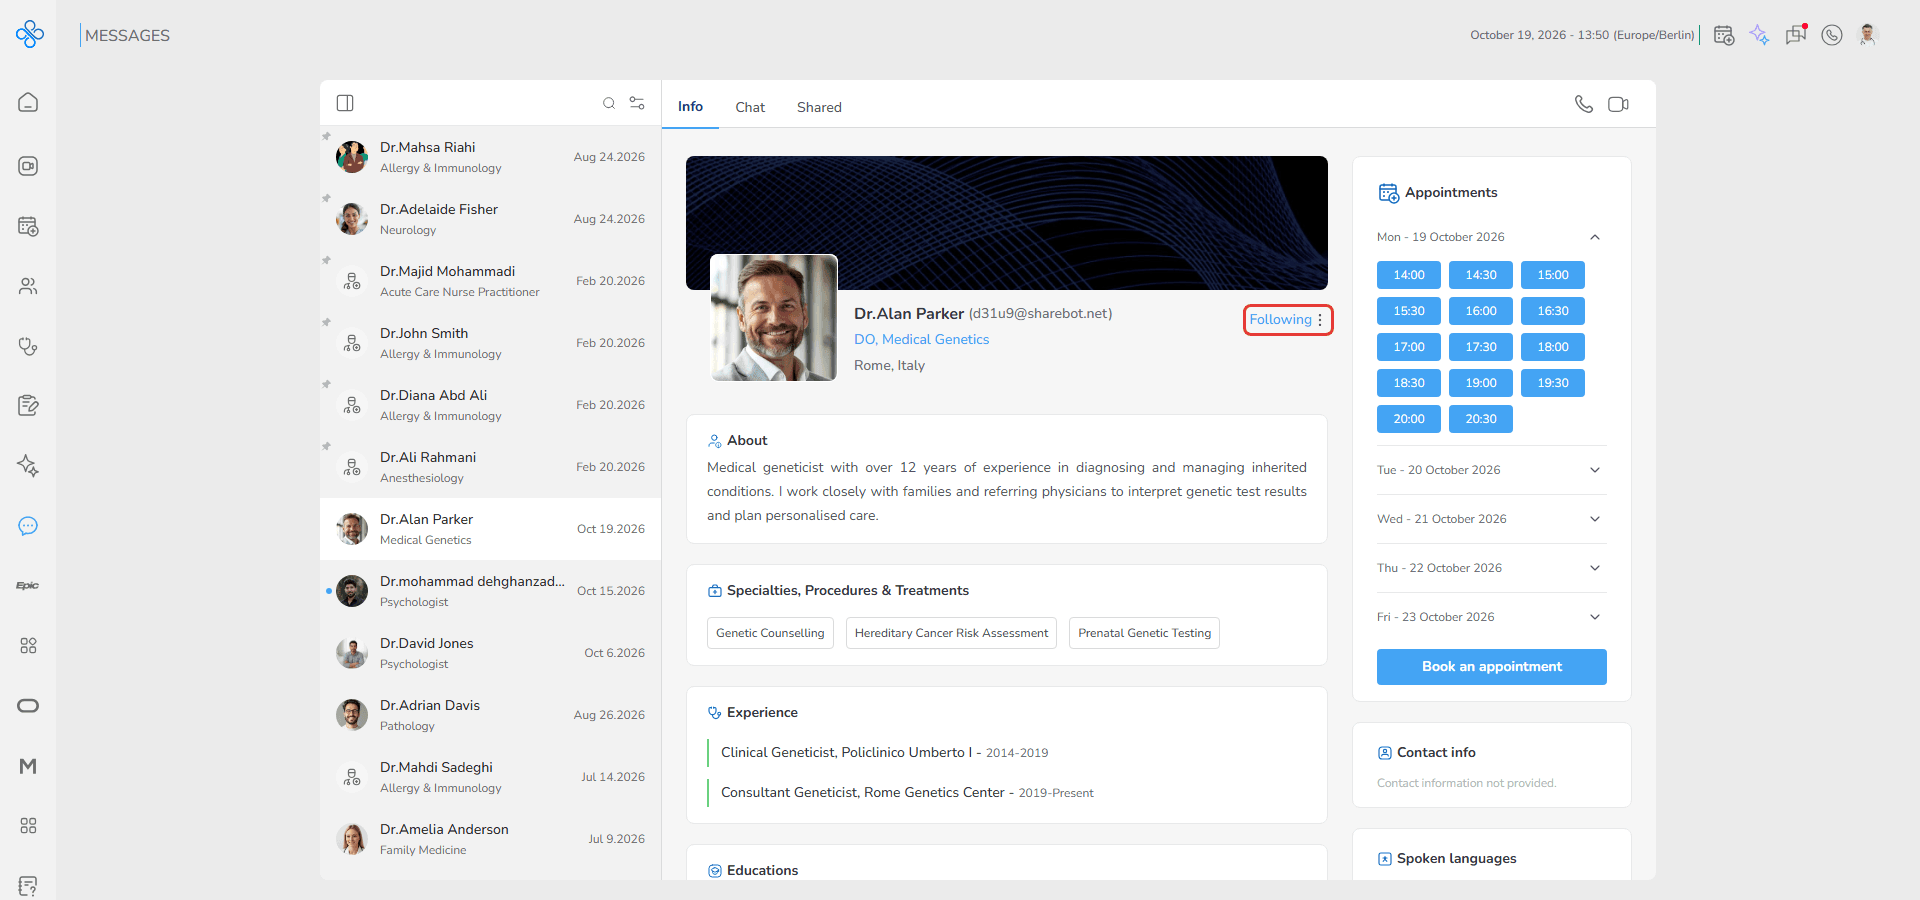
Click the More Actions (⋮) button to see:
- Unfollow
- Report
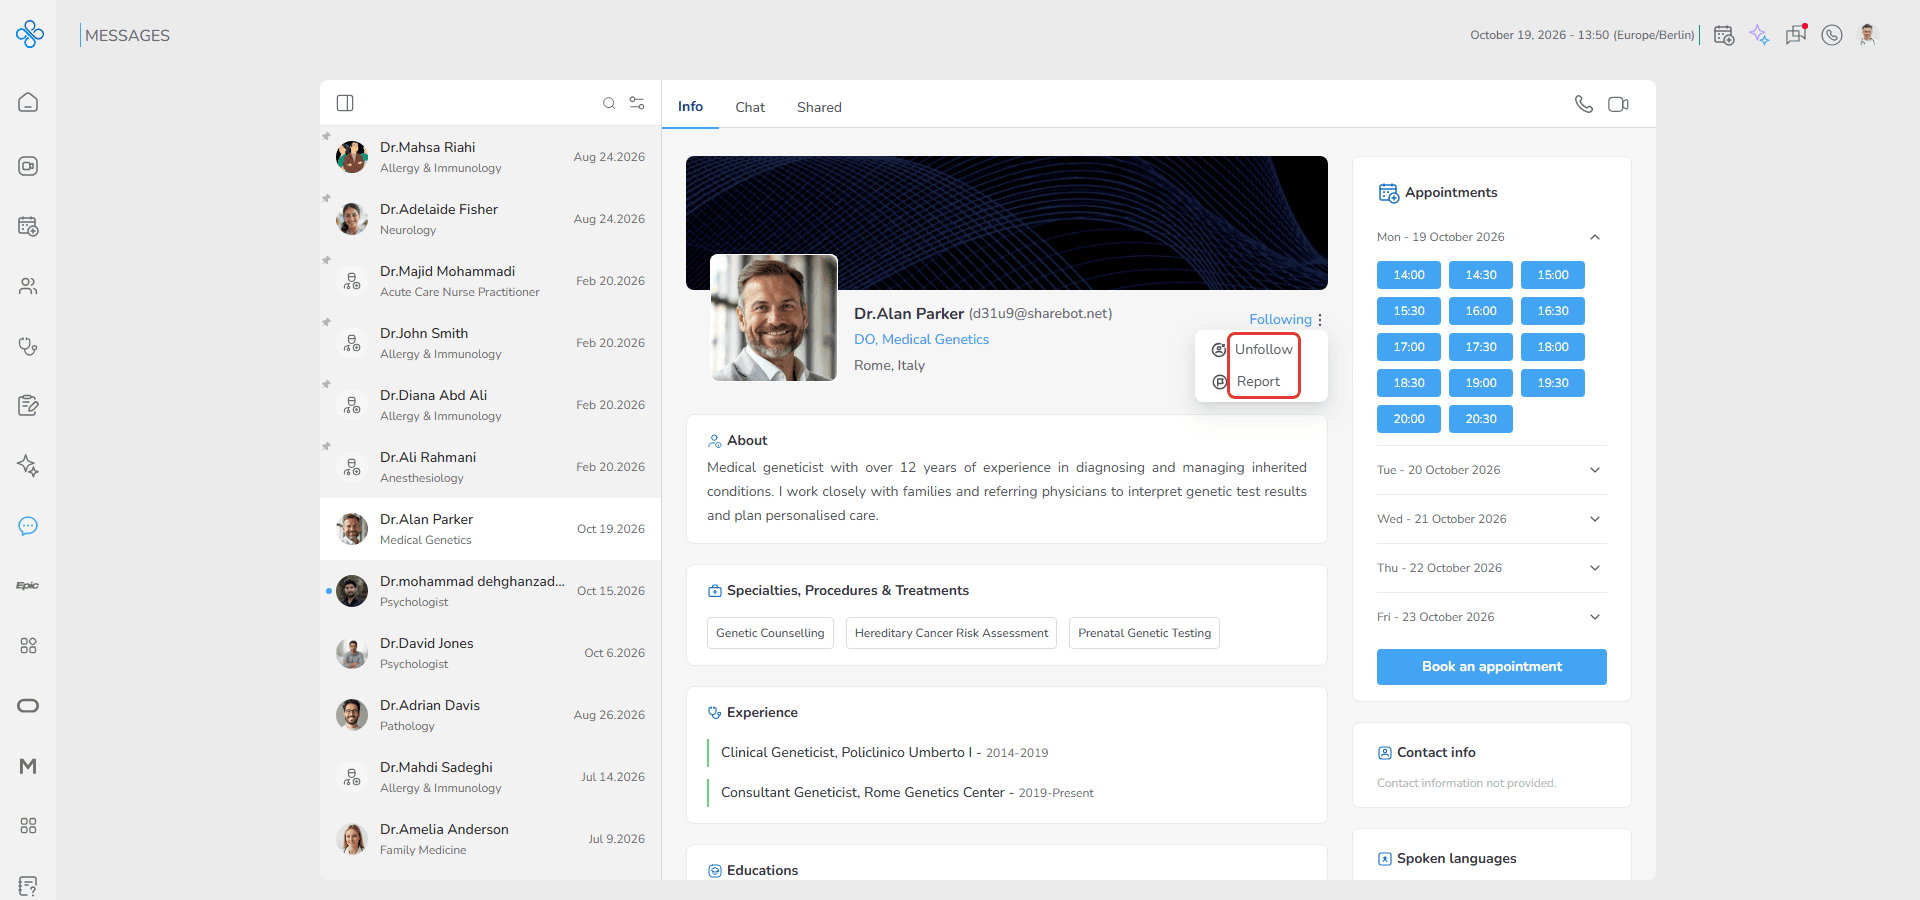
Unfollow
- Click Unfollow
- A confirmation modal appears
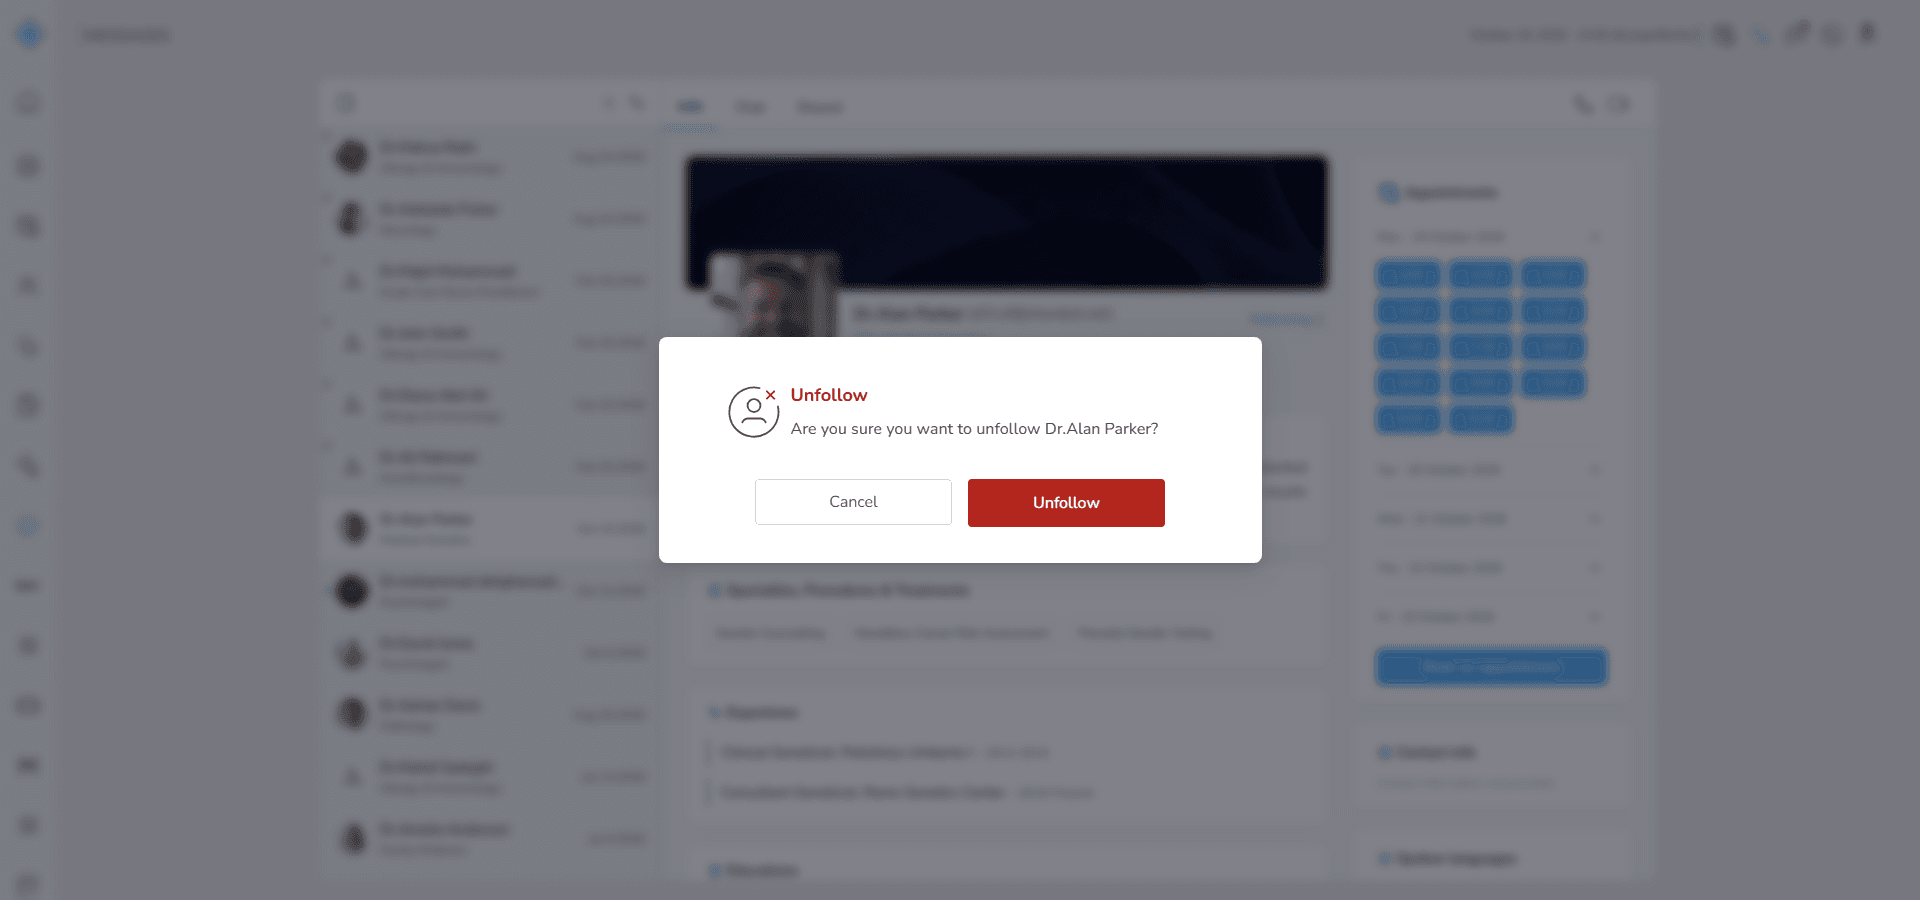
- Click Unfollow again to confirm, or Cancel to keep following
After unfollowing, the provider is removed from your Following list and you may no longer be able to message them.
Report
Use this only if there is an issue with the provider.
1. Click Report
2. A modal opens
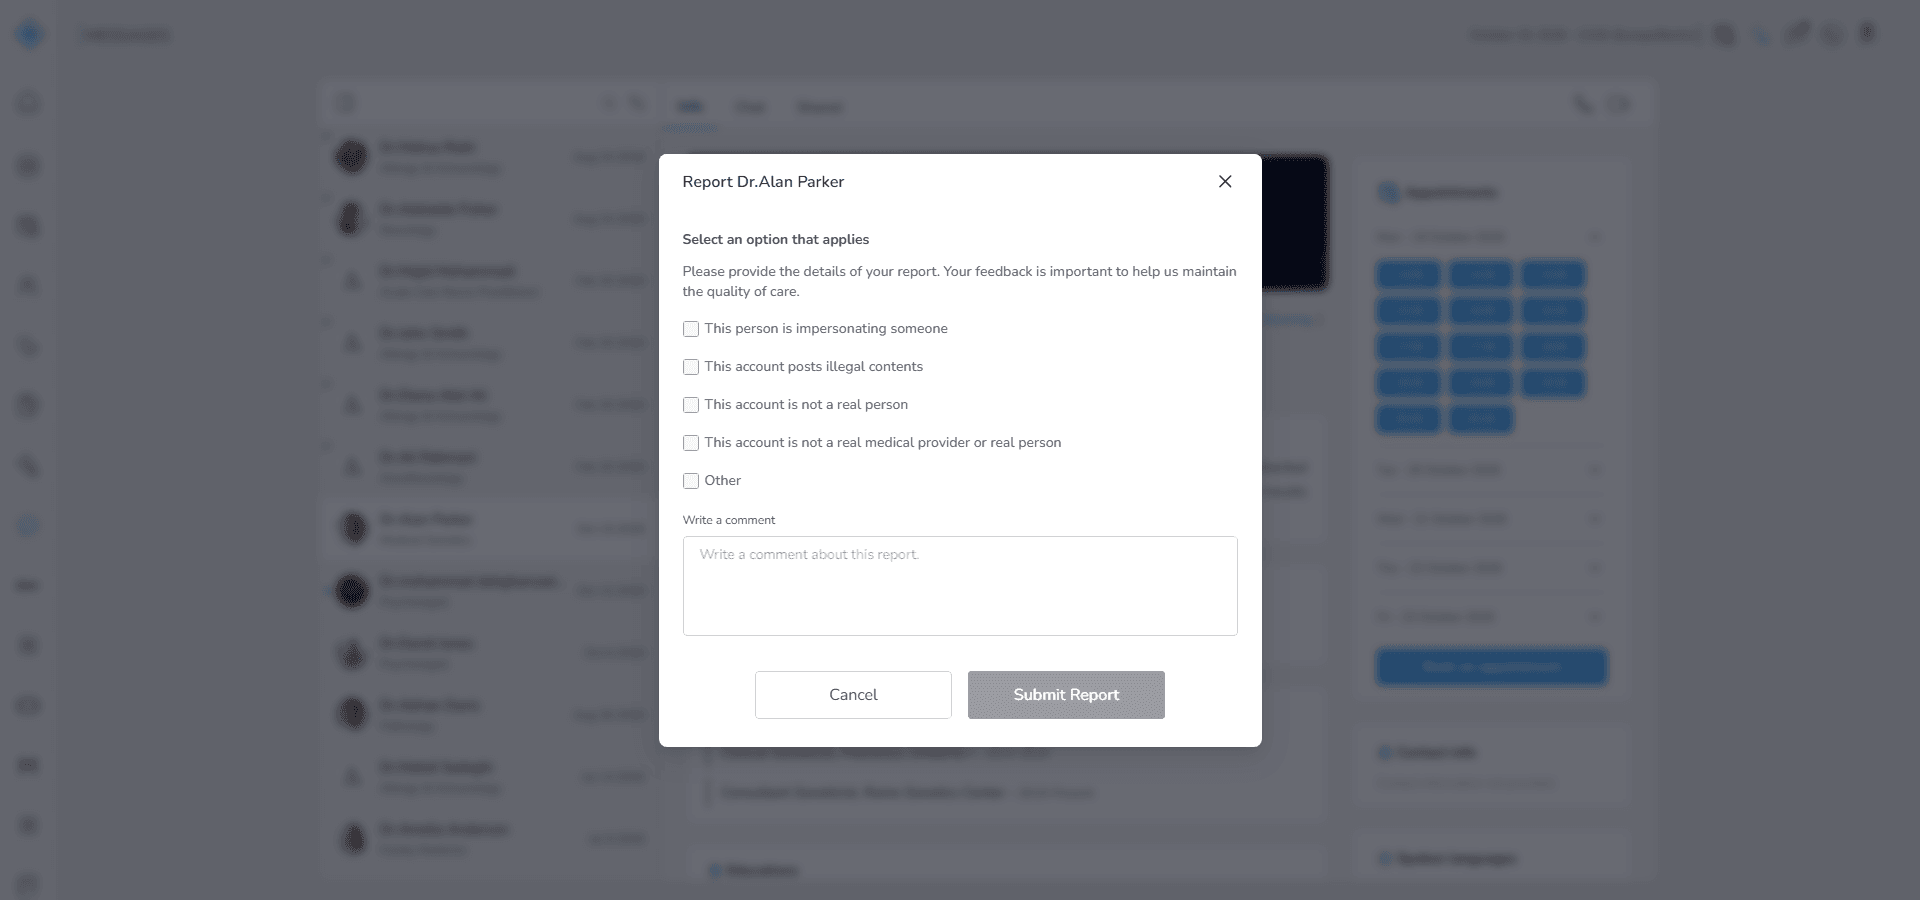
3. Select a reason or write a comment
4. Click Submit Report
This sends a report for review.
Step 6: Start communication (Call)
At the top right of the page, you will see the call buttons.
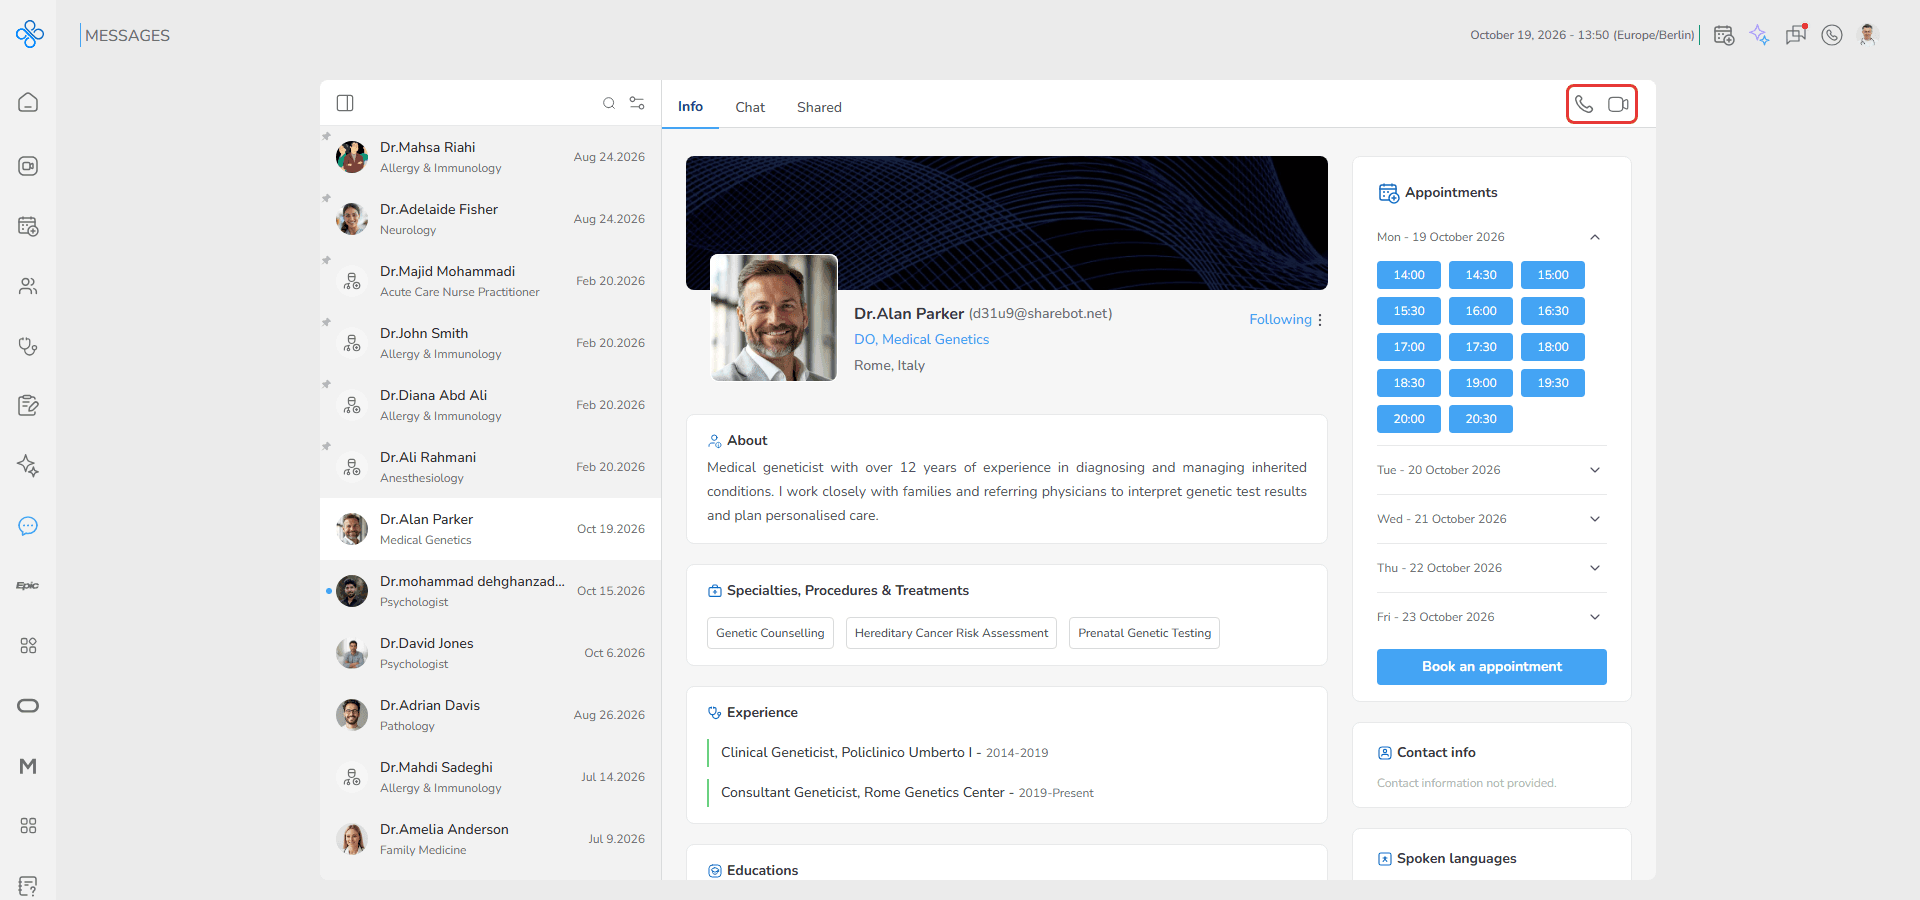
Click the voice or video call button to begin communication immediately.
Simple flow to remember
- Open Info
- Review the provider’s details
- Check available times or book an appointment
- Go back to Chat and continue the conversation
Everything is shown in one place, so you can review the provider, check availability, and continue your conversation without interruption.
Fields (Field Descriptions)
| Field | Description |
|---|---|
| Conversation List | Displays all Providers and Patients you’ve communicated with. Includes a filter to narrow results by Unread, Provider, or Patient (not available yet). Pinned conversations appear at the top for quick access. |
| More Actions Menu | Appears when hovering over a contact in the list. Provides options to Pin, Delete all messages, or Retrieve all messages. |
| Chat Tab | Default workspace showing message history. Allows typing and sending messages as well as sharing files directly within the conversation. |
| Message Input Field | Text box where messages are written before sending. |
| File Attachment Option | The + button in the message box. Enables sharing documents or files inside the conversation thread. |
| Shared Tab | Displays all files exchanged with the selected contact, in list or grid view. Includes search and the columns Name, Date, and Shared By. |
| Shared Item Actions | The More actions (⋮) button on a shared file offers Open, Download, and Delete. |
| Info Tab | Shows the contact’s profile, availability, contact information, and spoken languages on the same page, with Following / More Actions (Unfollow, Report). |
| Calling Controls | Buttons for initiating Voice Call or Video Call directly from the conversation interface. |
Behavior & Expected Outcome
- Selecting a conversation loads its history in the main workspace
- Messages appear in chronological order for easy tracking
- Sent messages immediately display in the thread
- Files shared within chat are automatically added to the Shared tab
- Applying filters updates the conversation list dynamically
- Pinning keeps important conversations visible at the top
- Deleting chats removes them from the list view
- Retrieving restores previously removed messages
- Starting a voice or video call transitions into the call workflow
New Message Indicators
When a new message is received, the system provides visual indicators to alert the user:
- A red dot appears on the Messages icon in the header.
- On the Dashboard, the Unread Messages shortcut counter increases to reflect the number of unread messages.
- Inside the Messages page, conversations with unread messages display a blue dot next to the contact’s profile image in the conversation list.
These indicators help users quickly identify and access unread communications.
Common Errors + Fixes
| Issue | Cause | Fix |
|---|---|---|
| Messages not sending | Internet connection issue or server downtime | Check connection; retry once server is available. |
| File upload failed | Unsupported file type or size limit exceeded | Ensure file type/size meets system requirements. |
| Shared item not found | File was deleted by the sender or system policy | Confirm with sender or upload again. |
| Call button not working | Browser/device permissions not granted | Enable microphone/camera permissions in browser settings. |
| Conversation missing | Chat removed from More Actions | Use Retrieve all messages to restore it |