AI Agent
Overview
The AI Assistant section provides a dedicated space where you can interact with the platform’s intelligent assistant through organized chat topics.
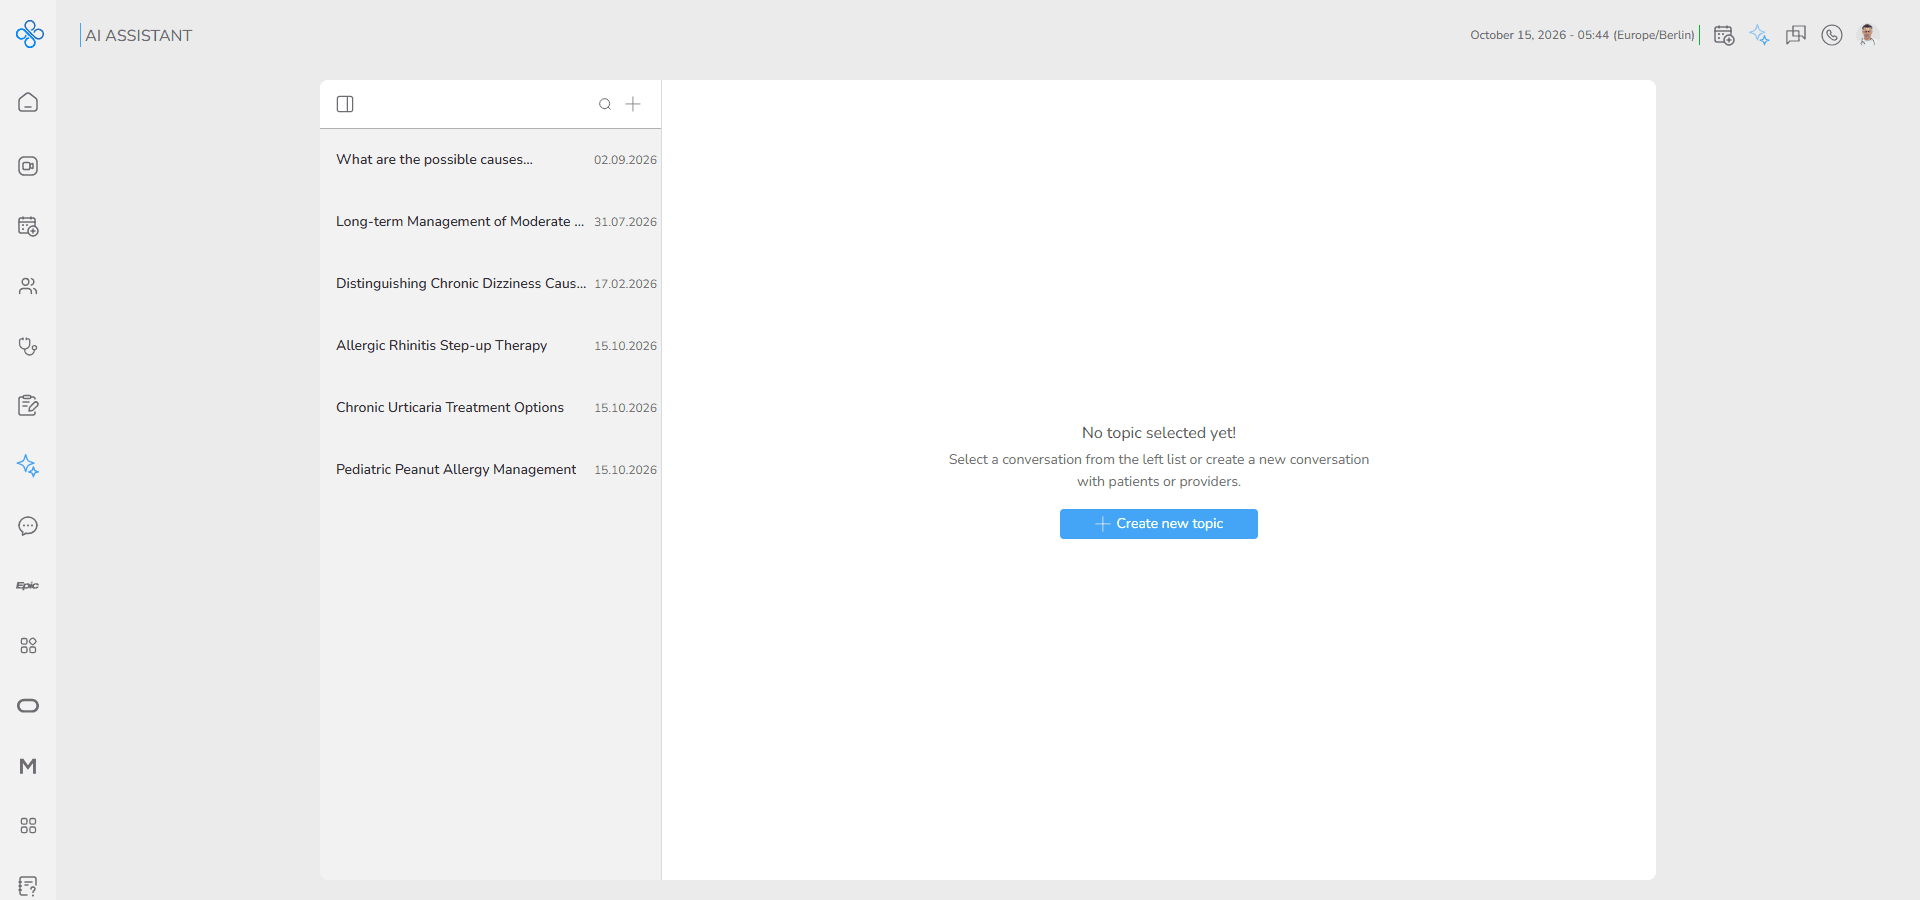
Each topic works like a separate conversation thread, helping you keep different questions, consultations, or notes structured and easy to revisit later.
Within this section, you can:
- Create topics to organize different conversations
- Rename or reorder topics for clarity
- Pin important topics for quick access
- Search through your topics
- Chat with the assistant inside each topic
- Clear conversations when needed
- Manage topics through simple actions (Rename, Pin, Clean, Delete)
- This structure helps prevent conversations from becoming cluttered and allows you to maintain focused discussions around specific subjects.
Steps
Step 1: How to Access AI Assistant
You can reach the AI Assistant in two simple ways:
Primary Access
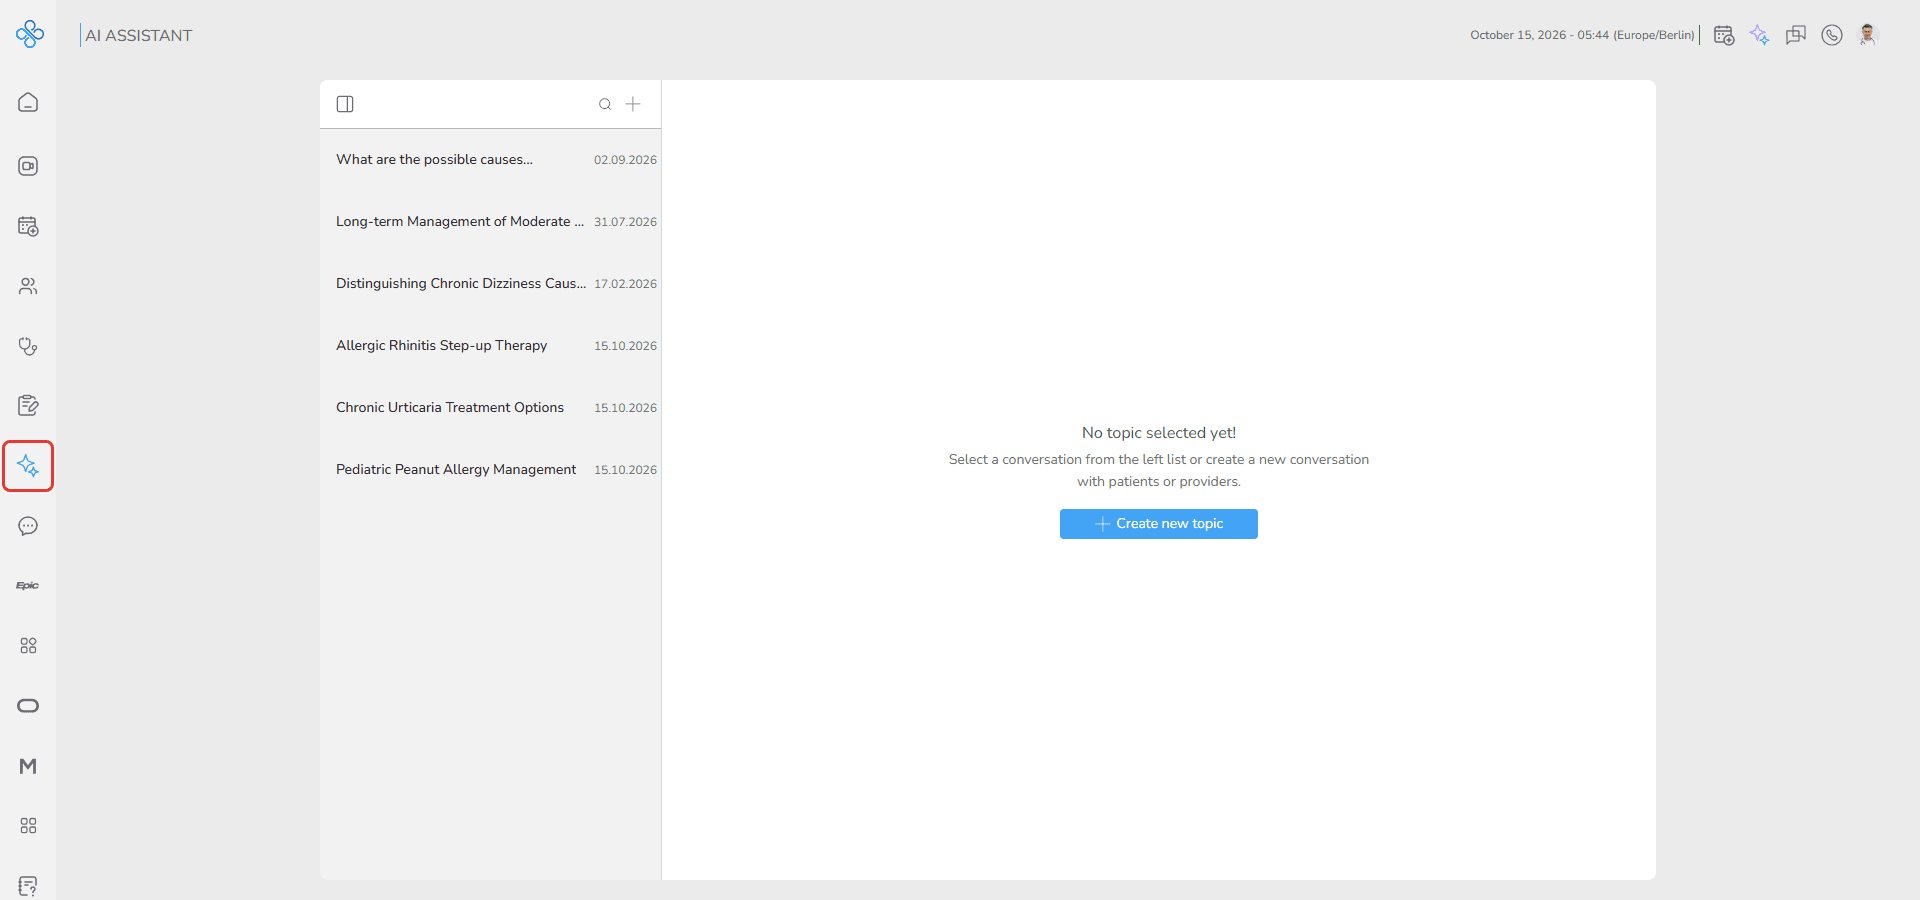
- From the Sidebar navigation, select AI Assistant to open the full workspace.
Quick Access
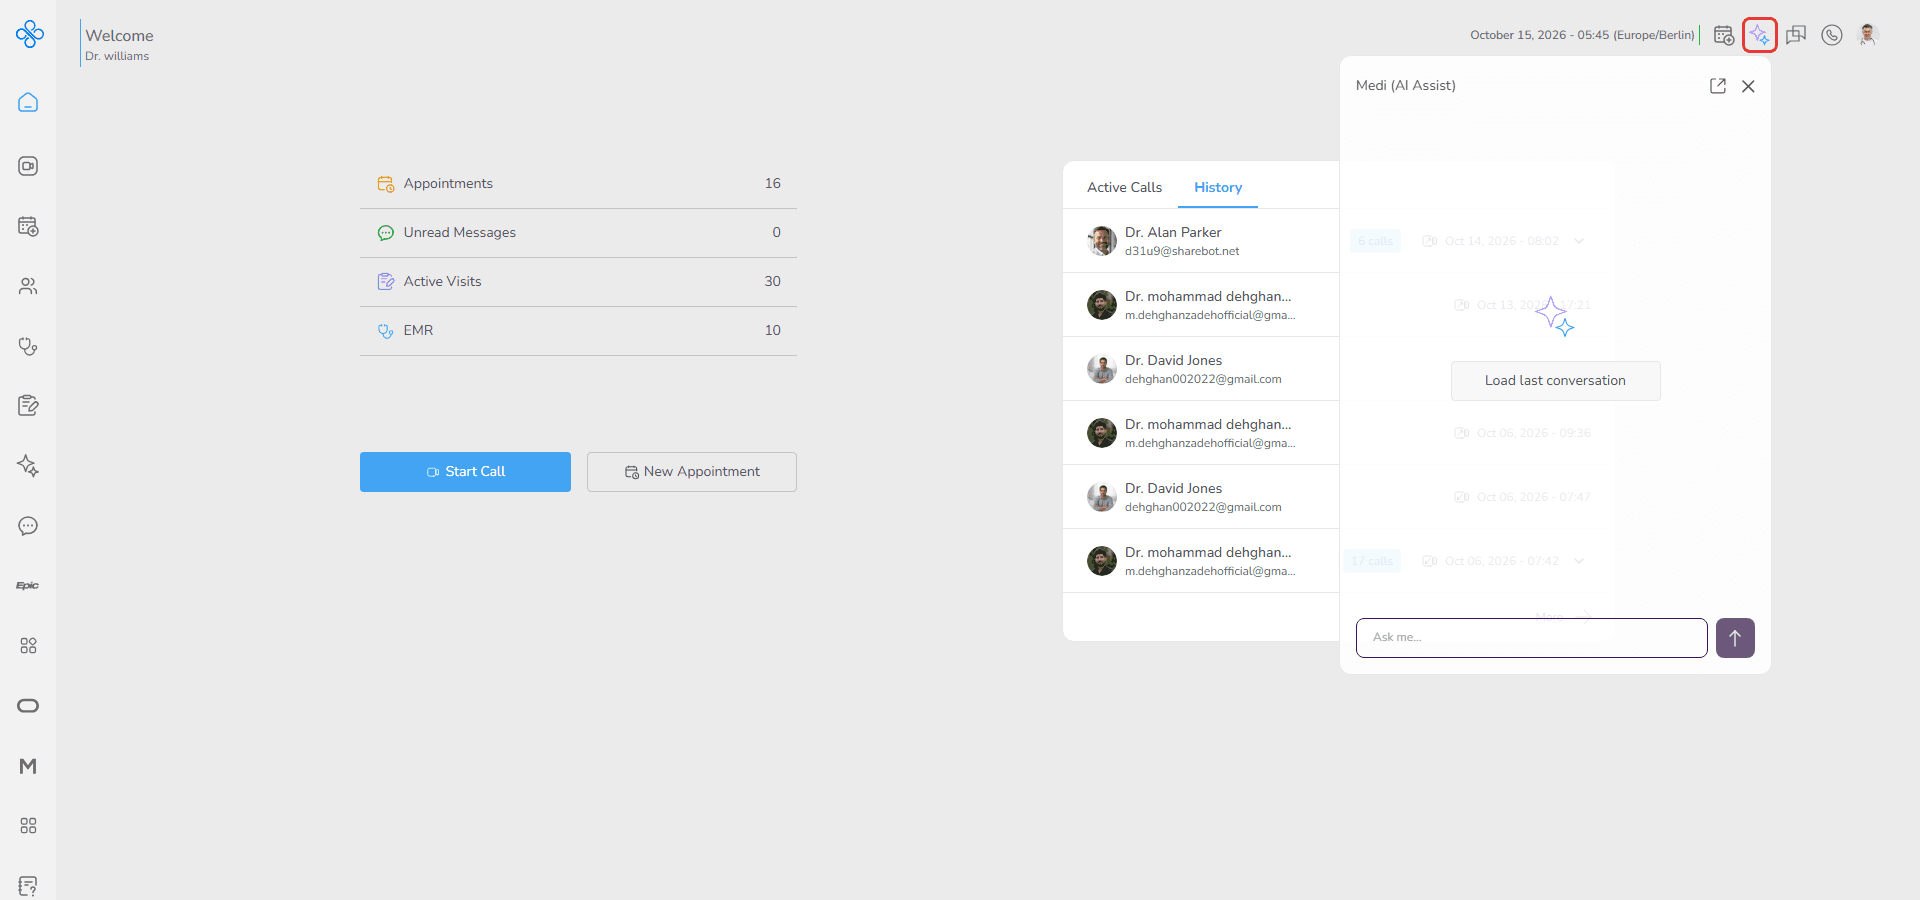
- From any page, click the AI assistant icon in the header. The Medi (AI Assist) panel opens, and you can start chatting with the assistant directly.
(For more details, refer to the Dashboard guide.)
Step 2: Creating Your First Topic
Before you begin chatting with the assistant, you need to create a topic — this acts as the container for your conversation.
When you enter the AI Assistant page:
- In the center of the screen, click + Create new topic
- OR
- At the top of the topic list panel, click the + button
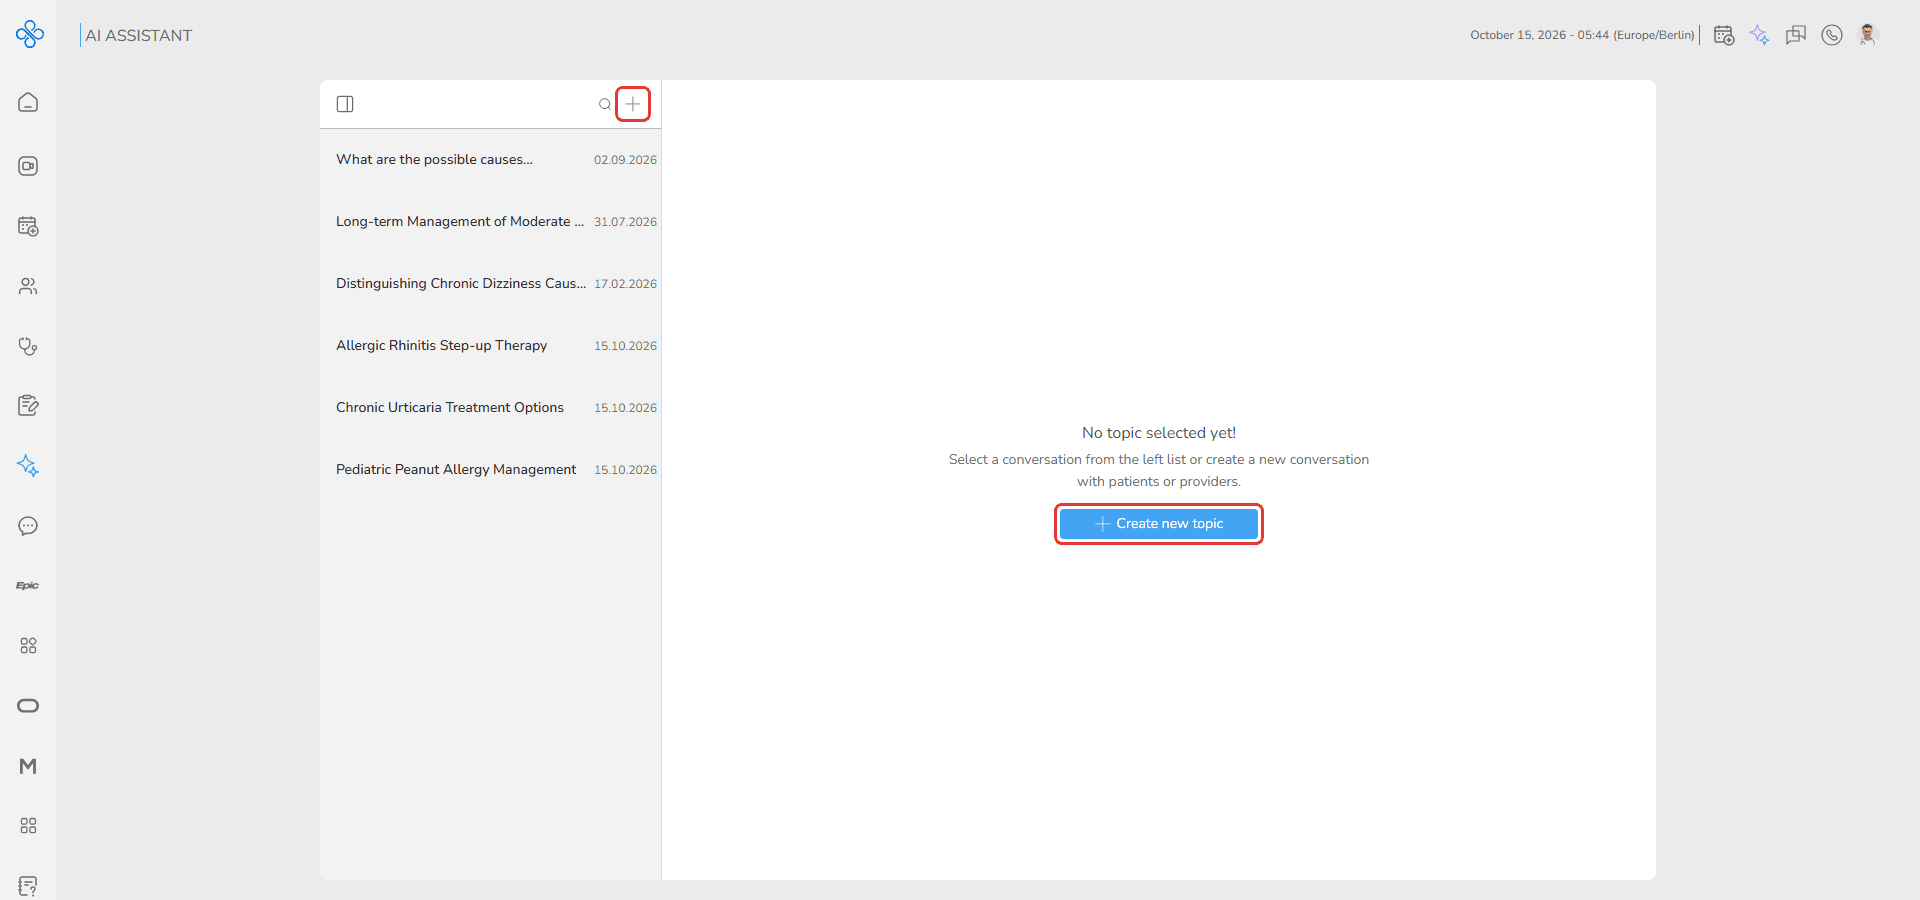
After clicking either option:
1. A modal titled Create new topic appears
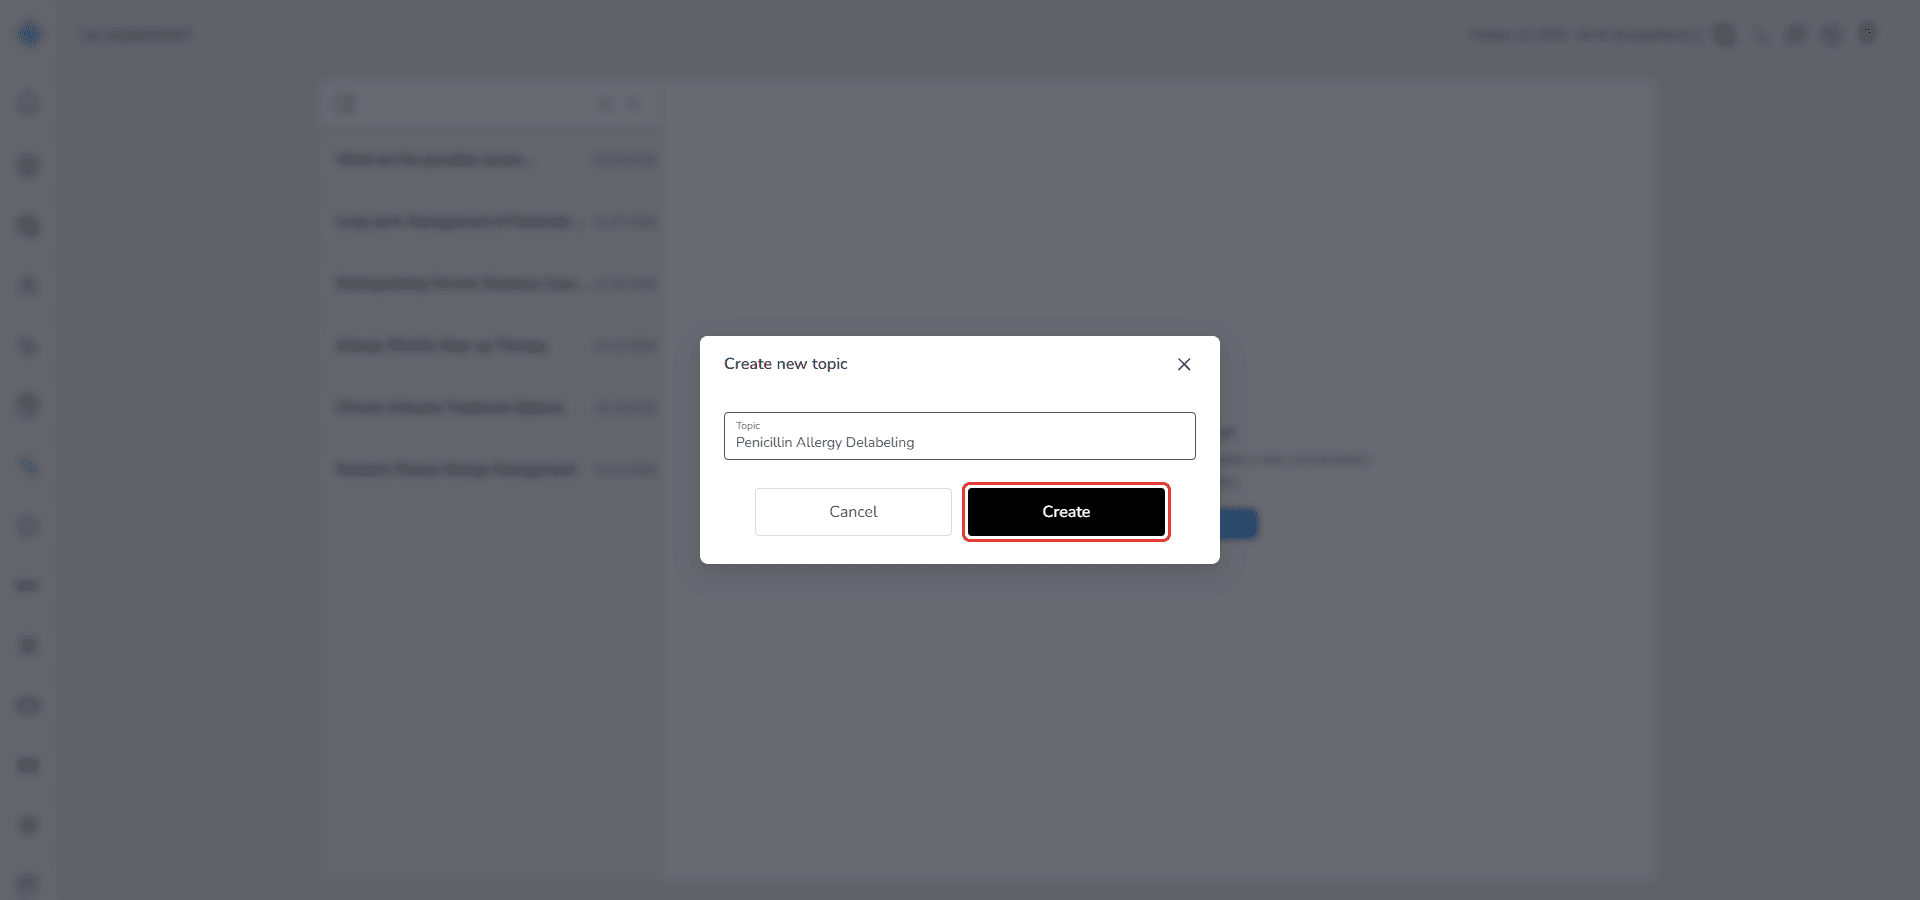
2. Enter a name that reflects what the conversation will be about
3. Click Create to generate the topic
4. Or click Cancel to exit without saving
Once created, the topic appears in your topic list and is ready to use.
Step 3: Understanding the Workspace Layout
This step helps you get oriented so you know where everything lives before interacting with topics.
When the AI Assistant page opens, the screen is divided into two main sections:
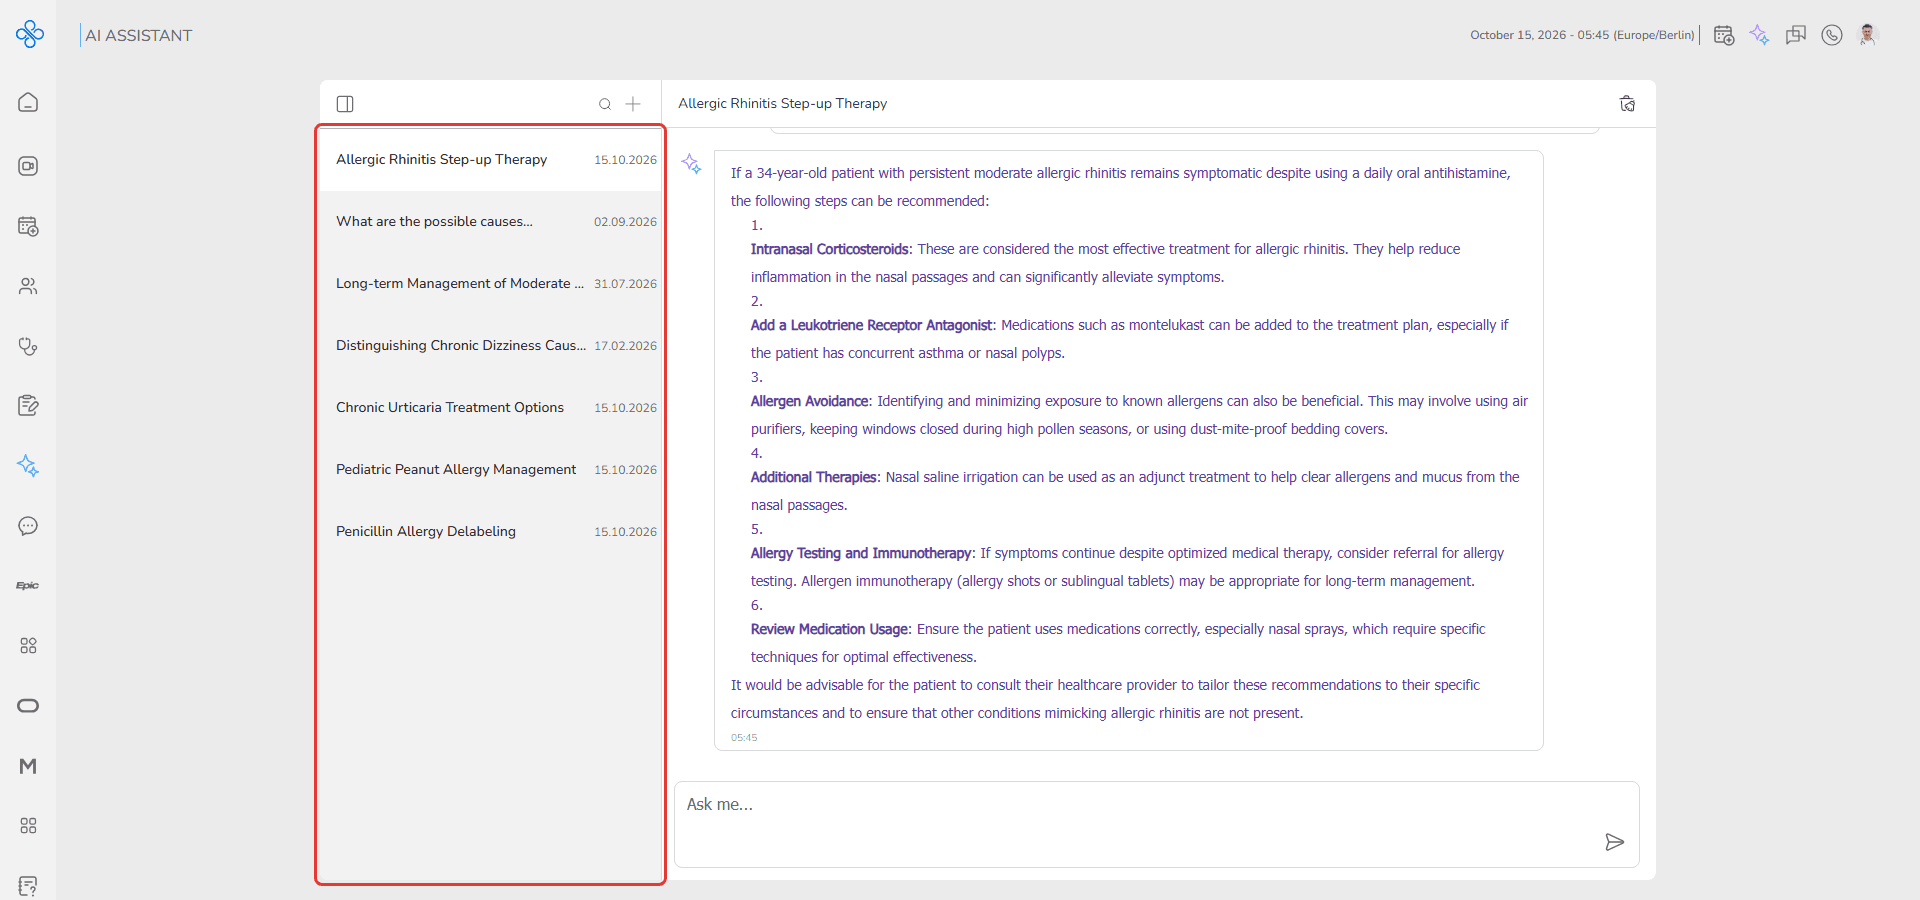
- Topic List Panel (Left)
- Displays all your created topics and tools for managing them.
- Chat Panel (Right)
- Shows the conversation for the currently selected topic and allows you to interact with the assistant.
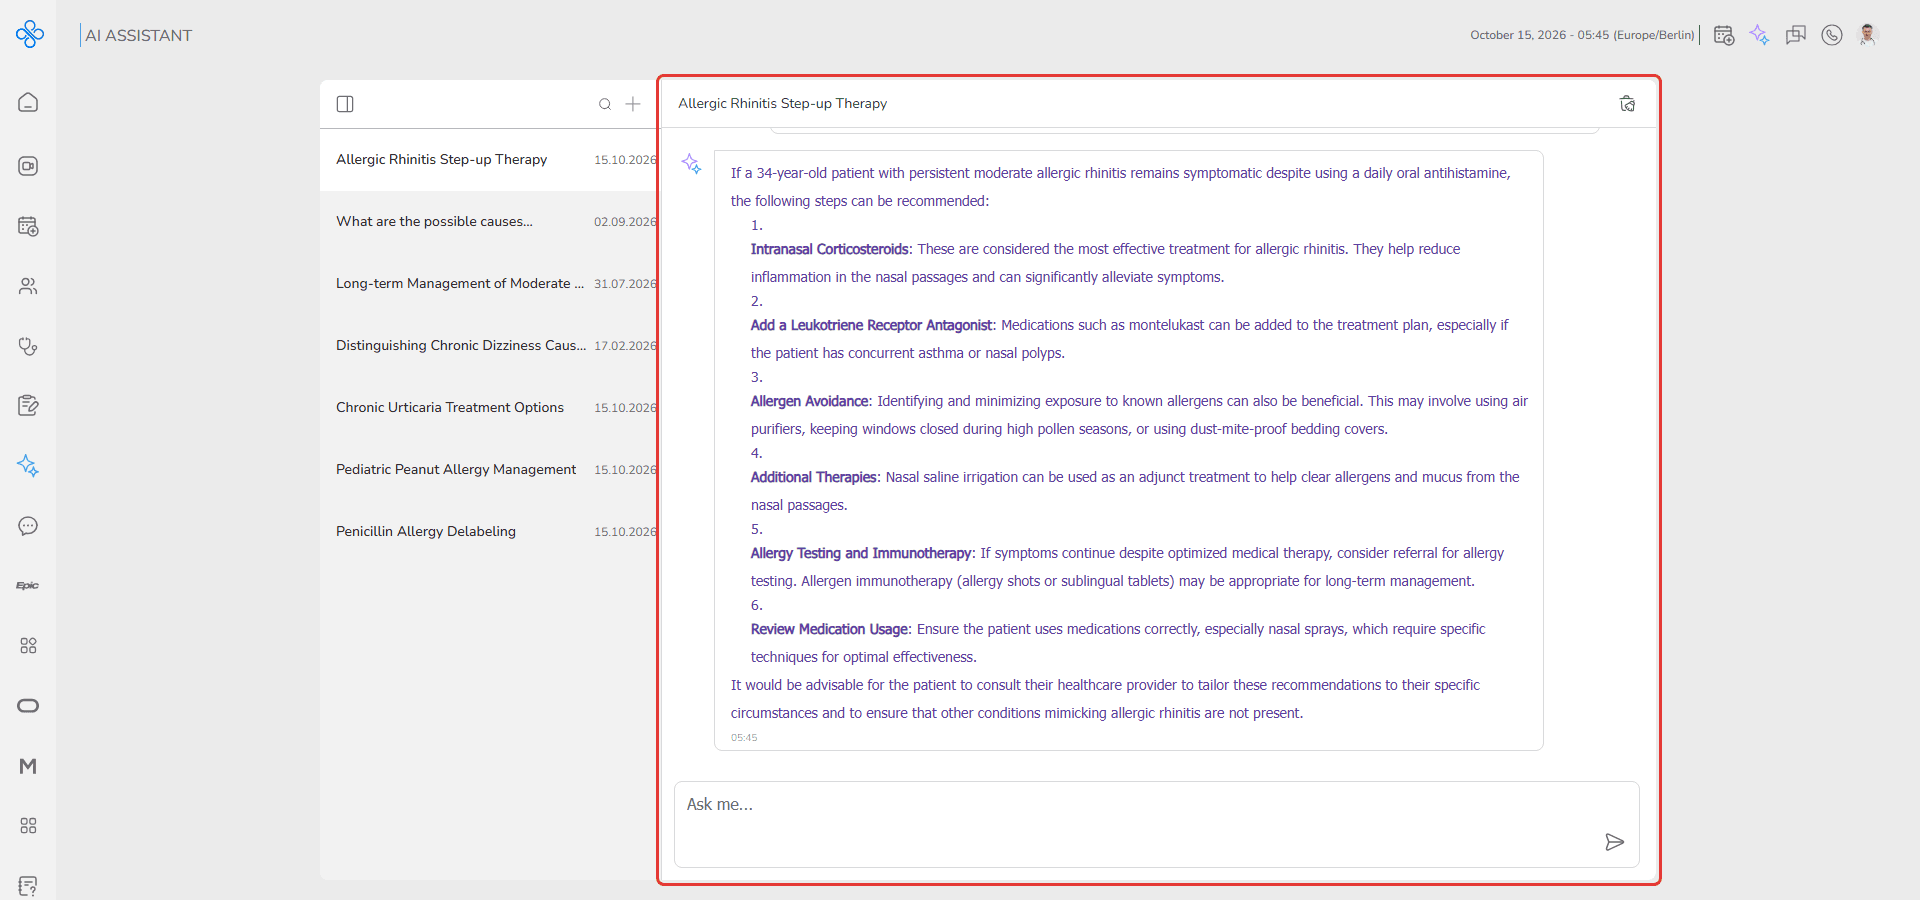
Selecting a topic from the list loads its conversation into the chat panel.
Step 4: Managing Existing Topics
This step explains how to organize and maintain your topic list.
1. Hover your cursor over any topic in the list
2. Click the More Actions (⋮) button that appears
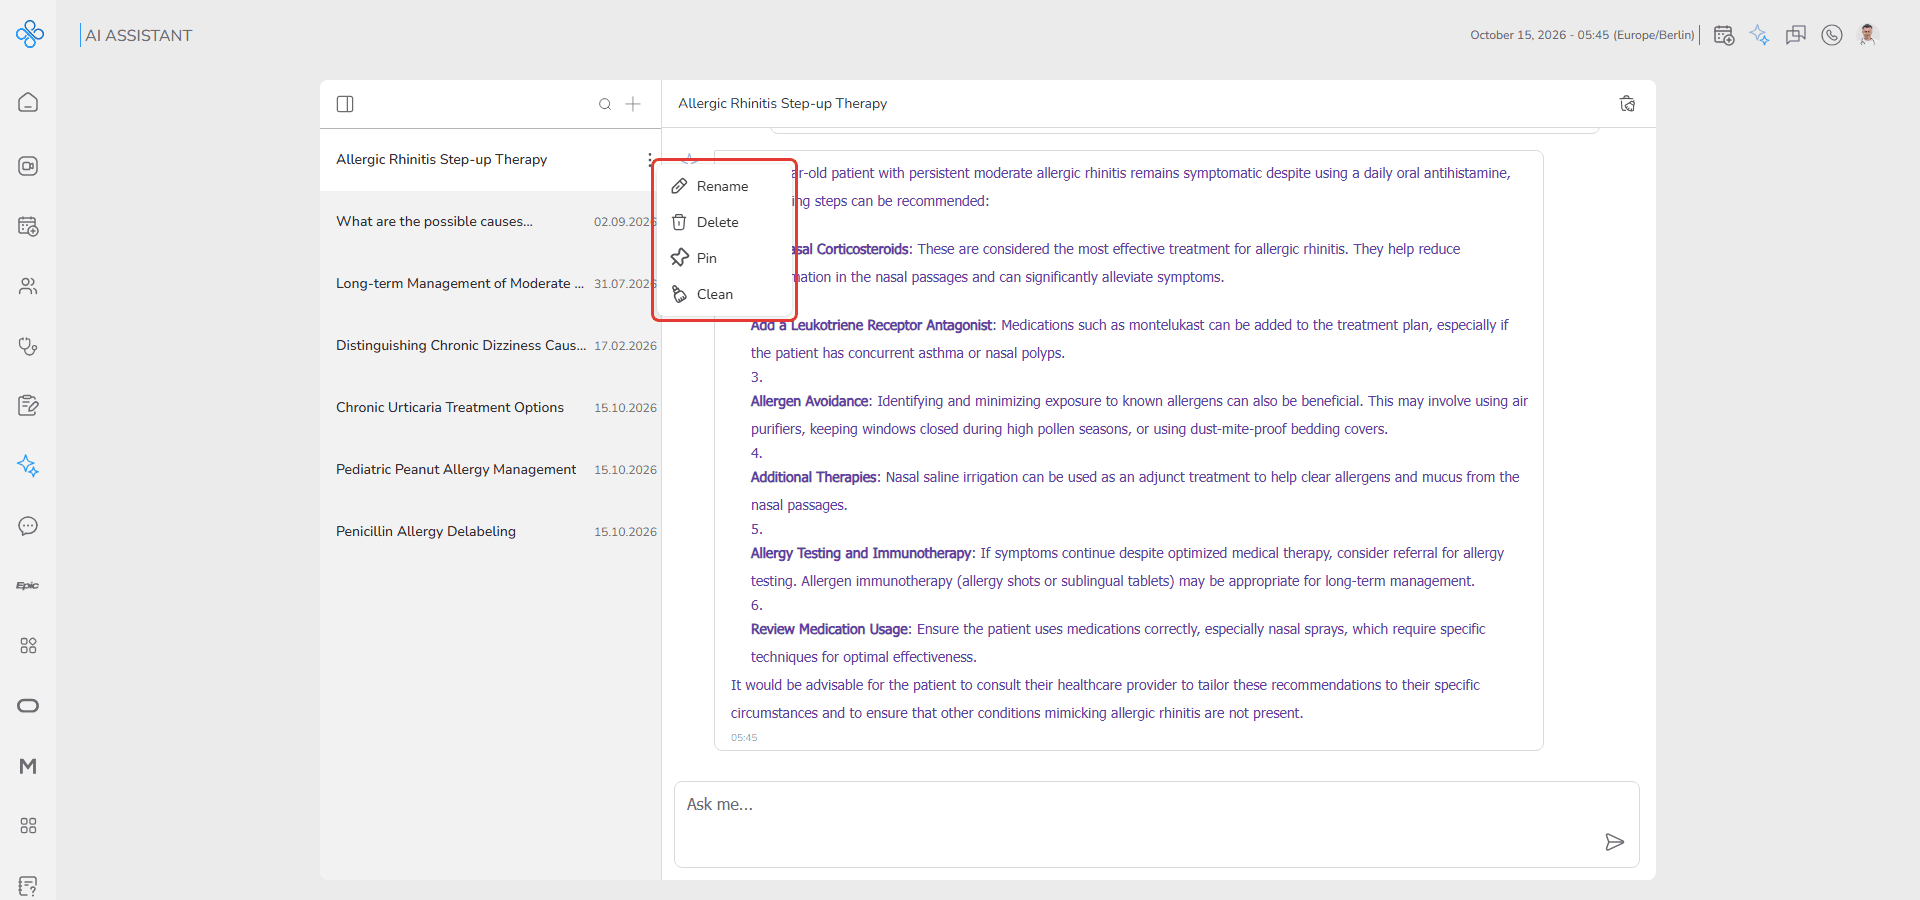
3. Choose one of the available options:
- Rename — Change the topic title
- Pin / Unpin — Keep important topics at the top
- Clean — Remove all messages within that topic
- Delete — Permanently remove the topic
These actions help keep your workspace structured and clutter-free.
Step 5: Searching for Topics
- This step is useful when you have many topics and need to quickly find one.
Step 1: Click the search (magnifier) icon above the topic list to open the search bar
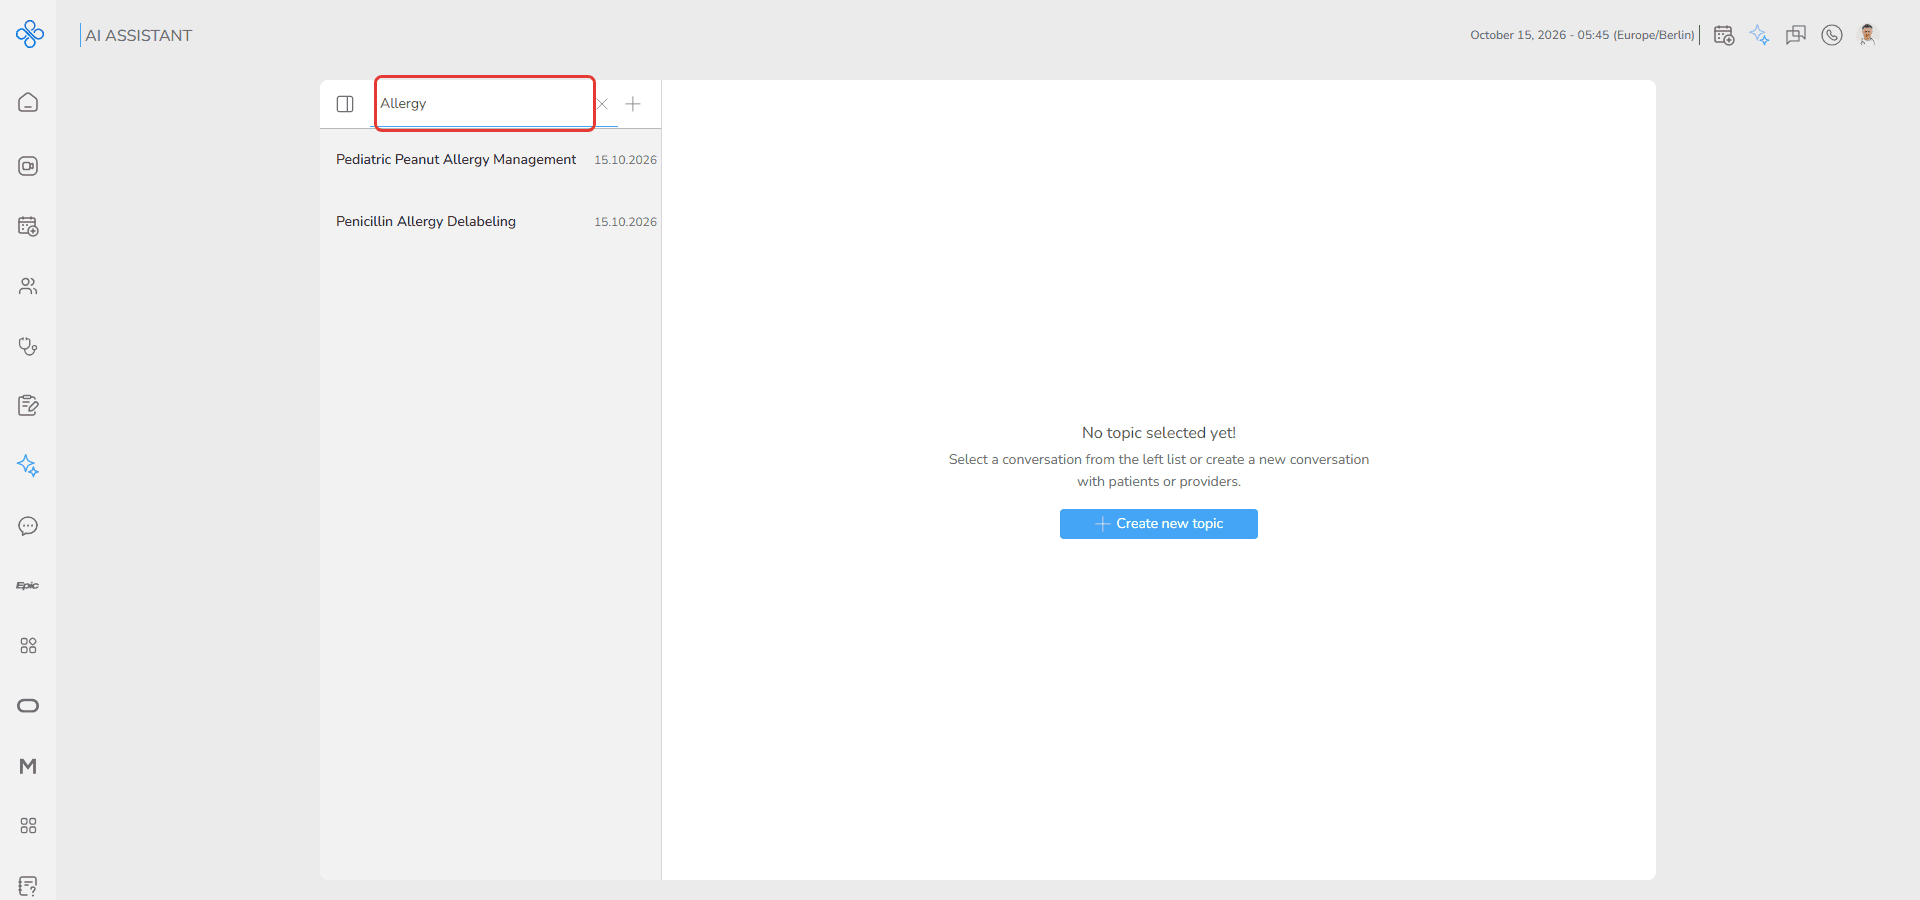
Step 2: Enter part of the topic name
Step 3: Matching results appear instantly
- This saves time and reduces manual scrolling.
Step 6: Chatting with the AI Assistant
This step covers the core interaction with the assistant.
1. Select a topic from the list
2. The conversation loads in the chat panel
3. Type your message in the input field
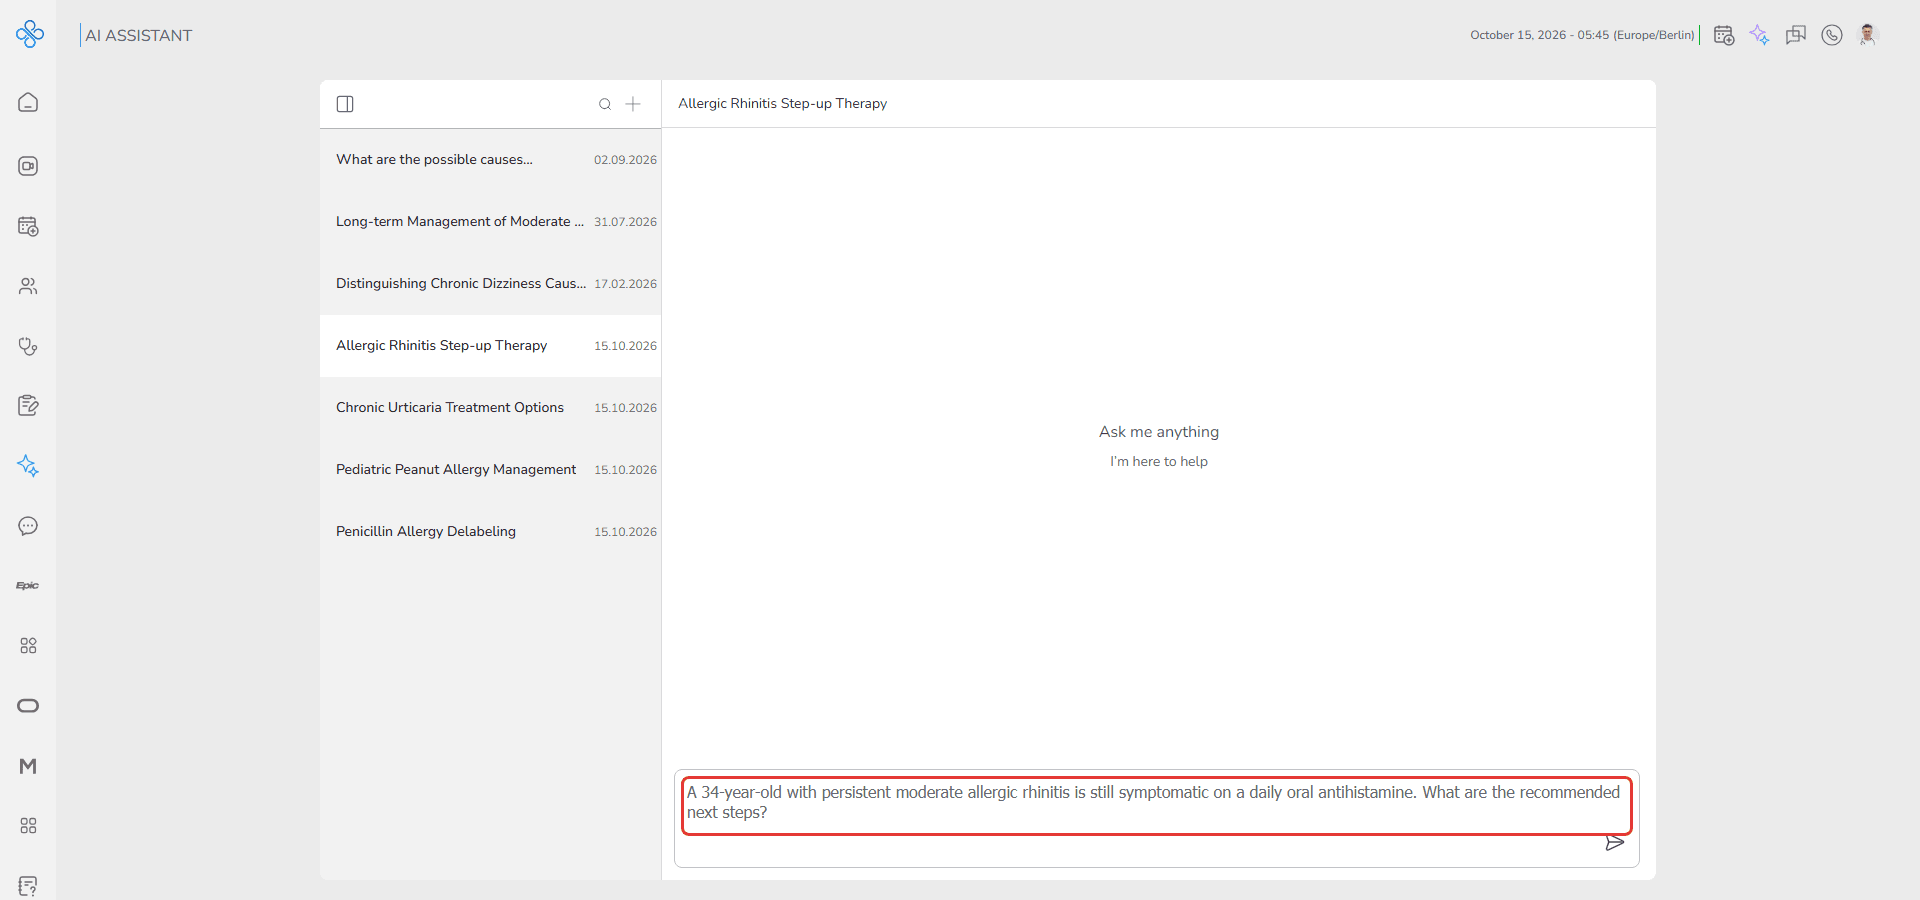
4. Click Send
The assistant responds within the same conversation thread.
Usage Note
You can send up to 15 messages per day to the AI assistant.
Step 7: Cleaning a Conversation
This step explains how to clear chat history when needed.
You can clean a conversation in two ways:
From Topic Actions
- Hover topic → More Actions → Clean
From Chat Header
- Click the Clean Conversation icon at the top right of the chat panel
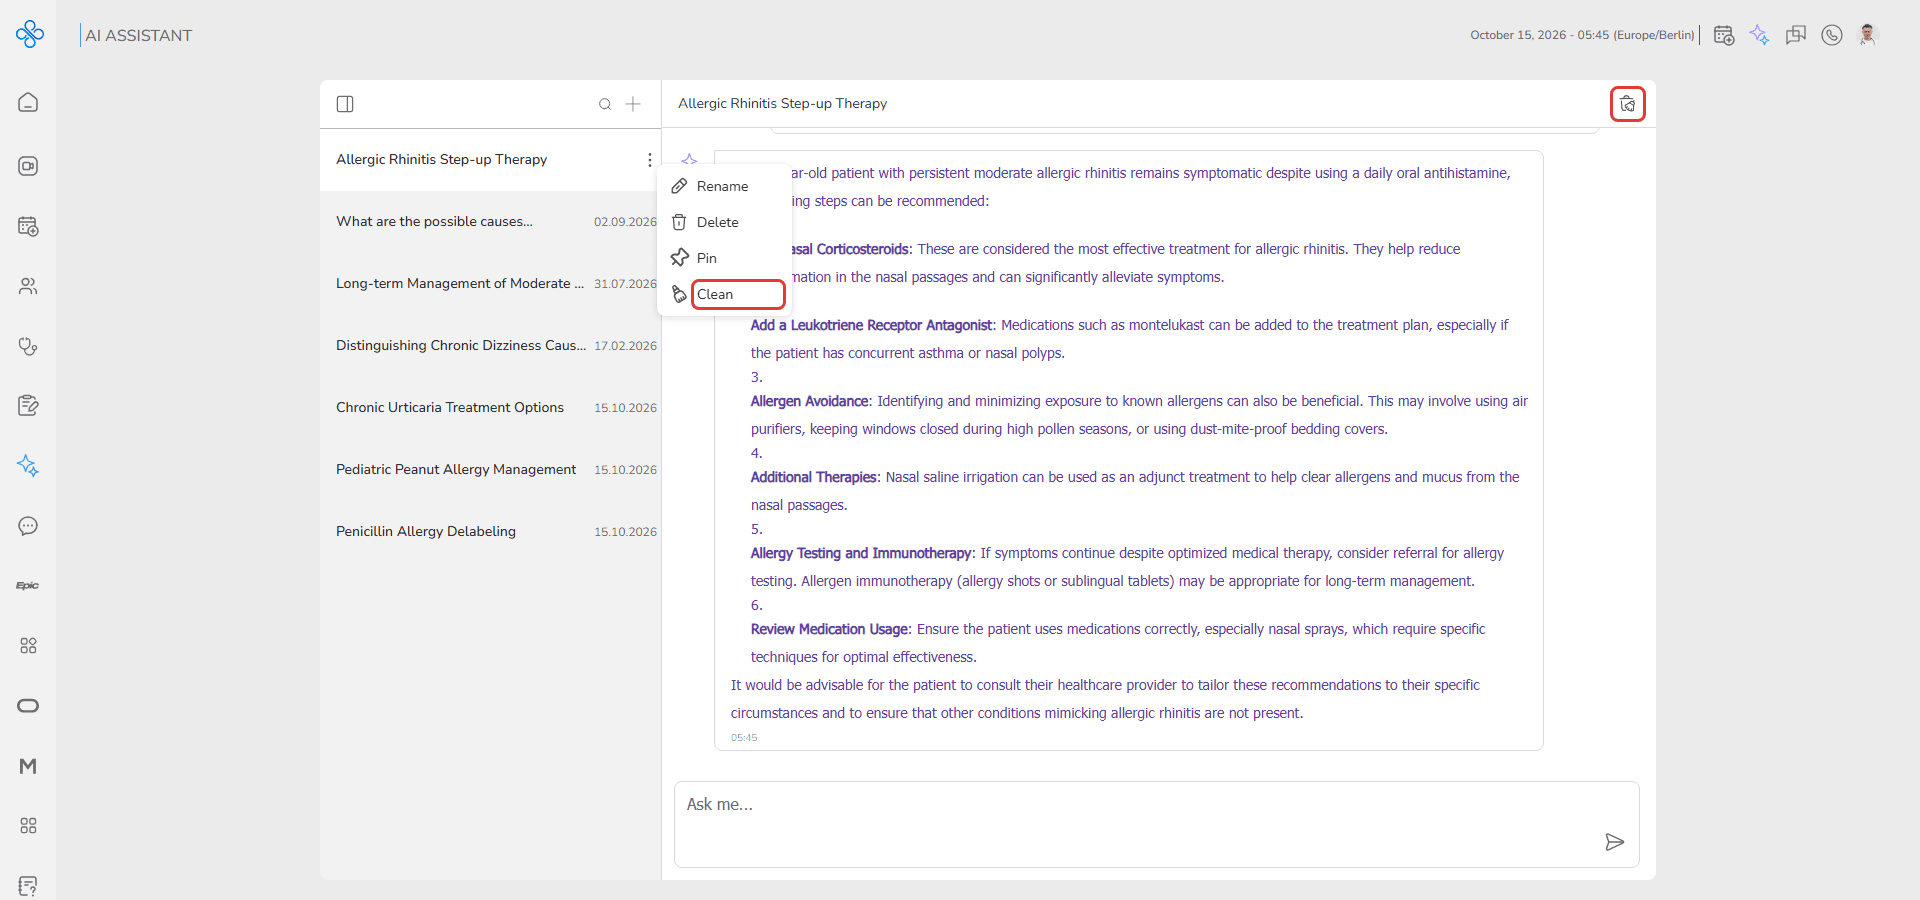
After selecting either:
- A confirmation modal appears
- Choose:
- Cancel → No changes made
- Clean → All messages removed
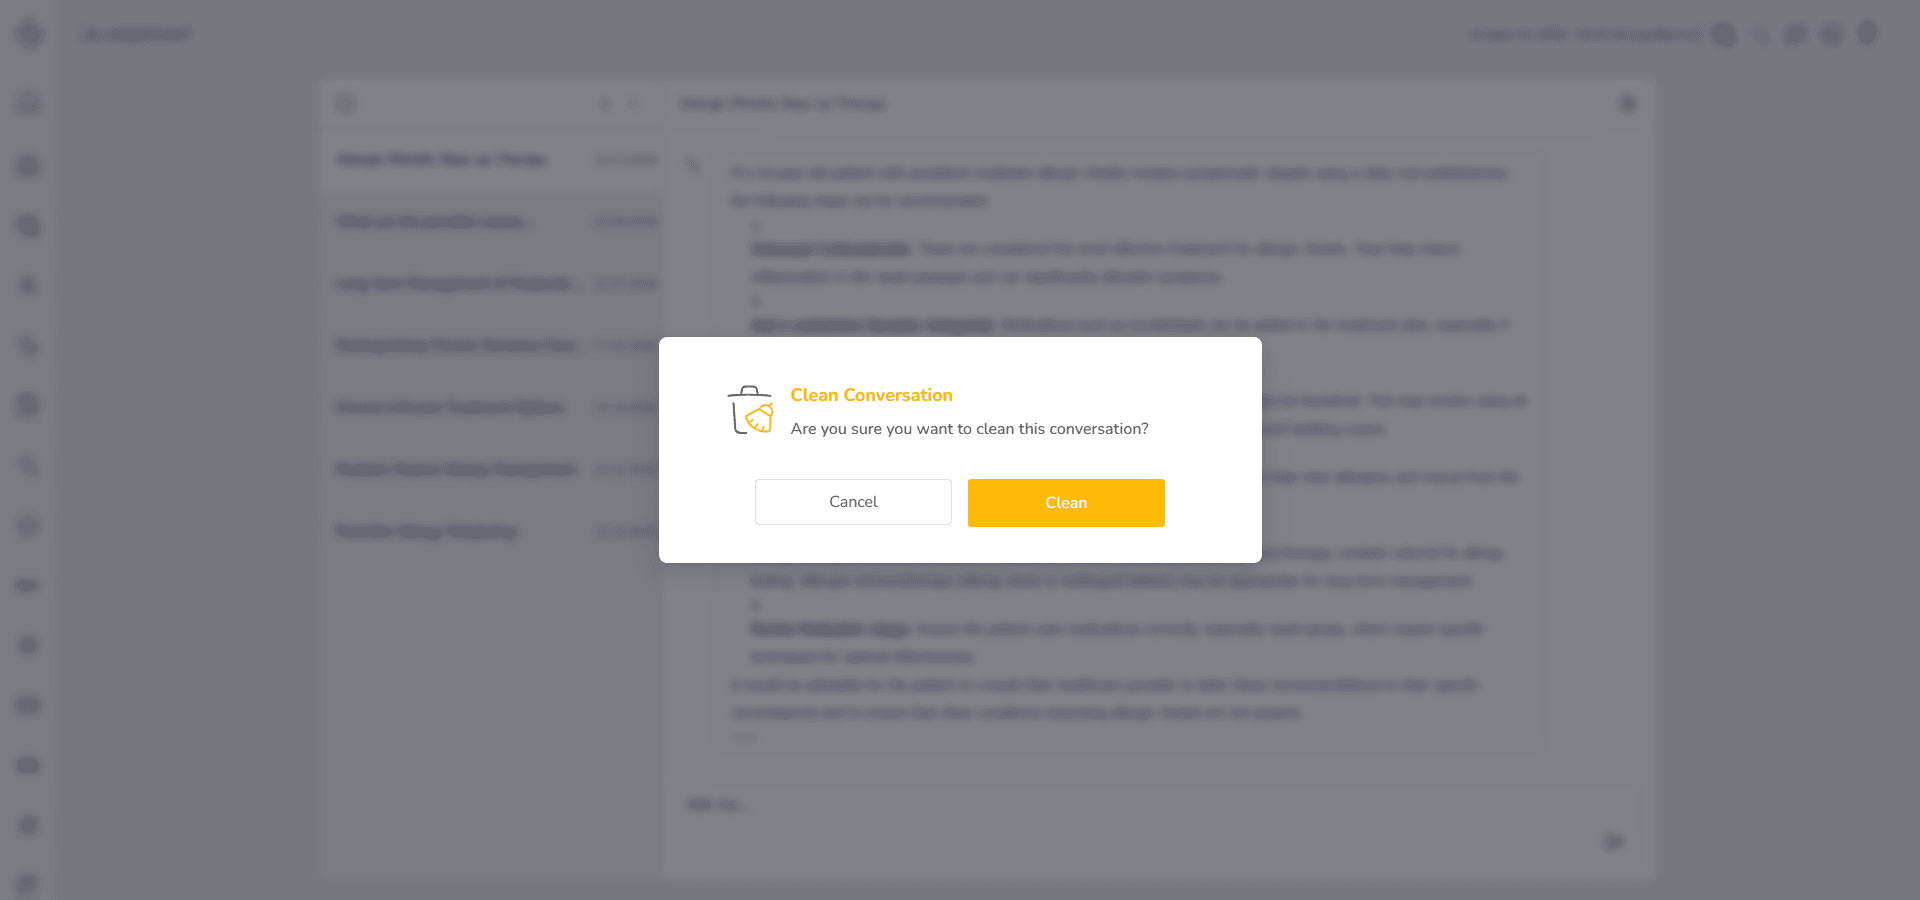
This action clears messages but keeps the topic itself.
Fields (Field Descriptions)
| Field | Description |
|---|---|
| Topic List Panel | Displays all created topics and management controls |
| Chat Panel | Shows the active conversation with the assistant |
| + Create new topic Button | Opens topic creation modal |
| Create new topic Modal | Allows entering topic name and confirming creation |
| Search Bar | Filters topics by name |
| More Actions Menu | Provides Rename, Pin/Unpin, Clean, Delete options |
| Message Input Field | Area for typing messages to the assistant |
| Send Button | Submits message to the assistant |
| Clean Button | Clears conversation messages |
| Confirmation Modal | Requests confirmation before cleaning |
Behavior & Expected Outcome
- Creating a topic adds it instantly to the topic list and makes it ready for use
- Selecting a topic loads its conversation history in the chat panel
- Messages appear in chronological order for easy tracking
- Sent messages display immediately in the conversation thread
- AI responses appear within the same topic to maintain context
- Searching filters the topic list dynamically as you type
- Renaming updates the topic title instantly
- Pinning keeps important topics visible at the top of the list
- Cleaning a topic removes its messages but keeps the topic available
- Deleting a topic removes it completely from the list view
- Cleaning from the chat header clears the active conversation after confirmation
- Reaching the daily message limit prevents sending additional messages until reset
Common Errors + Fixes
| Issue | Cause | Fix |
|---|---|---|
| Topic name required | User clicks “Create” without entering a name | Enter a valid topic name |
| Duplicate topic name | User tries to create or rename with an existing topic name | Choose a unique name |
| Message limit reached | More than 15 messages sent in a single day | Wait until next day to continue |
| Clean/Delete confirmation missed | User exits modal without confirming | Reopen action and confirm |