OHIF
Overview
OHIF is the medical imaging viewer inside Telemedicall. It lets you review and analyze imaging studies (DICOM), such as CT, MR, X-ray (DX), ultrasound (US) and PET/CT, directly in the platform.
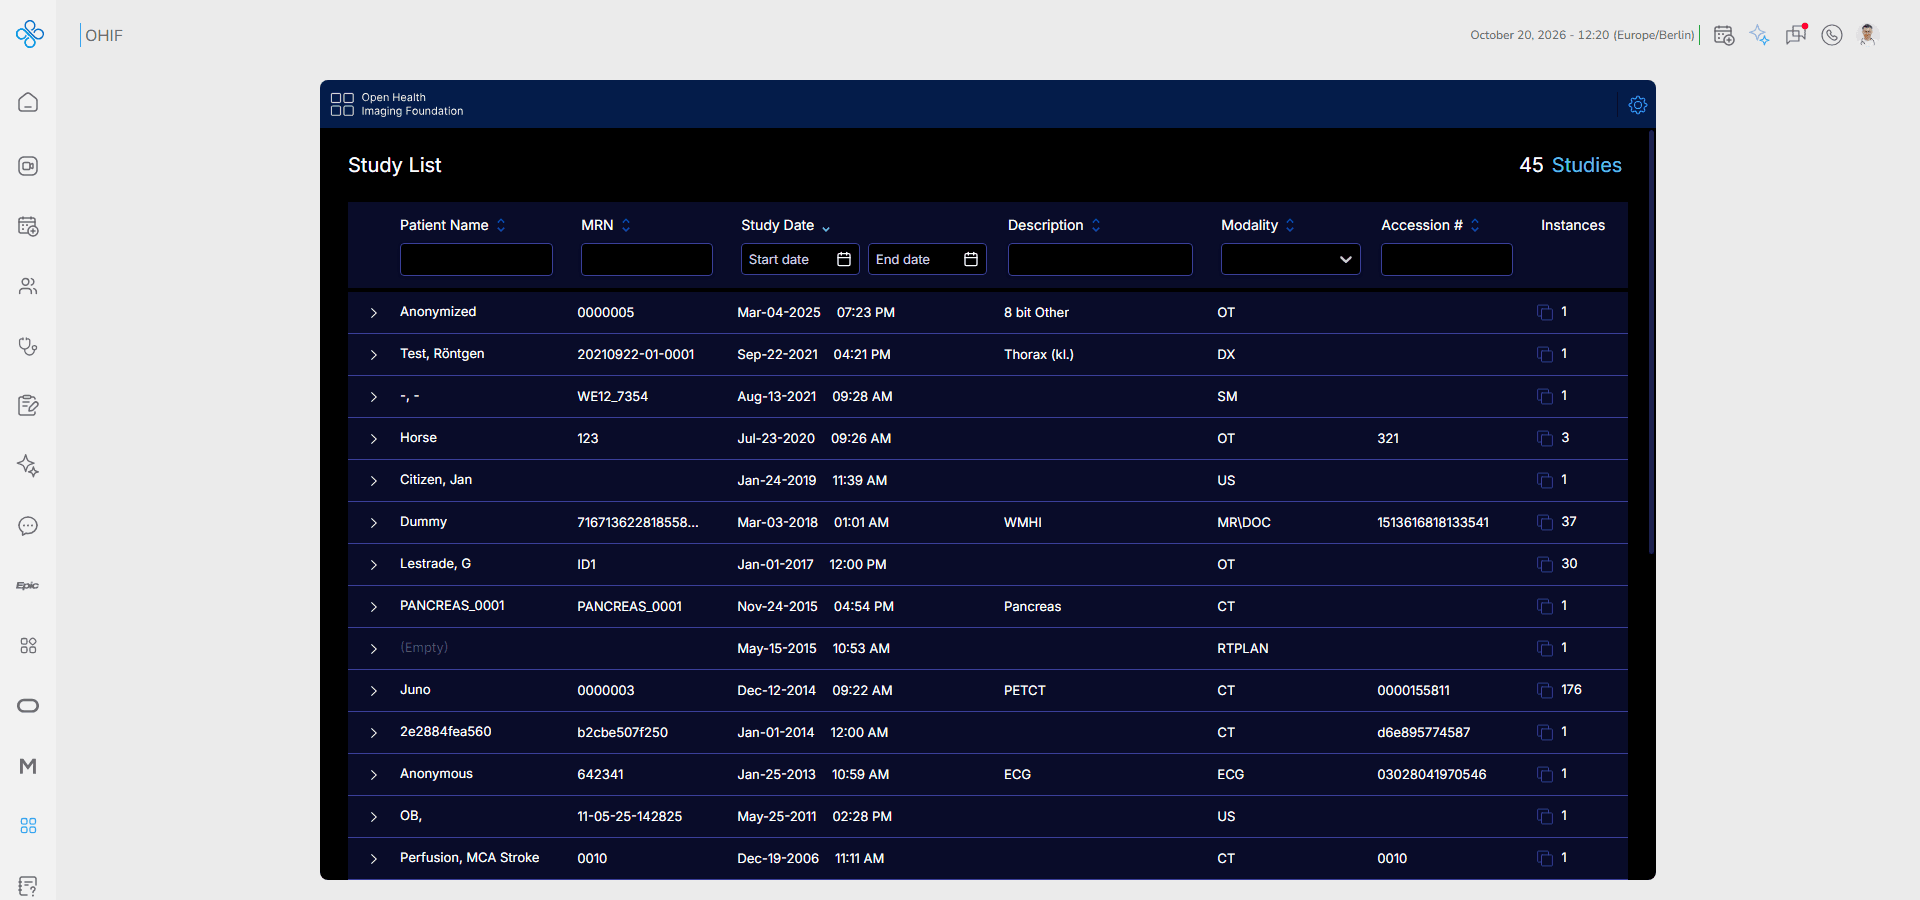
The page opens the Study List, where you find a study, and the Viewer, where you review its images and take measurements.
With OHIF you can:
- Browse and filter all available imaging studies
- Open a study in the viewer and switch between its series
- Zoom, pan, scroll and adjust the window level of images
- Measure lengths, angles and regions directly on the image
- Change the viewport layout to compare several images
OHIF is useful for radiology and diagnostic imaging workflows.
How to Access OHIF
You can open OHIF in two ways:
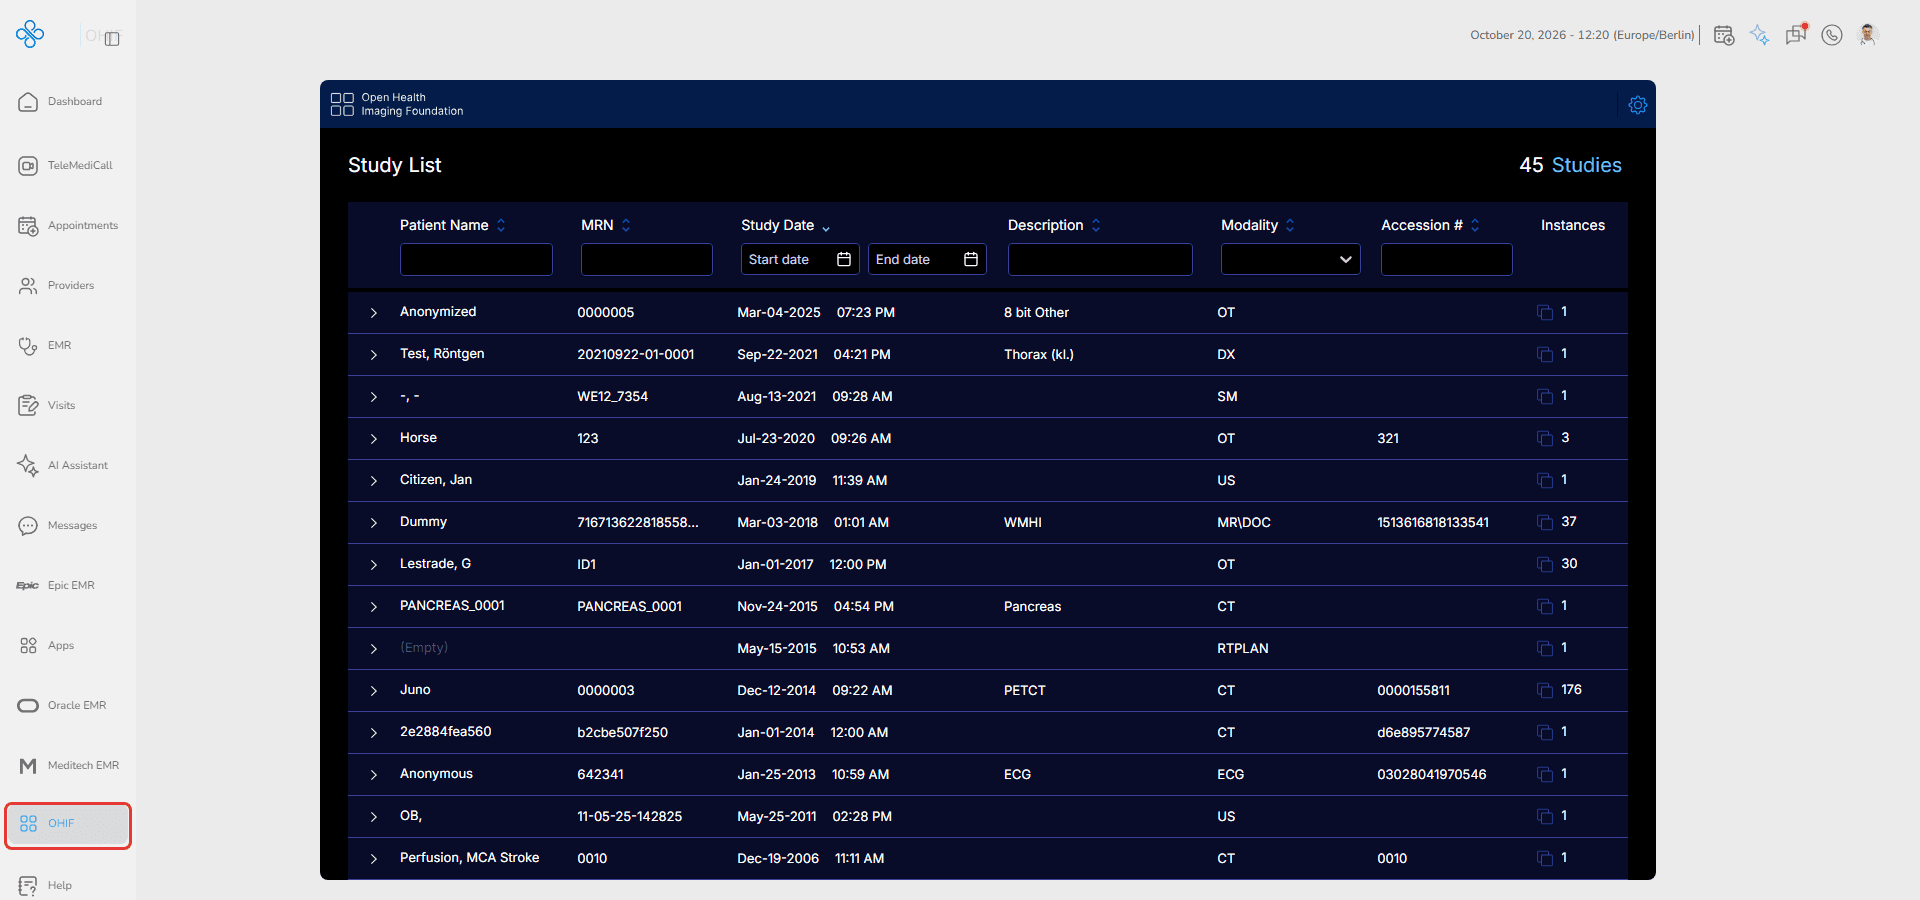
From the Sidebar
Click OHIF in the main navigation menu.
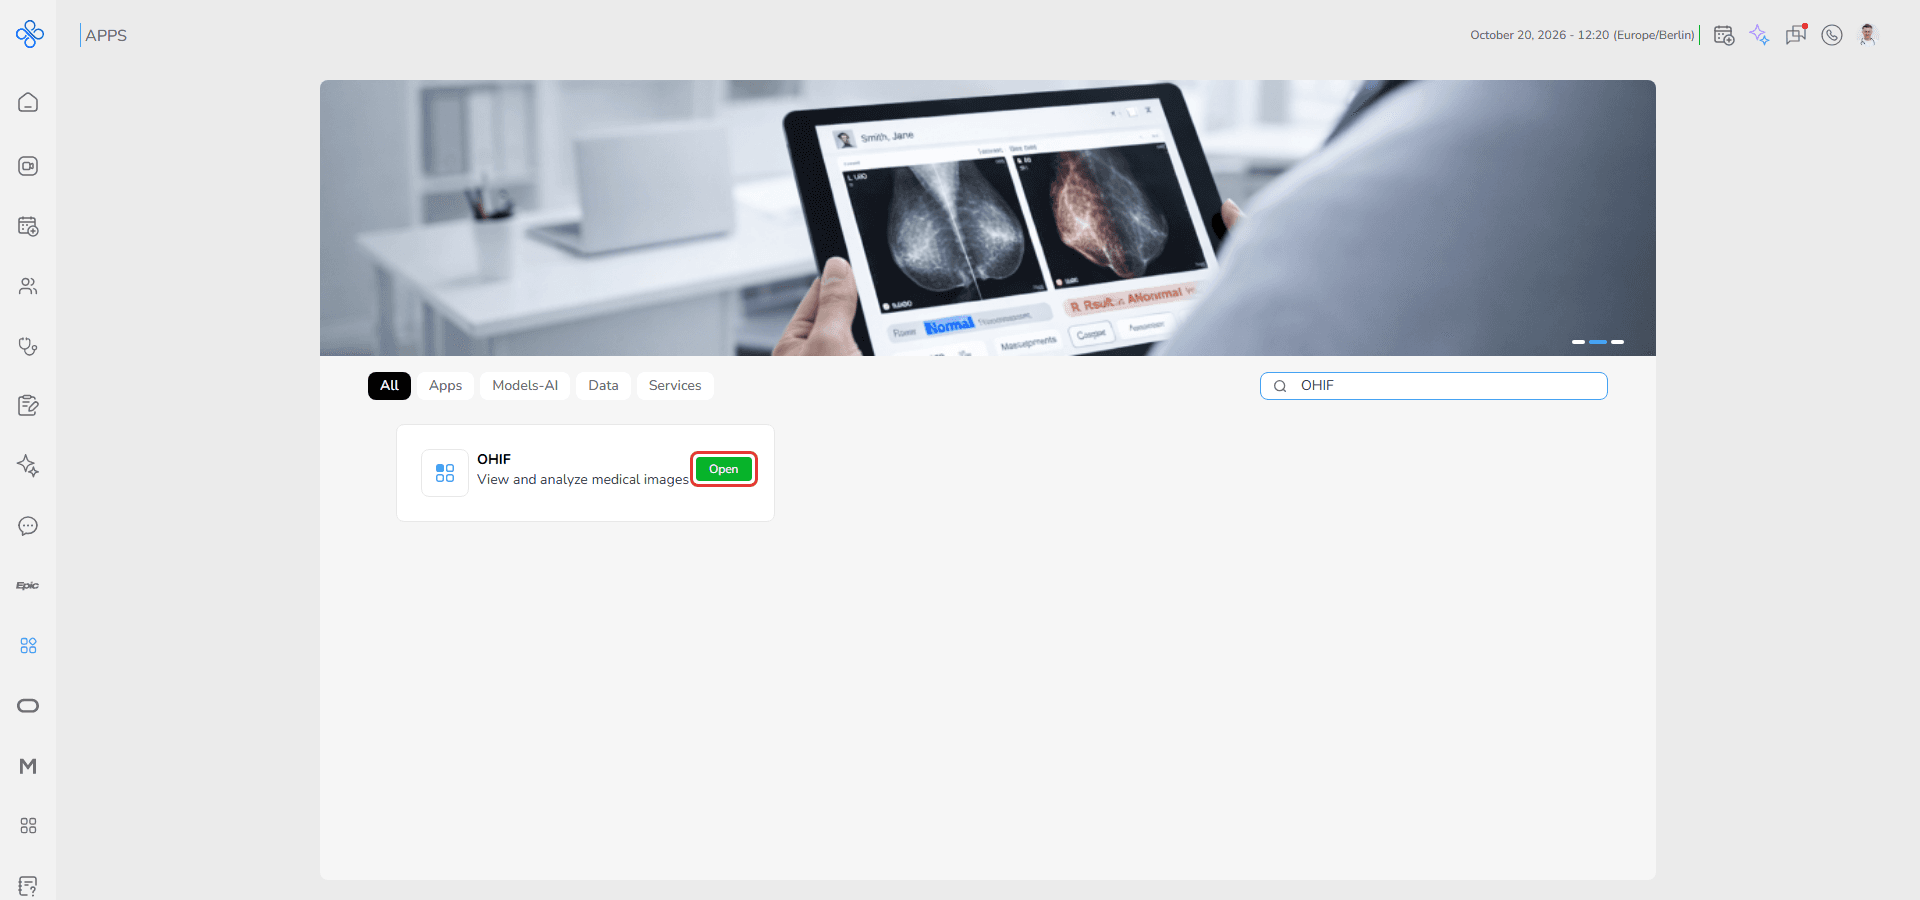
From Apps
Open Apps, find OHIF in the list or search for it, and click Open.
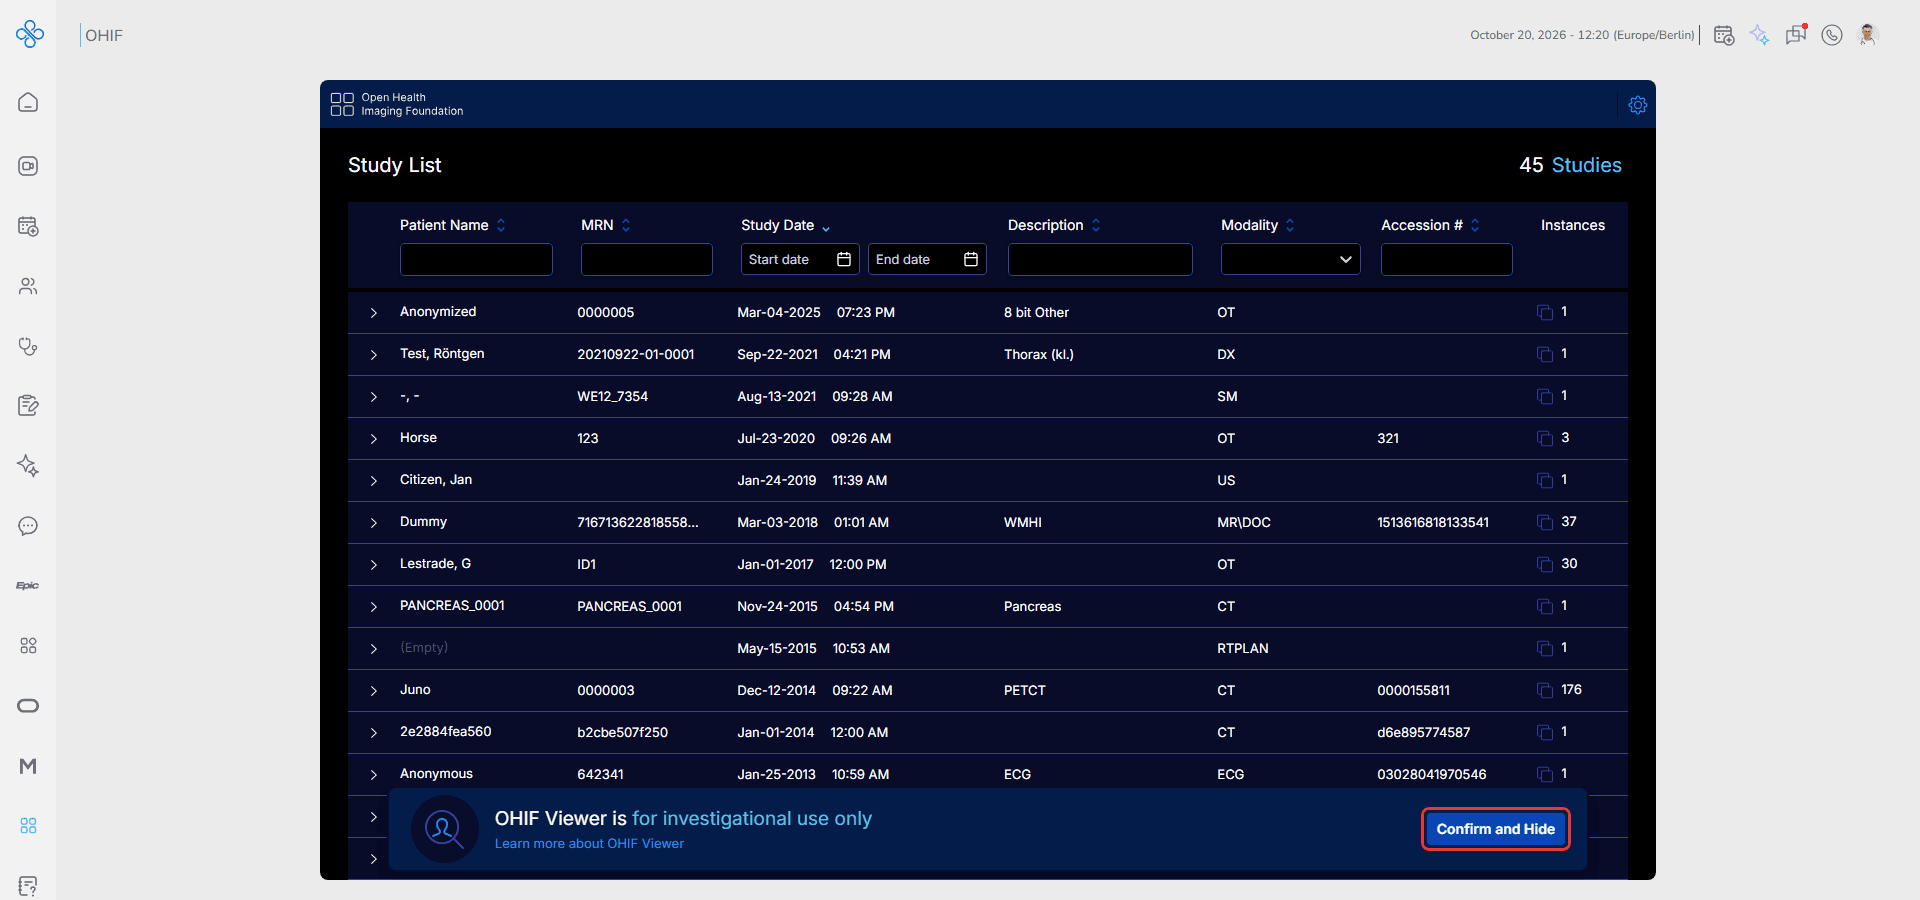
The first time you open the viewer, a notice says that OHIF Viewer is for investigational use only. Click Confirm and Hide to close it.
Steps
Step 1: Find a Study in the Study List
The Study List shows all imaging studies with their Patient Name, MRN, Study Date, Description, Modality, Accession # and the number of Instances (images). The total number of studies is shown at the top right.
Use the filter fields under the column names to narrow the list:
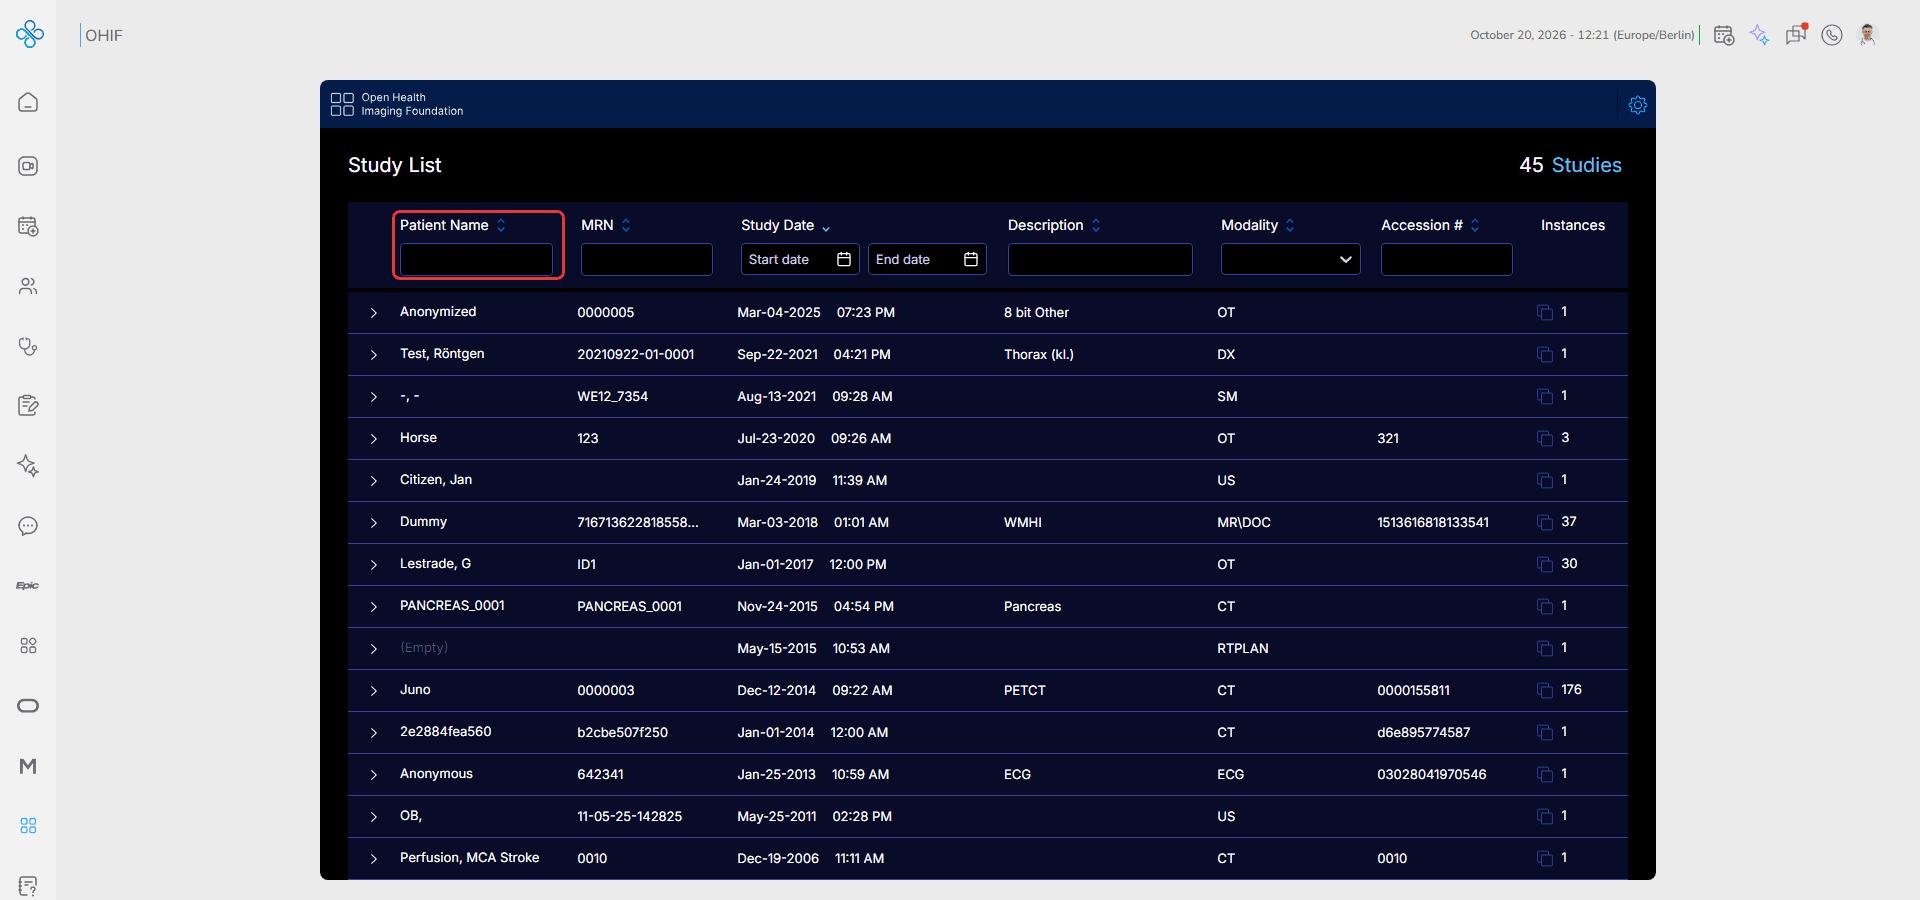
- Patient Name, MRN, Description and Accession # — type a value to search
- Study Date — choose a Start date and an End date
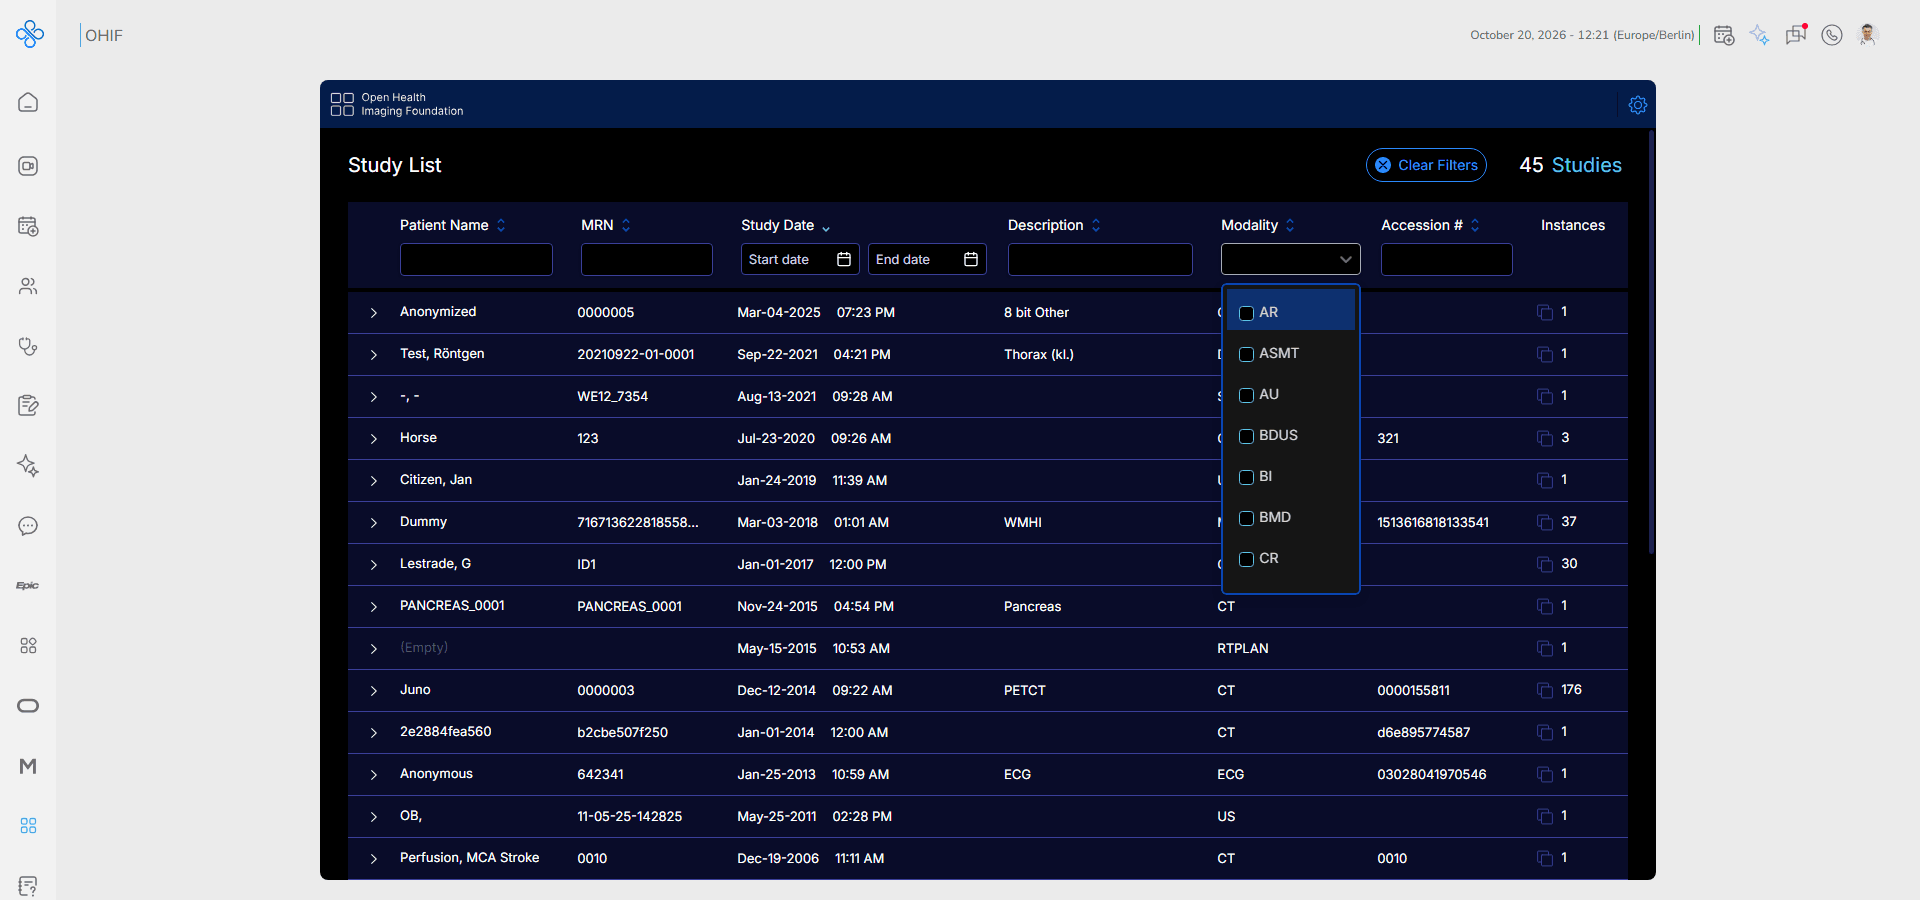
- Modality — select one or more modalities, such as CT, MR or US
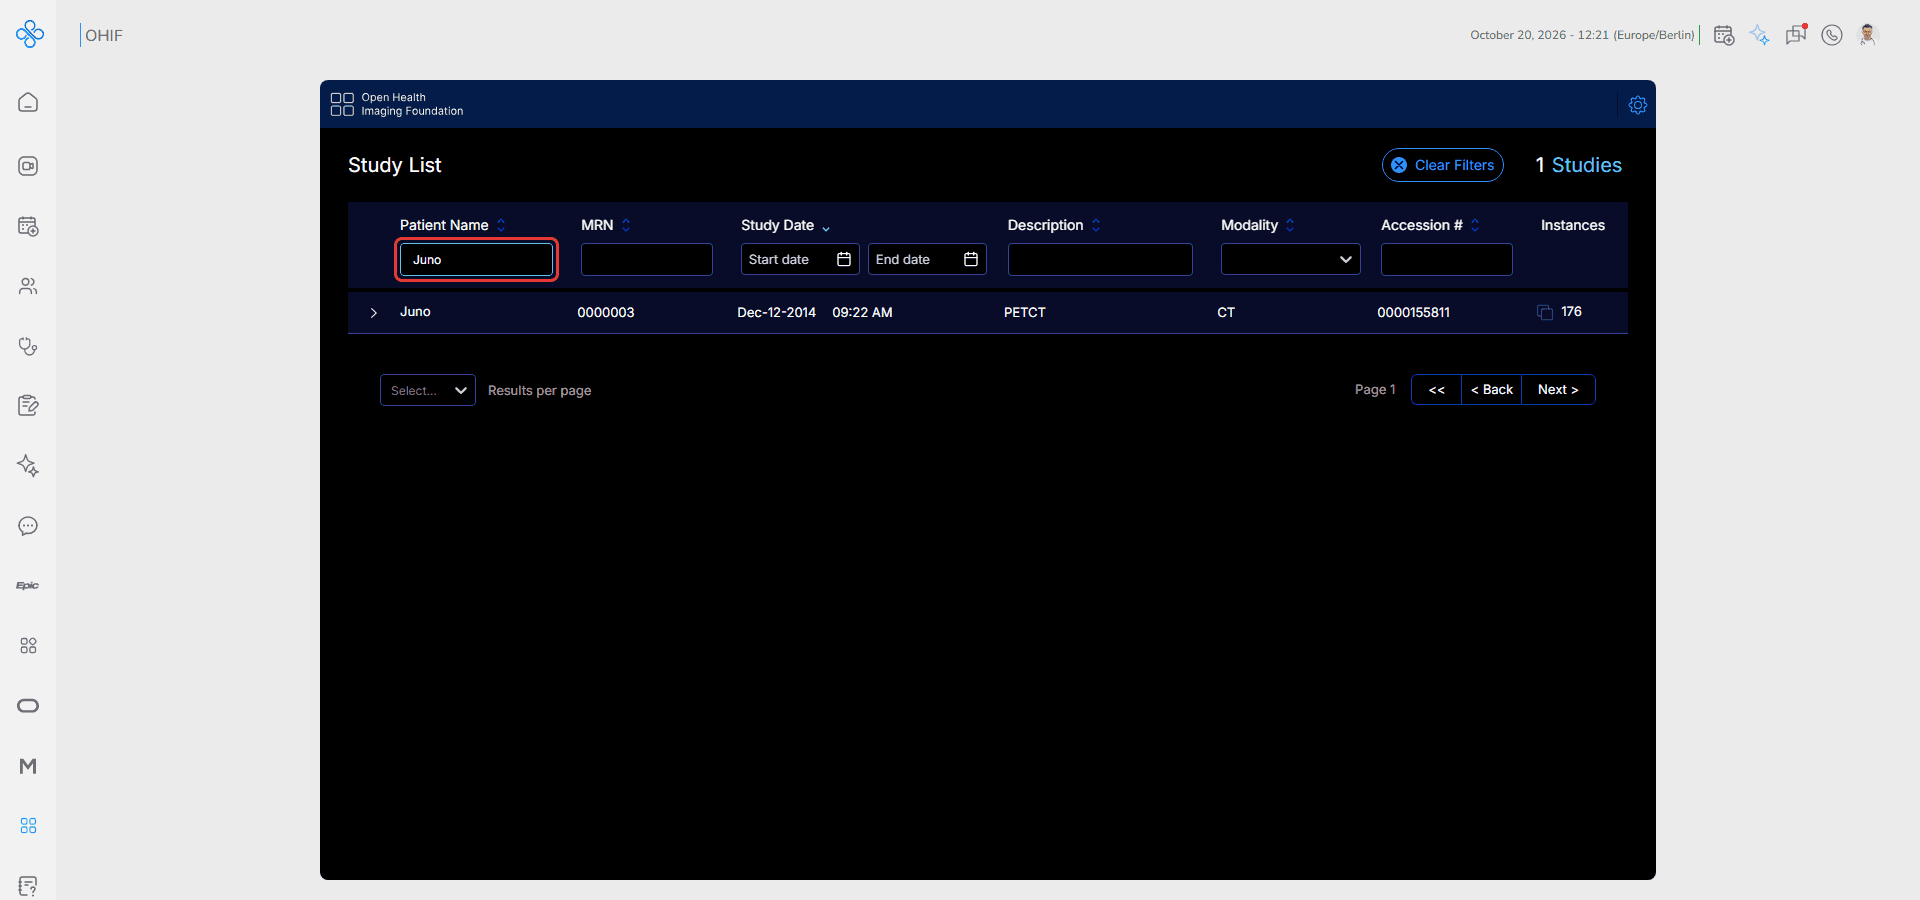
For example, typing a patient name shows only that patient's studies. Click Clear Filters at the top to show all studies again.
The Modality filter opens a list of modalities to choose from:
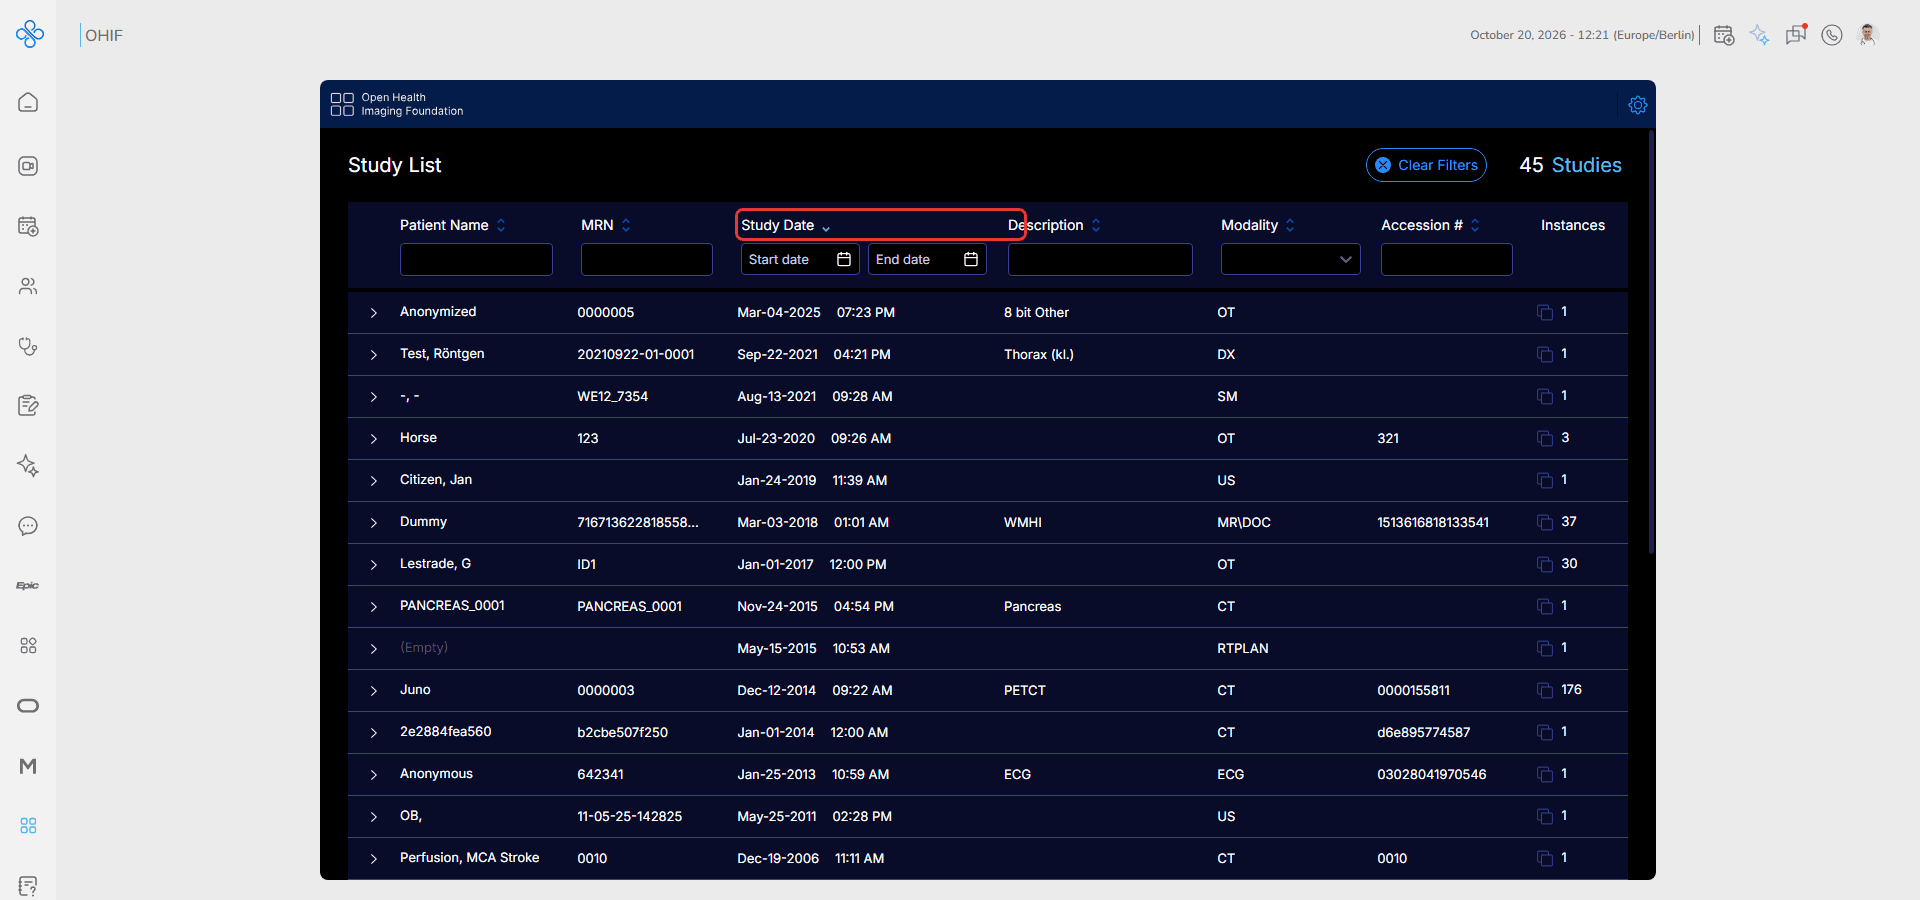
Click a column name, such as Study Date, to sort the list by that column. Click it again to switch between ascending and descending order.
If the list is long, use Next > and < Back at the bottom to move between pages.
Step 2: Open a Study
1. Click a study row to expand it. The study's series are listed below it with their description, series number, modality and number of images
2. Above the series, choose how to open the study. Basic Viewer opens the images for review. Other modes, such as Segmentation, are available only for studies that support them
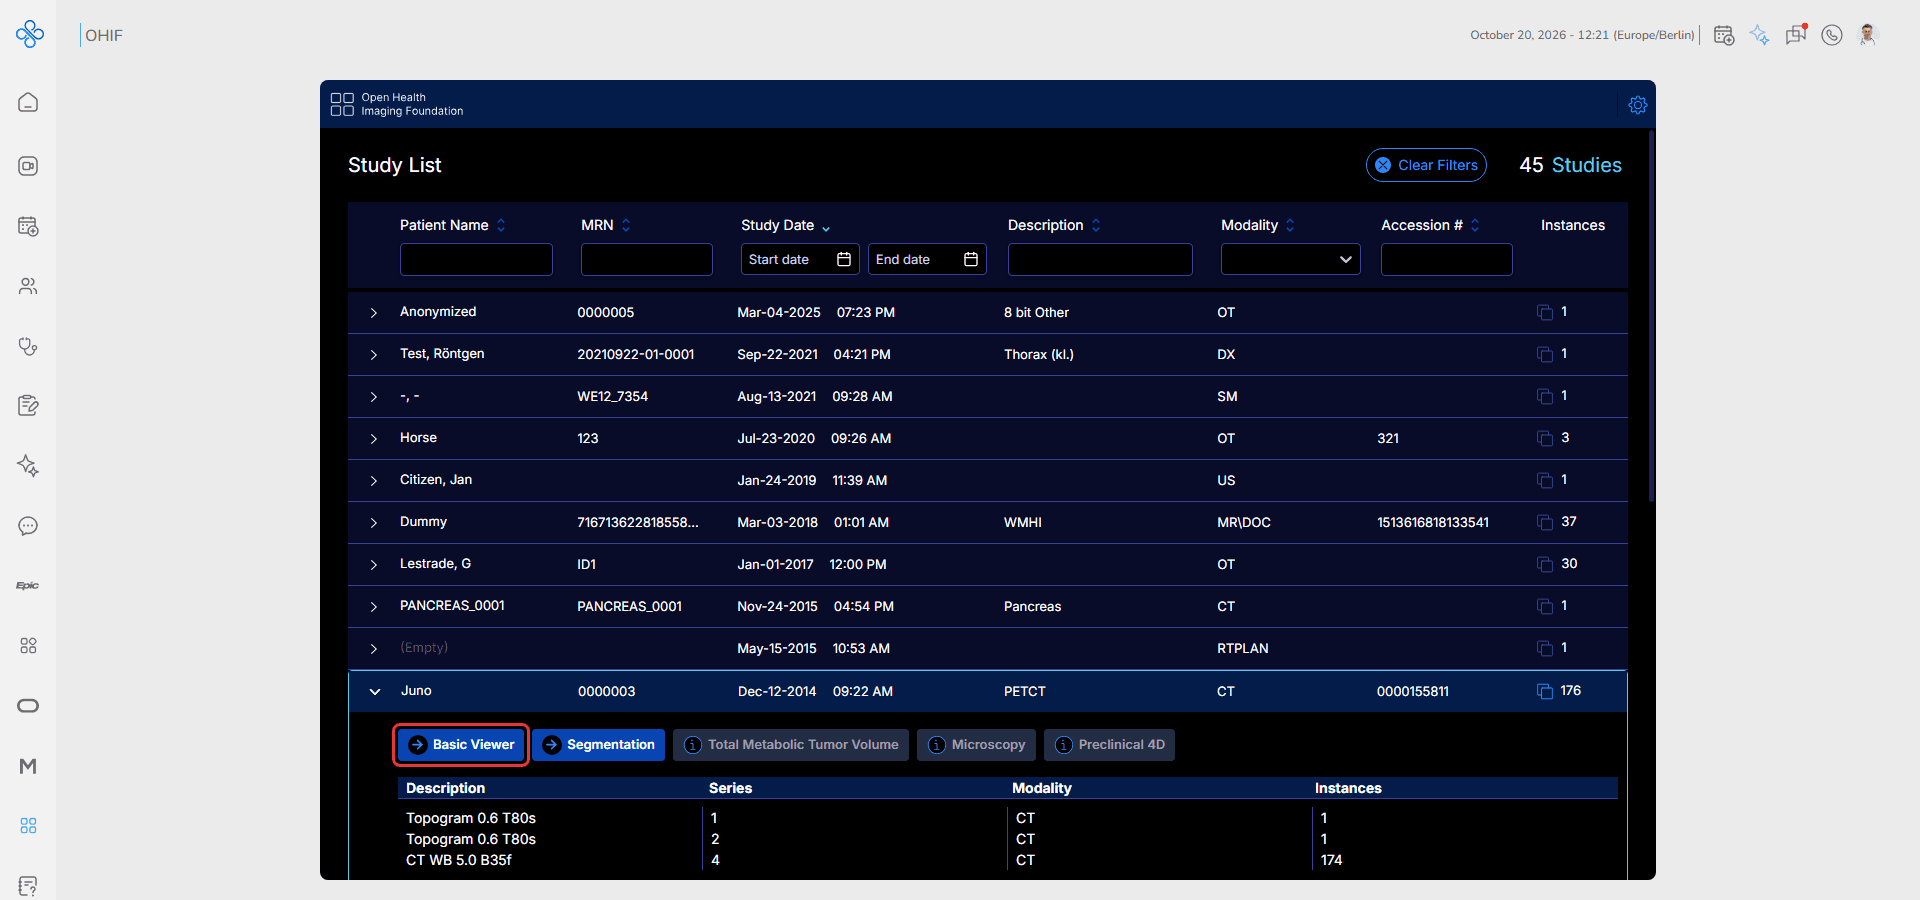
3. Click Basic Viewer
The study opens in the Viewer.
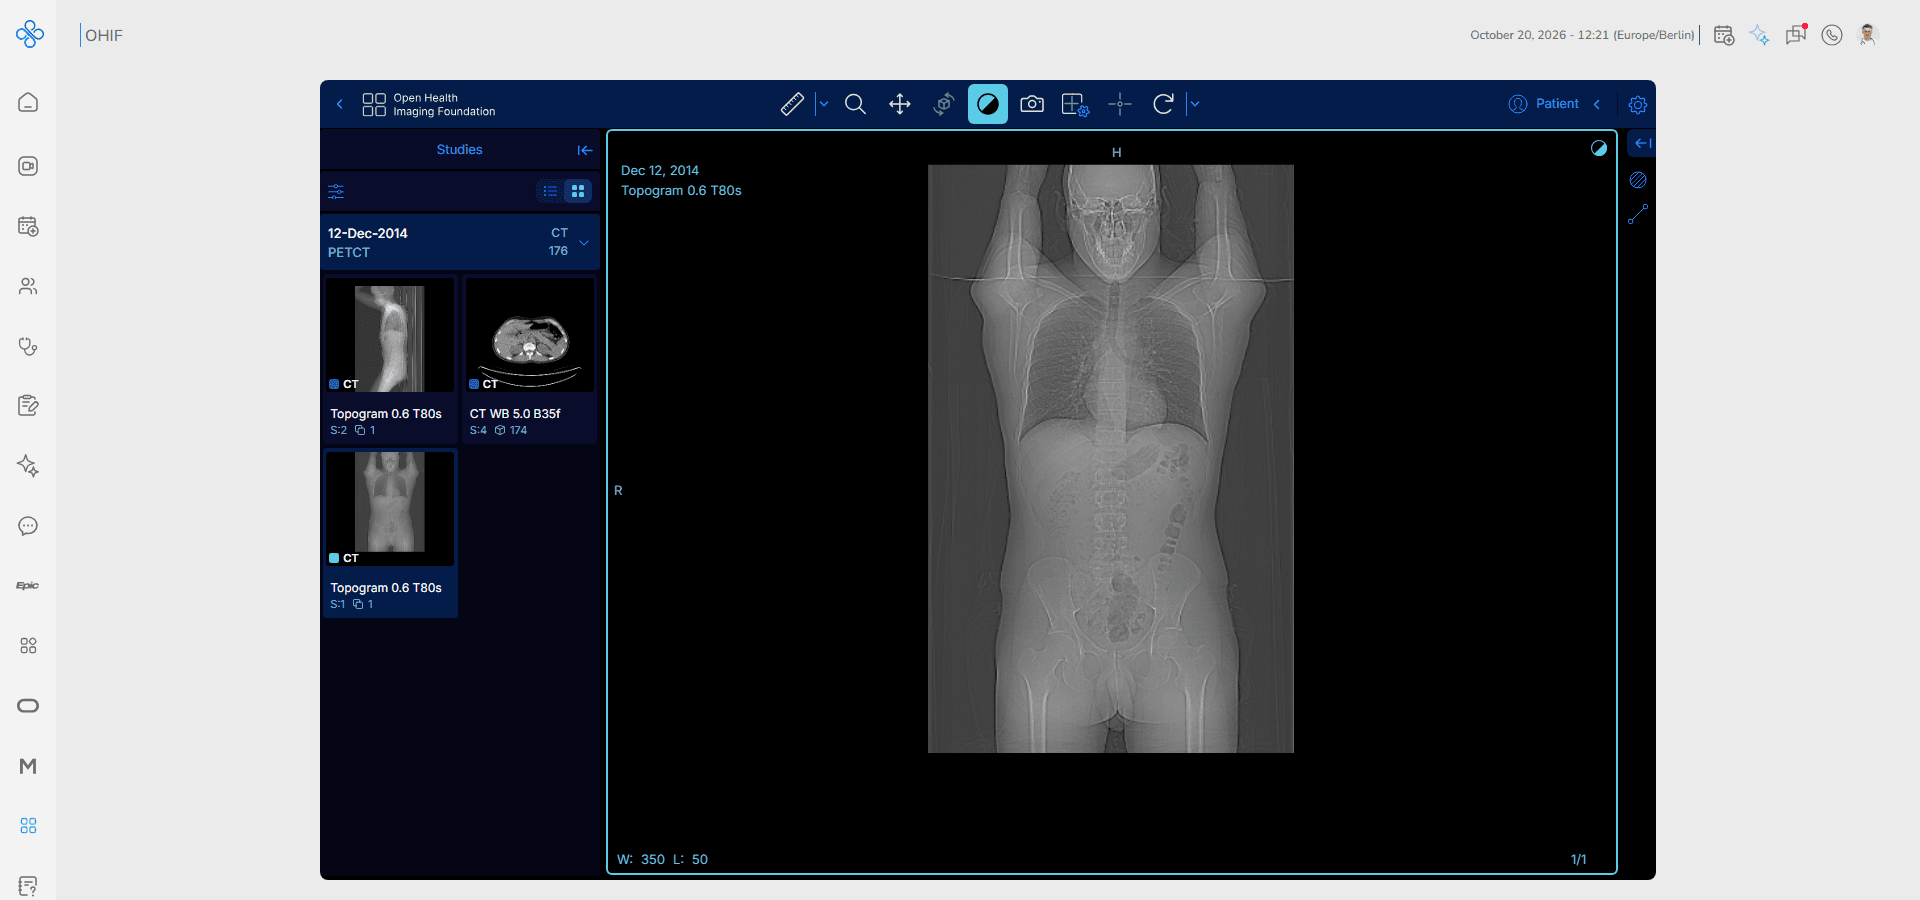
Step 3: Review the Images
On the left, the Studies panel shows the series of the study as thumbnails. Click a thumbnail to show that series in the viewport.
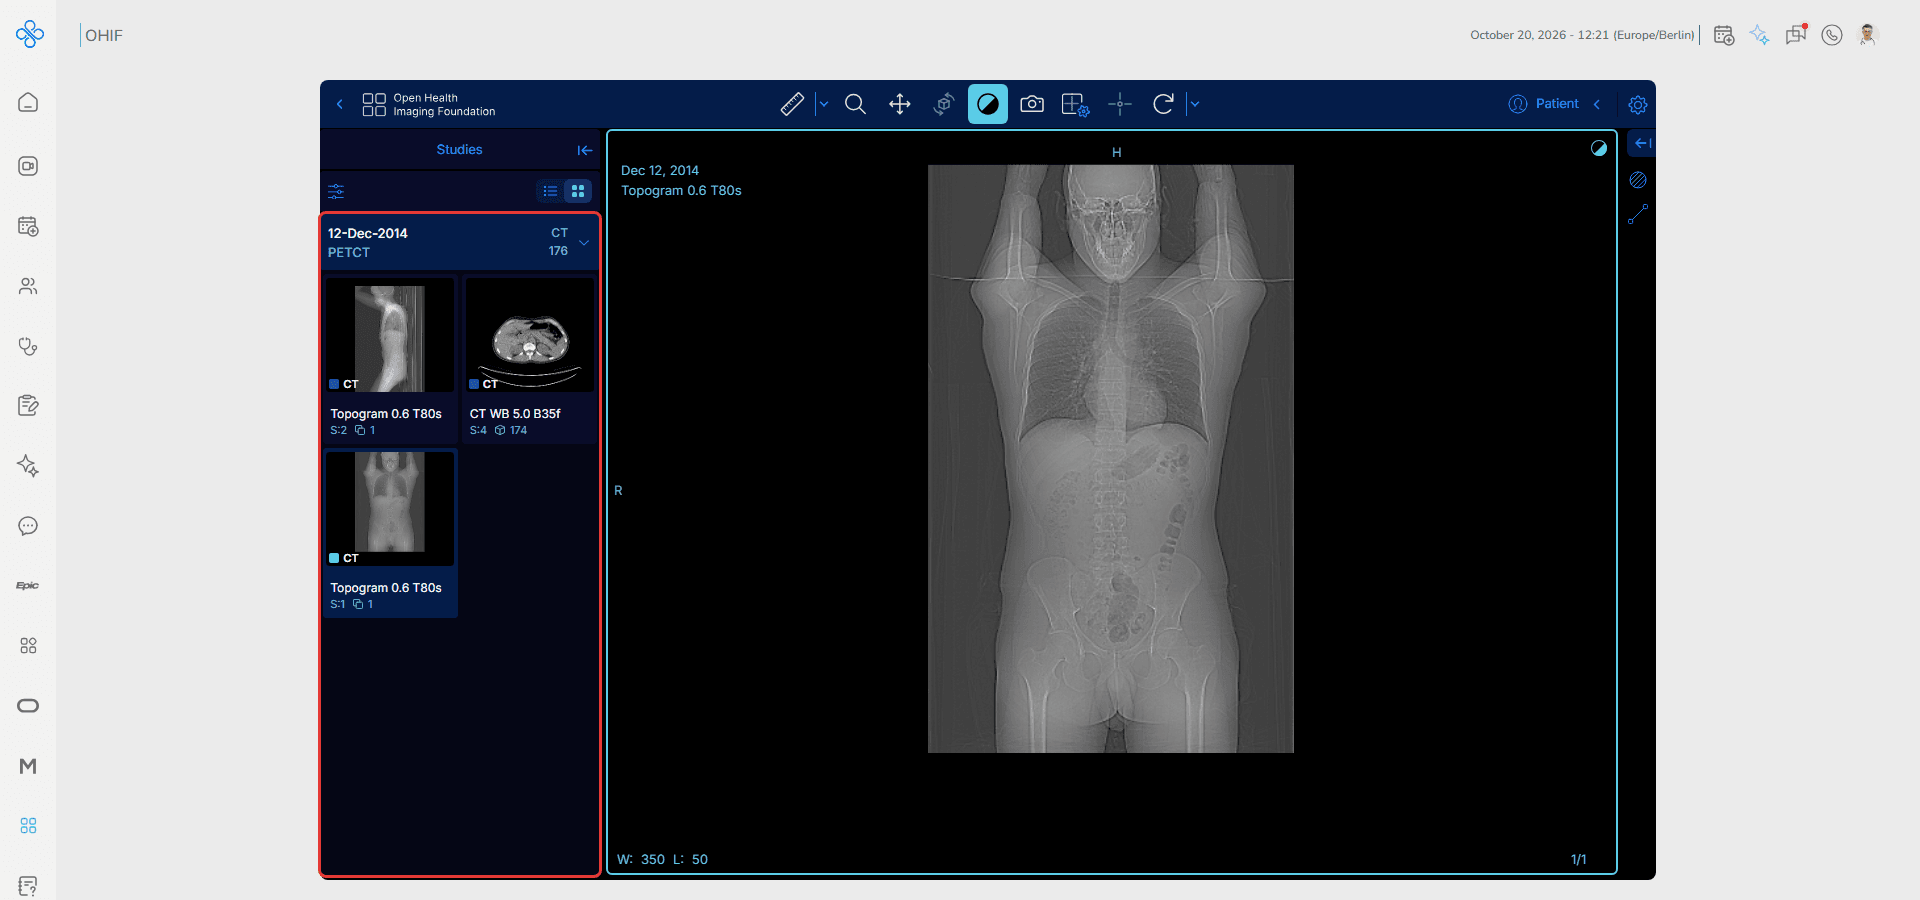
At the top, the toolbar holds the viewer tools:
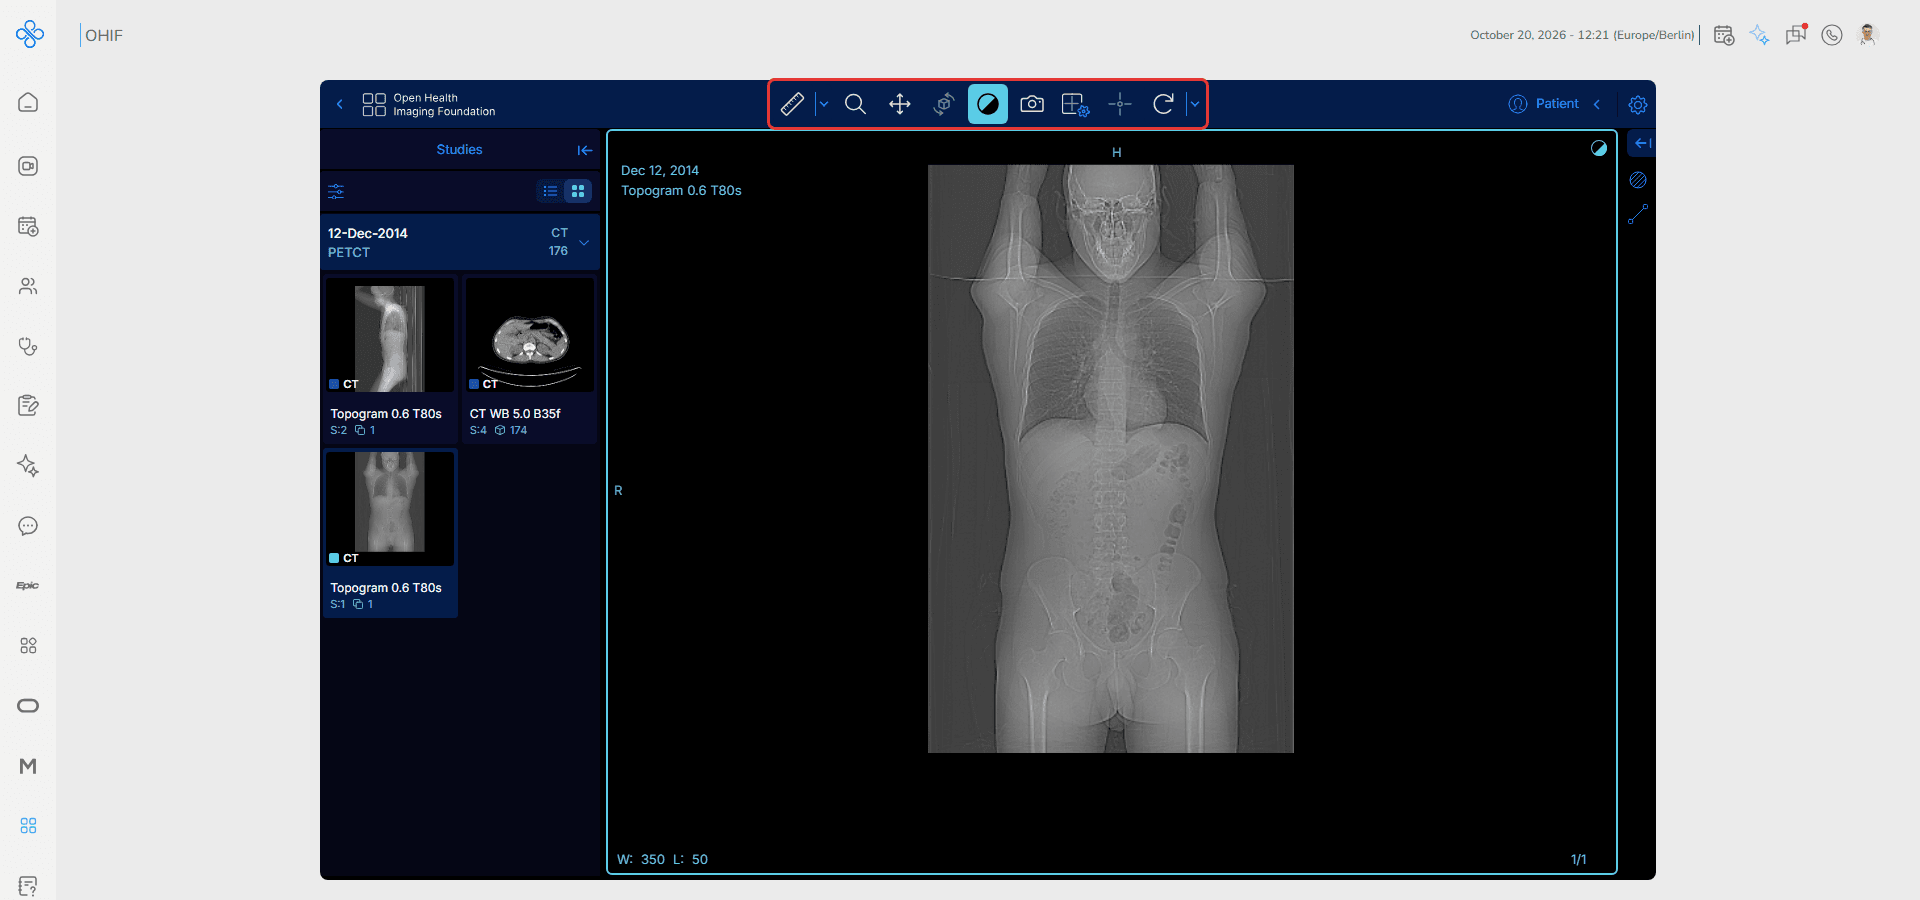
The most used tools are Zoom, Pan, 3D Rotate and Window Level (brightness and contrast). Select a tool, then click and drag on the image.
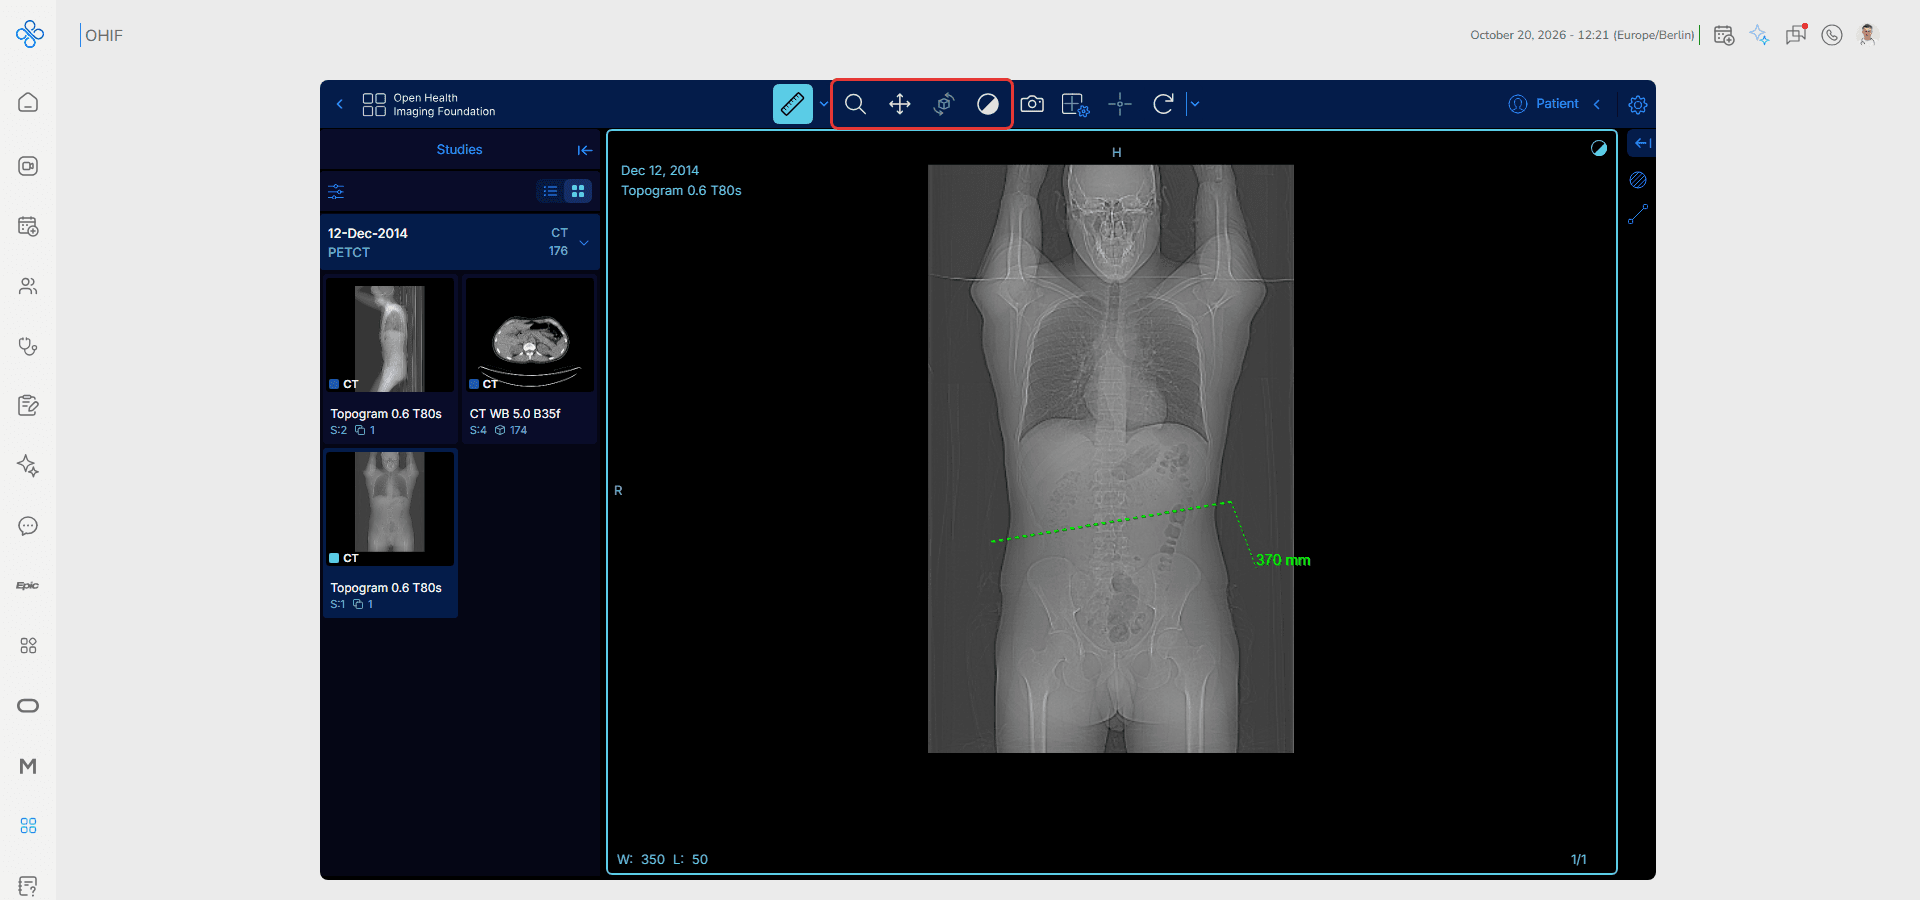
You can also scroll through the images of a series with the mouse wheel. The image number is shown at the bottom right of the viewport (for example 1/174), and the window level (W / L) at the bottom left.
Step 4: Measure on the Image
1. Click the small arrow next to the measurement tool to open the list of tools: Length, Bidirectional, Annotation, Ellipse, Rectangle, Circle, Freehand ROI, Spline ROI and Livewire tool
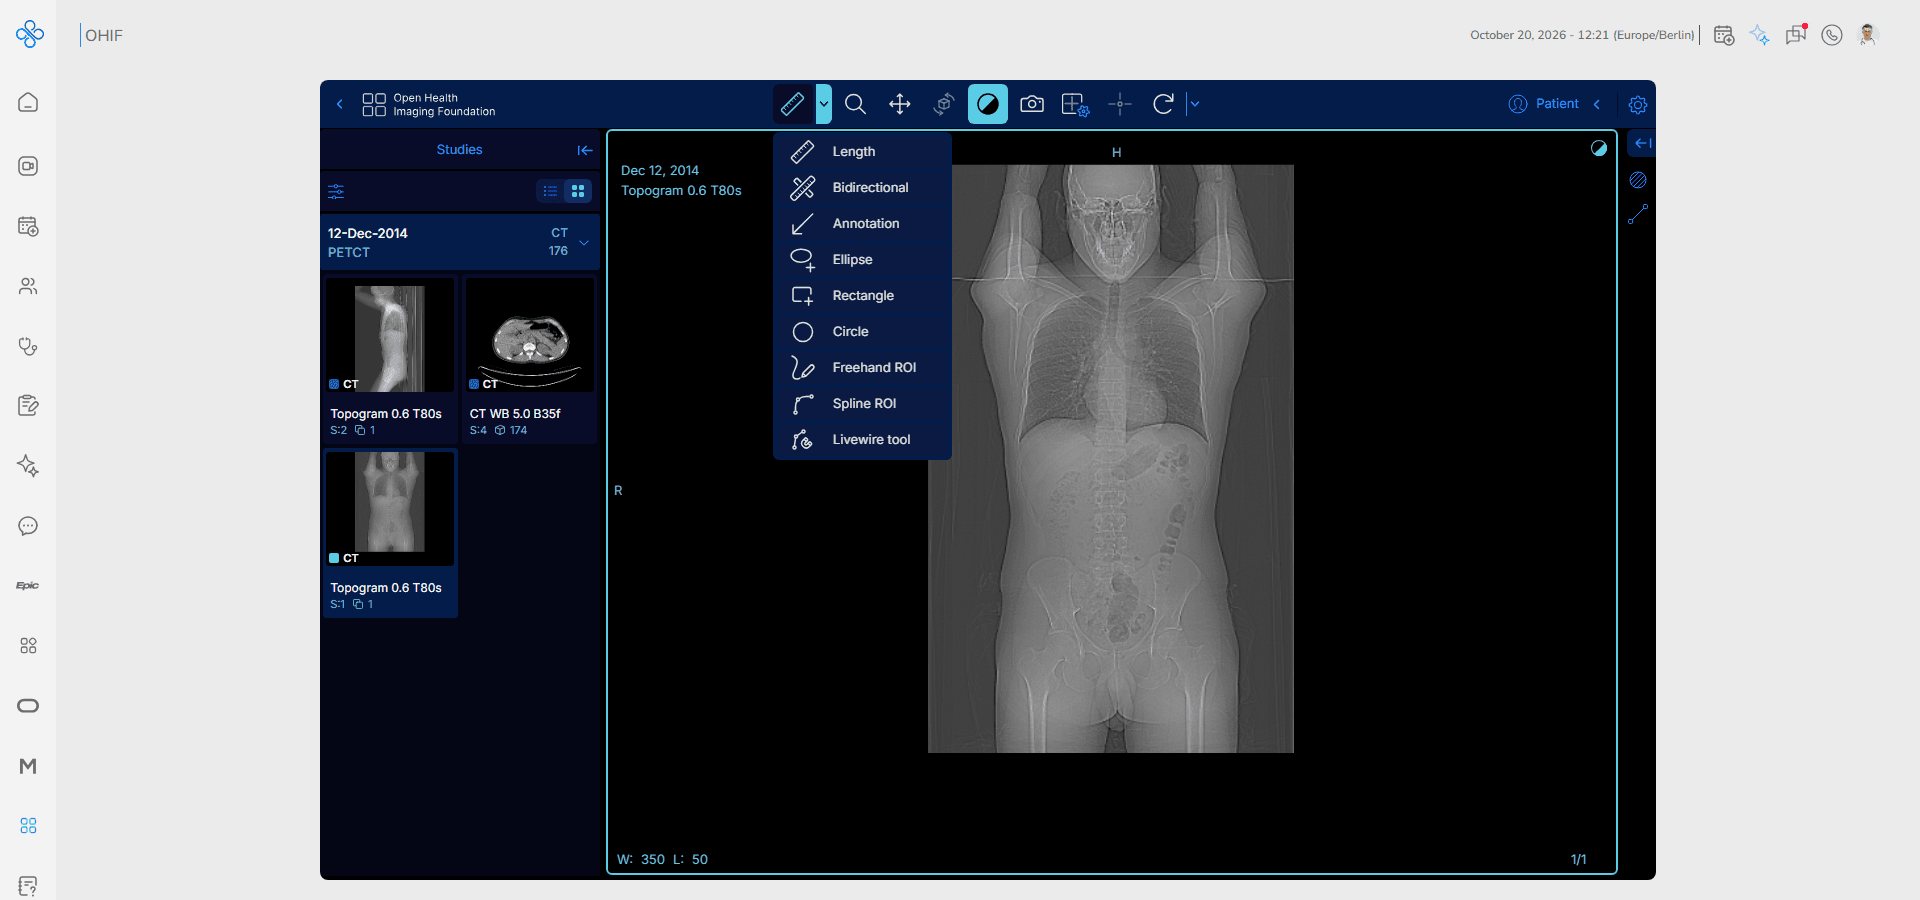
2. Select a tool, for example Length
3. Click and drag on the image to draw the measurement
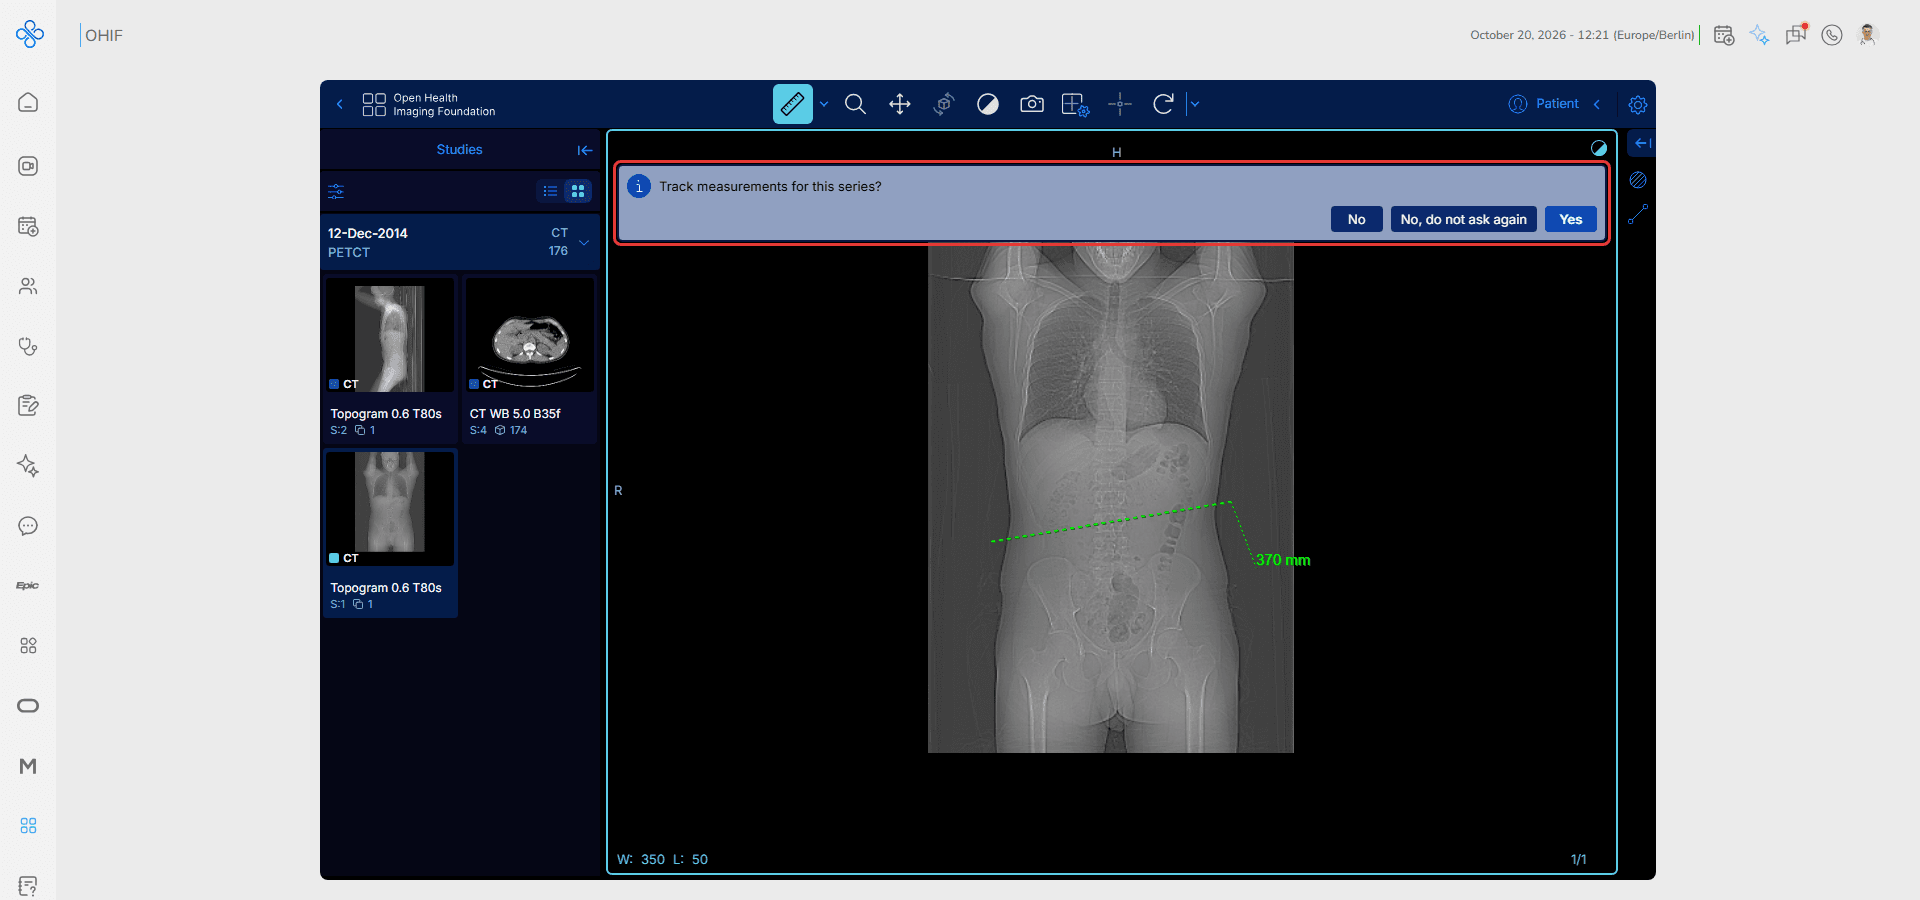
4. The first time you measure on a series, OHIF asks Track measurements for this series? Choose Yes to keep the measurements in the measurements panel on the right, or No to only show them on the image
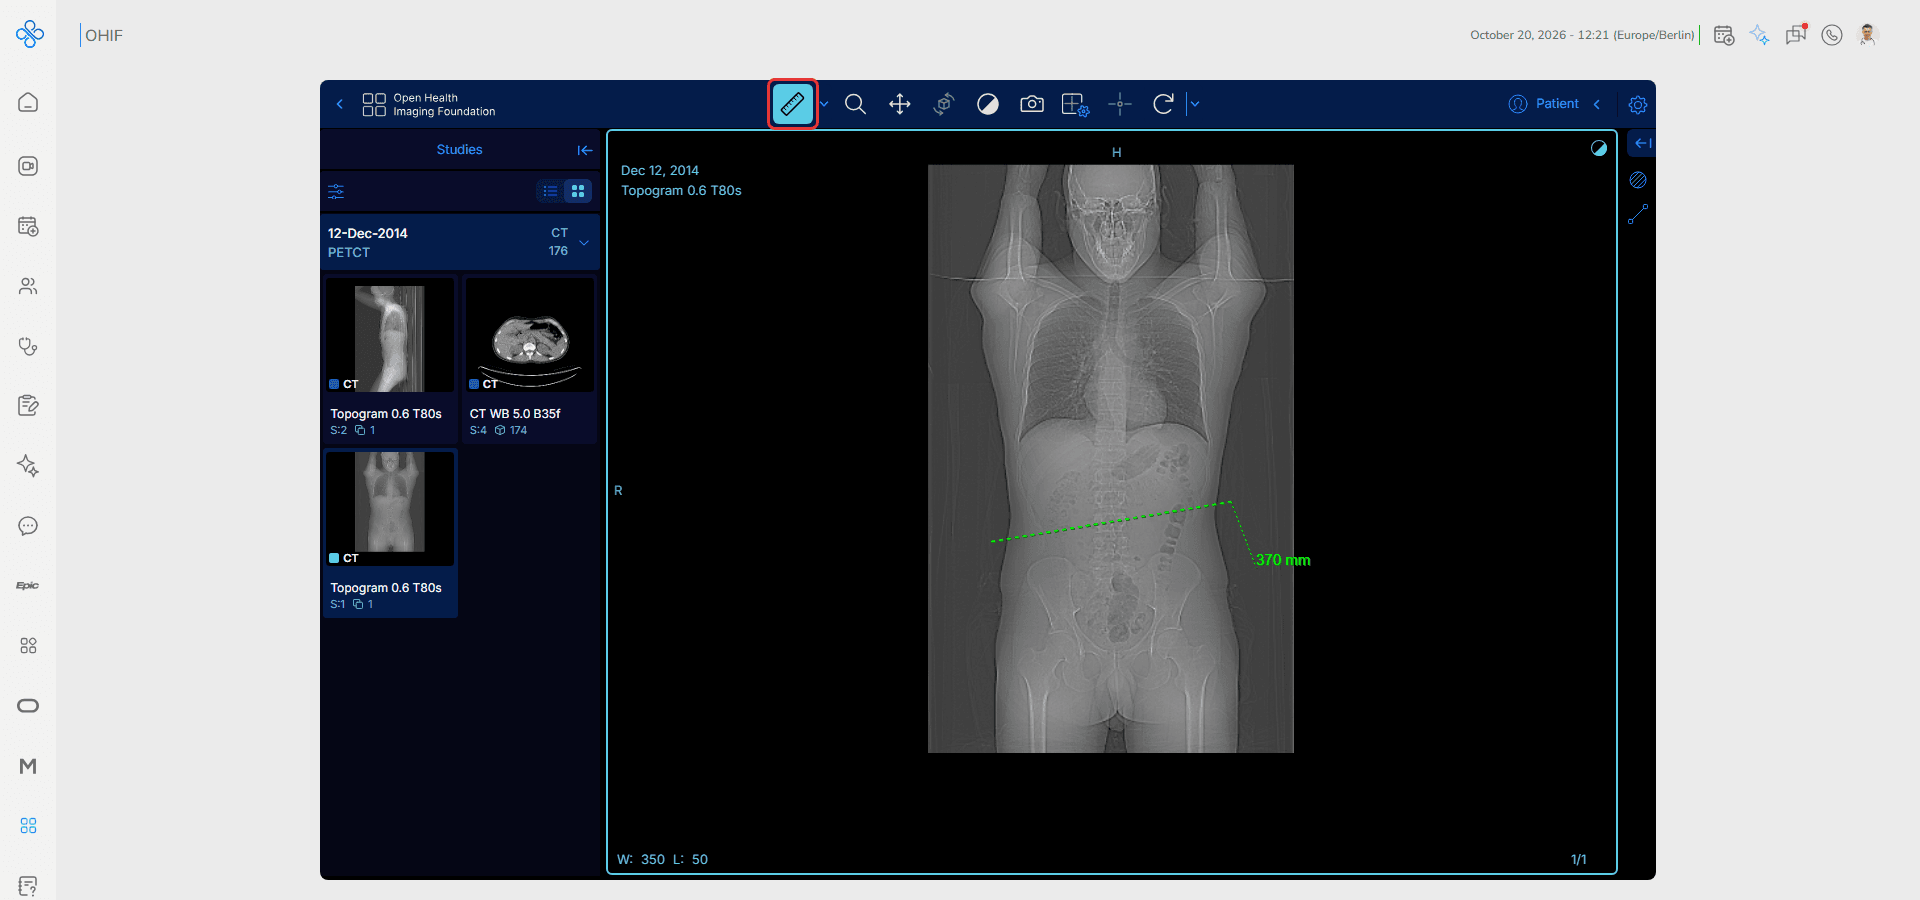
The measurement and its value (for example 370 mm) appear on the image.
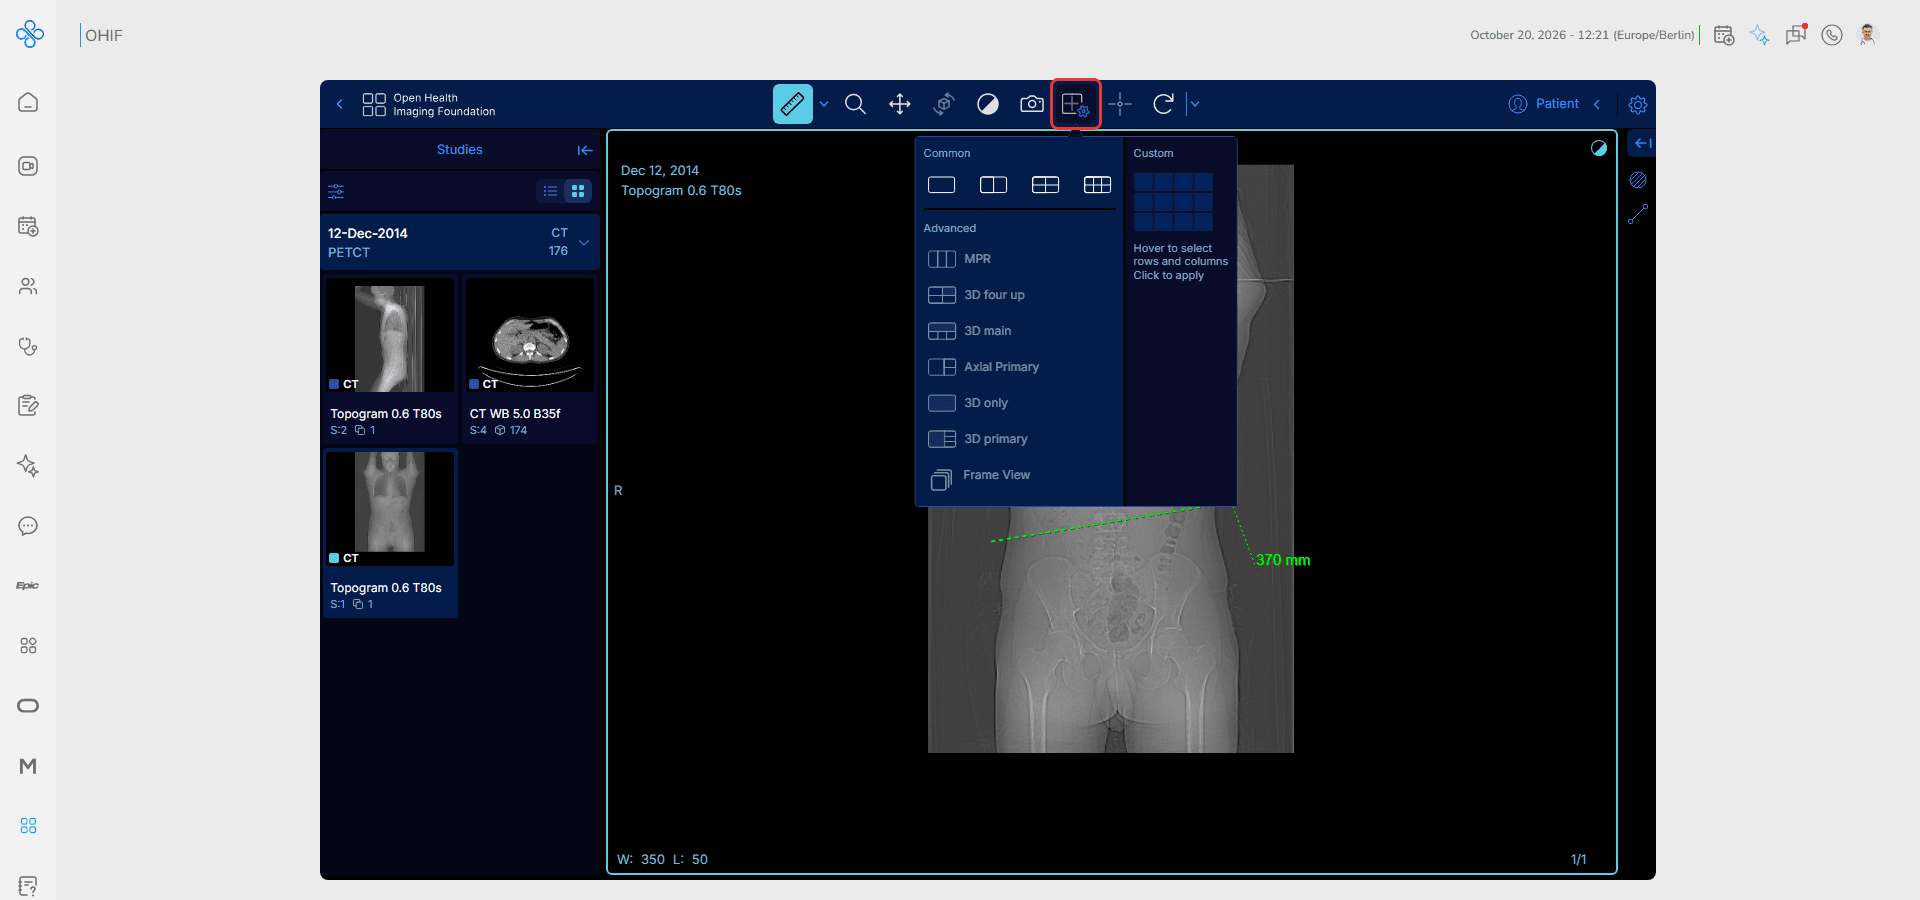
Step 5: Change the Layout
Click the Layout button to choose how many viewports are shown, for example two side by side to compare images. Advanced layouts such as MPR show the series in several planes.
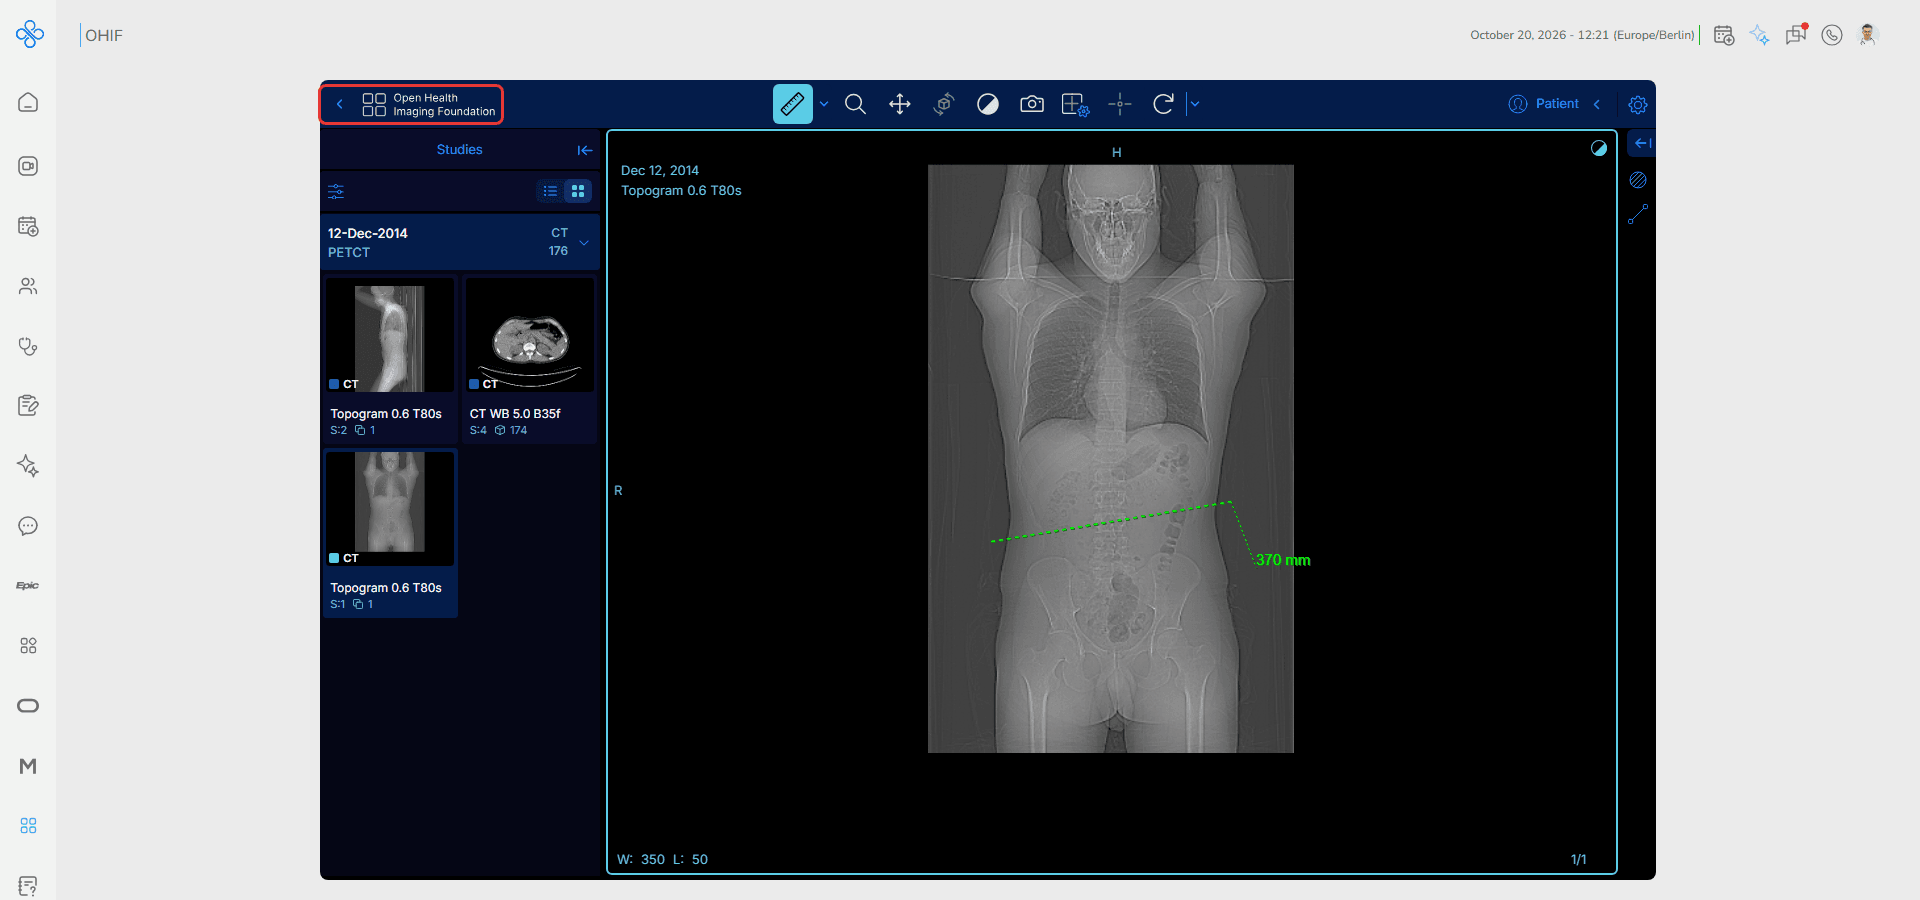
Step 6: Return to the Study List
Click the back arrow at the top left of the viewer to return to the Study List.
Fields (Field Descriptions)
| Field | Description |
|---|---|
| Patient Name / MRN | The patient of the study and their medical record number |
| Study Date | The date and time of the study; filter with Start date and End date |
| Description | A short description of the study |
| Modality | The imaging type, such as CT, MR, DX, US or PET |
| Accession # | The study's accession number |
| Instances | The number of images in the study |
| Clear Filters | Removes all filters from the Study List |
| Basic Viewer | Opens the study for review |
| Studies panel | The series of the open study, as thumbnails |
| Toolbar | Measurement, zoom, pan, window level, capture, layout and more tools |
| Layout | Sets the number and arrangement of viewports |
Behavior & Expected Outcome
- The Study List loads all available studies and shows their total
- Typing in a filter field narrows the list immediately
- Clicking a study expands its series and the available modes
- Modes that do not fit the study, such as Microscopy for a CT, are inactive
- The viewer opens the first series of the study; other series open from the Studies panel
- Measurements appear on the image with their value
- The back arrow returns to the Study List
Common Errors + Fixes
| Issue | Cause | Fix |
|---|---|---|
| A study is not in the list | A filter is still active | Click Clear Filters |
| A mode button is inactive | The study does not support that mode | Use Basic Viewer |
| Images load slowly | Large study or slow connection | Wait for the series to finish loading |
| The image looks too dark or too bright | Window level is not suitable | Use the Window Level tool or reset the view |
| A tool does nothing | Another tool is selected | Select the tool again in the toolbar |